Table of Contents
Advertisement
Quick Links
Advertisement
Table of Contents

Related Manuals for AT&T TL7000


Summary of Contents for AT&T TL7000
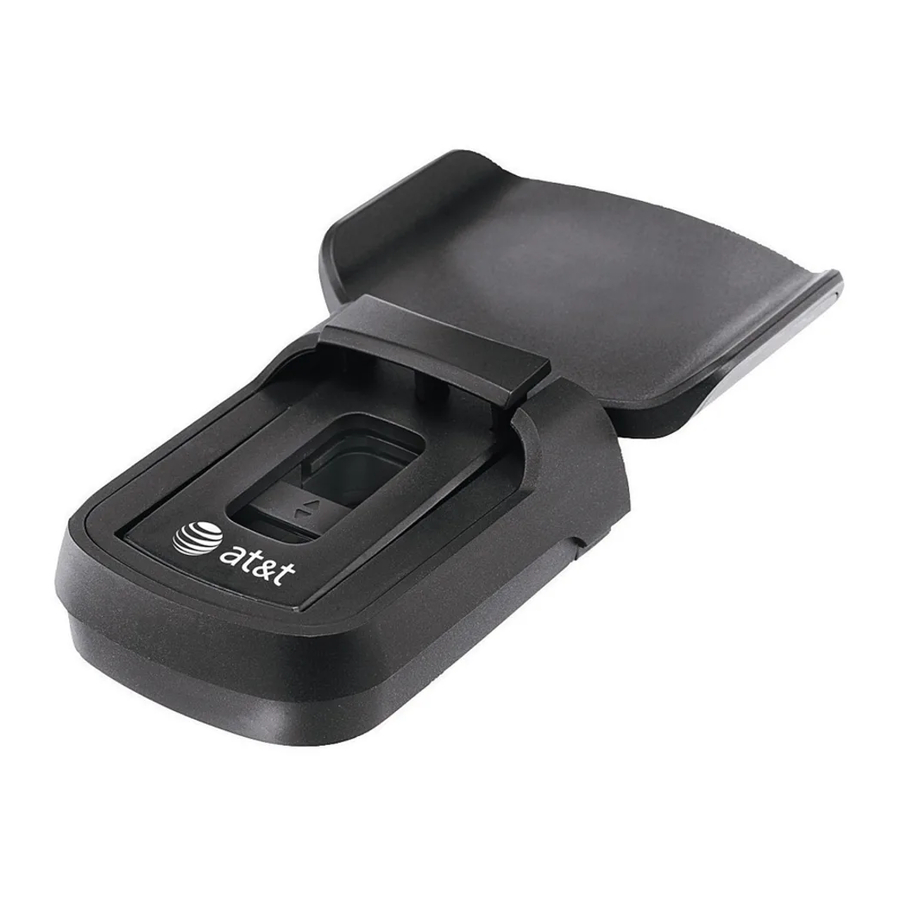
- Page 1 User’s manual TL7000 Handset lifter for use with AT&T models TL7610/TL7650...
-
Page 2: Important Safety Information
AT&T product. You can also visit our website at www.telephones.att.com or call 1 (800) 222-3111. In Canada, dial 1 (866) 288-4268. Model #: TL7000 Type: Handset lifter Serial #: (found on the bottom of the handset lifter) -
Page 3: Parts Checklist
Check to make sure the handset lifter package includes the following items: User's manual Ring detector Large lifter pad Color label (light blue) Handset lifter Telephone line cord (4 conductor) with a color label in orange Anti-slip pad... -
Page 4: Table Of Contents
TL7000 Handset lifter for use with AT&T models TL7610/TL7650 Table of contents Getting started Quick reference guide Handset lifter ...1 Handset lifter installation Lifter installation ...3 Installation of large lifter pad (optional) ...5 Installation of anti-slip pad (optional) ...5 Connect the headset base ...6 Headset base installation with lifter ...9... - Page 5 Troubleshooting Troubleshooting ...17 Maintenance and safety Maintenance ...21 Important safety information ...22 Appendix Limited warranty...23 Index Index ...27...
-
Page 6: Getting Started
Quick reference guide - Handset lifter ALERT ON/OFF Turns the ring detector on or off. When the ringer detector is turned off, the cordless headset does not receive a call alert tone. Lifter arm Holds the corded telephone handset. Switch hook presser When LIFTER MODE is on, pressing the ON/OFF key on the headset raises and... - Page 7 Quick reference guide - Handset lifter Small lifter pad Holds the earpiece of the corded telephone handset. Lifter arm height control Pushes height of the lifter arm. to adjust the...
-
Page 8: Handset Lifter Installation
Handset lifter installation The TL7000 handset lifter (lifter) works with the TL7610 or the TL7650 cordless headset to provide a complete communication solution. The lifter raises and lowers the handset to make and end phone calls. The ring detector provides an incoming call indica- tion through the cordless headset, so you can answer calls even if you are away from the telephone base. - Page 9 Handset lifter installation Adhesive tape ON/OFF button Motor 5. Pick up the lifter, turn it over, and peel the paper from the adhesive tape. 6. Carefully return the lifter to the same position that you noted before and press down. 7.
-
Page 10: Installation Of Large Lifter Pad (Optional)
Handset lifter installation It may take some adjustments and testing to find the right position for the lifter. For the lifter to work properly, the switch hook must release completely when you press the ON button on the headset. The switch hook must also be pressed all the way when you press the Adhesive tape 12. -
Page 11: Connect The Headset Base
Handset lifter installation Connect the headset base The cords provided with your lifter have colored labels attached to help you plug them into the headset base. The back of the headset base has color-coded dots above the jacks, and the jacks’... - Page 12 Getting started Handset lifter installation Before installing the headset base: Remove the rear bottom piece of the headset base by pushing it away from the base (as shown in Figure 2). Figure 2 Install the headset base as shown on pages 9-10. After completing the headset base installation, slide the rear bottom piece towards the base until it clicks into place (as shown in Figure 3).
- Page 13 Handset lifter installation DSL filter (The numbers in this figure correspond to the steps on page 9.) NOTE: For complete instructions on using the headset base, please refer to the manual provided with your TL7610/TL7611/TL7650/TL7651 product, or www.telephones.att.com visit Figure 4: The headset base connections to download the manual.
-
Page 14: Headset Base Installation With Lifter
Handset lifter installation Headset base installation with lifter (see Figure 4) 1. Plug one end of the telephone line cord (provided with your telephone) into the telephone jack. 2. Plug the other end of the telephone line cord into the wall jack. -
Page 15: Adjust Lifter Audio
Handset lifter installation MODE ON/OFF button LIFTER AUDIO ADJUST Adjust lifter audio 1. Make sure that the LIFTER MODE light on the headset base is on. Press the MODE button on the headset base to change the mode. 2. Put the headset next to your ear. (AT&T model TL7610/TL7611/TL7650/ TL7651). -
Page 16: Ring Detector Installation
Ring detector installation The ring detector senses the telephone ringing and sends a call alert tone to the headset earpiece. Adhesive tape Ring detector plug RING DETECT jack Speaker Adhesive tape Ring detector’s sensor Install the ring detector 1. Insert the ring detector plug into the RING DETECT jack on the lifter. -
Page 17: Adjust The Sensitivity Level
Ring detector installation Adjust the sensitivity level The ring detector sensitivity level is designed to work with most corded telephones. However, the ring detector may need some adjustments to recognize less common telephone ring tones. To adjust the ring detector sensitivity while the telephone is ringing: •... -
Page 18: Status Light
Ring detector installation ON/OFF button STATUS light • Press the ALERT ON/OFF button on the lifter to turn to the ring detector on or off. The STATUS light is blue if the ring detector is turned on. The STATUS light is red if the ring detector is turned off. -
Page 19: Handset Lifter Operation
Handset lifter operation After successful installation of the handset lifter, press the MODE button on the headset base until the LIFTER MODE light turns on. Make a call with the corded handset As indicated in the figure, lifting the handset causes the lifter arm to raise and release the switch hook. -
Page 20: Make And Answer Calls With The Handset Lifter And Cordless Headset
Handset lifter operation Make and answer calls with the handset lifter and cordless headset You can use the cordless headset to make calls, answer calls and end calls without using the corded handset. ON/OFF button Answer a call • Press ON on the headset to /OFF answer an incoming call. -
Page 21: Make And Answer Calls With A Multi-Line Telephone And A Handset Lifter
Handset lifter operation Make and answer calls with a multi-line telephone and a handset lifter Make a call 1. Press ON on the headset. You will hear a dial tone in the /OFF headset earpiece. 2. To change to a different phone line, you need to select the line on your telephone. -
Page 22: Troubleshooting
Troubleshooting If you have difficulty with your handset lifter, please try the suggestions below. For Customer Service, visit our website at www.telephones.att.com 1 (866) 288-4268 In Canada dial The switch hook presser of the lifter doesn’t raise at all. , or call •... - Page 23 Troubleshooting When I press on the /OFF headset, the handset lifter is lifted, but the call is not connected or I do not hear a dial tone. • First try all the suggestions above. • When using the handset lifter, make sure LIFTER MODE is selected on the headset base and the telephone line cord is connected to the telephone line jack on the...
- Page 24 Troubleshooting I cannot dial out in LIFTER MODE. My corded phone is ringing, but I do not hear the call alert tone. • First try all the suggestions above. • Make sure you have a dial tone before dialing. The corded handset or headset may take a second or two to find the telephone base and produce a dial tone.
- Page 25 Troubleshooting The other party cannot hear my voice during a call. Nothing happens when I move the LIFTER AUDIO ADJUST switch. • If you are using a handset lifter, you should adjust the lifter audio first. During a call, slide the LIFTER AUDIO ADJUST on the side of the headset base from A to G until the good sound quality is obtained.
-
Page 26: Maintenance And Safety
Maintenance Taking care of your handset lifter • Your lifter contains sophisticated electronic parts, so it must be treated with care. • Avoid rough treatment. • Place the lifter down gently. Save the original packing materials to protect your lifter if you ever need to ship them. Avoid water •... -
Page 27: Important Safety Information
Important safety information This symbol is to alert you to important operating or servicing instructions that may appear in this user’s manual. Always follow basic safety precautions when using this product to reduce the risk of injury, fire, or electric shock. Safety information •... -
Page 28: Appendix
Limited warranty The AT&T brand is used under license - any repair, replacement or warranty service, and all questions about this product should be directed to: In the United States of America, visit www.telephones.att.com 1 (866) 288-4268 Canada, call What does this limited warranty cover? The manufacturer of this AT&T-branded product warrants to the holder of a valid proof of purchase (“CONSUMER”... - Page 29 Limited warranty How long is the limited warranty period? The limited warranty period for the PRODUCT extends for ONE (1) YEAR from the date of purchase. If the manufacturer repairs or replaces a materially defective PRODUCT under the terms of this limited warranty, this limited warranty also applies to repaired or replacement PRODUCT for a period of either (a) 90 days from the date the repaired or replacement PRODUCT is shipped to you or...
- Page 30 Limited warranty • PRODUCT returned without valid proof of purchase (see item 6 below); -or- • Charges for installation or setup, adjustment of customer controls, and installation or repair of systems outside the unit. How do you get warranty service? To obtain warranty service in the United States of America, visit www.telephones.att.com 1 (866) 288-4268...
-
Page 31: Other Limitations
Limited warranty c. Provide your name, complete and correct mailing address, and telephone number. Other limitations This warranty is the complete and exclusive agreement between you and the manufacturer of this AT&T branded PRODUCT. It supersedes all other written or oral communications related to this PRODUCT. -
Page 32: Index
Index Alert tones, 1, 11-13, 19 Answer calls, 15, 16 Anti-slip pad, 5 Audio adjustment, 10 Color label, 6, 7 DSL, 6, 8 End calls, 15, 16 Flash, 1, 12, 13 Headset base, 1, 7-10, 14 Installation, 3-13 Large lifter pad, 3, 5 Lifter arm, 1, 2, 5, 6, 14, 18 height control, 2, 3, 4,... - Page 33 www.telephones.att.com © 2008 Advanced American Telephones. All rights reserved. AT&T and the AT&T logo are trademarks of AT&T Intellectual Property II, L.P. d/b/a AT&T Intellectual Property licensed to Advanced American Telephones. Printed in China. Issue 3 AT&T 10/08.
Need help?
Do you have a question about the TL7000 and is the answer not in the manual?
Questions and answers