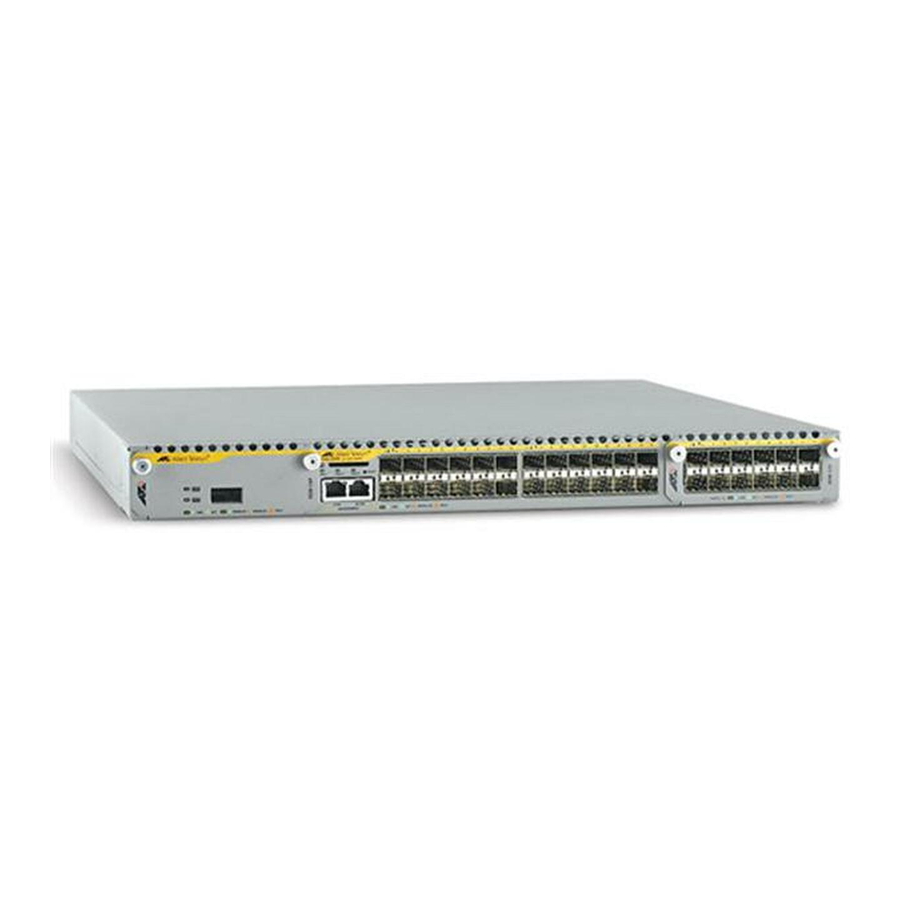
Allied Telesis x900 Series Installation Manual
Removable power supply and fan
Hide thumbs
Also See for x900 Series:
- How to configure (110 pages) ,
- Software manual (56 pages) ,
- How to configure (9 pages)
Summary of Contents for Allied Telesis x900 Series
- Page 1 Series Switch Removable Power Supply and Fan Installation Guide AT-PWR01 AT-PWR02 AT-FAN01...
- Page 2 Removable Power Supply and Fan Removable Power Supply and Fan Installation Guide for the x900 Series Switch, Document Number C613-04057-00 REV F © 2003-2006 Allied Telesis, Inc. All rights reserved. No part of this publication may be reproduced without prior written permission from Allied Telesis, Inc.
-
Page 3: Table Of Contents
Installation Guide Contents Models Covered by this Guide ..................4 Compatible Switches ....................... 4 Package Contents ......................4 Installing a Power Supply Unit ..................5 Applying Power to the Power Supply Unit ..............8 Checking LEDs ........................9 Troubleshooting ......................11 Where to Find More Information ................ -
Page 4: Models Covered By This Guide
Removable Power Supply and Fan Models Covered by this Guide This document describes how to install the following models: ■ AT-PWR01 PSU, either AC or DC power supply unit ■ AT-PWR02 PSU, AC power supply unit only ■ AT-FAN01, fan-only module Compatible Switches The following table shows which models of PSUs and FOMs are appropriate for individual switches. -
Page 5: Installing A Power Supply Unit
Installation Guide The following items are included with PSUs purchased separately: ■ one AC power cord (AC model) ■ one power cord retaining clip (AC model) ■ one Installation Guide ■ one warranty card The following items are included with each FOM purchased separately: ■... - Page 6 Removable Power Supply and Fan Installing a power supply unit or fan-only module Before you begin: ■ Read the safety information for the switch. Safety information is available in the Installation and Safety Guide that is on the CD-ROM for the switch. Or you can download this document from www.alliedtelesis.com/support/software.
- Page 7 Installation Guide Remove the current power supply unit, fan-only module, or blanking panel from the switch. Loosen the two captive Phillips screws until the they are fully loosened. Switch Captive screw Captive screw PSU2 If a PSU or FOM is in the bay, slide it out slowly and carefully. Support the device from underneath as you remove it to prevent it from falling.
-
Page 8: Applying Power To The Power Supply Unit
Removable Power Supply and Fan Applying Power to the Power Supply Unit For an AC power supply unit To apply power to the PSU, plug the AC power cord that is provided into the power inlet on the faceplate of the PSU. Then connect the power cord to the main power supply. -
Page 9: Checking Leds
Installation Guide Ensure the circuit breaker for the supply circuit and the Run/Standby control on the PSU are off. Use a small diameter pin to press and release the Run/Standby control so that it is not pushed in (which is the Off position). - Page 10 Removable Power Supply and Fan Table 2: LEDs on the switch reporting PSU status State Description PSU 1 Green PSU 1 is installed and supplying power to the switch. The voltage output is within specification. One of the following: • PSU 1 is installed in the switch and has exceeded its recommended temperature threshold of 75º...
-
Page 11: Troubleshooting
Installation Guide Troubleshooting If the PSU does not function as expected: ■ check that all cable connections are correct and secure. ■ check that the standby switch has been pressed and is in the On position (DC models). ■ check that the PSU is receiving the correct AC voltage (AC models). ■... -
Page 12: Standards
Removable Power Supply and Fan Standards Products in this document meet the following standards: Category Approval Agency and Requirement UL60950-1 CAN/CSA-C22.2 No. 60950-1-03 EN60950-1 AS/NZS 60950 Electromagnetic Compliance FCC CFR47 Part 15 Class A EN55022 Class A VCCI Class A AS/NZS CISPR22 Class A CNS 13438 Class A EN61000-3-2/3... -
Page 13: Ec Declaration Of Conformity
Installation Guide EC Declaration of Conformity ALLIED TELESIS LABS LIMITED 27 NAZARETH AVENUE CHRISTCHURCH 8024 NEW ZEALAND Declare under our sole legal responsibility that the following product meets the safety, protection and conformity requirements of council directives 1999/5/EC 73/23/EEC and 89/336/EEC, as amended by 93/68/EEC, on the approximation of...


Need help?
Do you have a question about the x900 Series and is the answer not in the manual?
Questions and answers