
Subscribe to Our Youtube Channel
Related Manuals for Monte Carlo Fan Company 5CLR66XXD-L Series


Summary of Contents for Monte Carlo Fan Company 5CLR66XXD-L Series
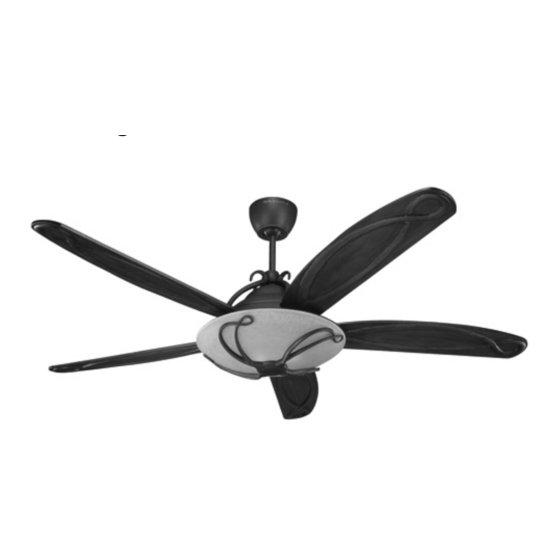
- Page 1 Owner’s Manual Ceiling Fan Installation Instructions For 5CLR66XXD-L Series Fans READ AND SAVE THESE INSTRUCTIONS Total fan weight with light 012610...
-
Page 2: Installation
Installation AFETY WARNING: TO REDUCE THE RISK OF FIRE, ELECTRIC SHOCK, OR INJUR Y TO PERSONS, OBSERVE THE FOLLOWING: READ AND SAVE THESE INSTRUCTIONS Installation work and electrical wiring must be done b y qualified person(s) in accordance with applicable codes and standards (ANSI/NFP A 70- 1999), including fire-rated construction. - Page 3 Secure mounting neck to the mounting plate Lift mounting neck to mounting Plate and align Remove keeper from cross pin and with 6 screws to become a complete mounting screws. then cross pin from y oke. Replace bracket. keeper on cross pin and sa ve. Loosen lock nuts and screws on y oke Loosen set screw that holds ball.
- Page 4 Place ball on downrod. R eplace pin Install canopy onto downrod. Thread leadwires and safety cable removed earlier and pull ball up so that through ball. the pin fits in the notches in the ball. Remote Transmitter Dip swtiches Remote Receiver Dip switches Set dip switches on the Remote Transmitter and Remote Receiver to the same settings.
- Page 5 Loosen 2 screws and remo ve 1 Align the blade and then the blade Lift canopy to ceiling aligning the k ey hole slots screw. Save screw removed. plate with castings on motor to with the screws on the bottom of the mounting bracket.
- Page 6 WALL MOUNT INSTALL Attach front cover to wall control with screws provided. Snap bat- tery cover in place. Install wall control unit to outlet bo x using machine screws provided.
-
Page 7: Fan Speed
Remote Control Transmitter Features: FAN REVERSE LED LIGHT (Press once to change direction of MEDIUM SPEED the fan)Fanmust be running to reverse. HIGH SPEED LOW SPEED FAN OFF SETTING LIGHT ON/OFF SET- (Turns fan off only) TING AND DIMMER (Press and hold to dim light infinitively) FAN SPEED Depress “l dot”... -
Page 8: Troubleshooting
Trouble Shooting If you have difficulty operating your new ceiling fan, it ma y be the result of incorrect assembly , installation, or wiring. In some cases, these installation errors ma y be mistaken for defects. If y ou experience any faults, please check this Trouble Shooting Chart. -
Page 9: Manuel De L'utilisateur
manuel de l´utilisateur Instructions pour l´installation d´un ventilateur de plafond Por 5CLR66XXD-L Serie Ventilateurs LIRE ET GARDER CES INSTRUCTIONS Poids total du ventilateur et du kit d’éclairageht... -
Page 10: Outils Requis
Installation Conseils de sécurité ATTENTION : SUIVRE CES CONSEILS AFIN DE RÉDUIRE LES RISQUES D’INCENDIE, D’ÉLECTROCUTION OU DE BLESSURE. 1. L’installation et le câblage électrique doiv ent être exécutés par une ou plusieurs personnes qualifiées, conformément à tous les codes et normes (ANSI/NFP A 70-1996) applicables, y compris la construction anti-incendie. - Page 11 Attacher le col de montage à la Soulever le col de montage et le Enlever la pince d’arrêt de la plaque de montage avec les 6 vis placer contre la plaque de montage ; goupille, retirer la goupille et replac - pour former un support de montage aligner les vis.
- Page 12 Monter la bille sur la tige descendante. Placer la monture sur la tige descen - Enfiler les fils et le câble de sûreté Remettre en place la goupille enlevée dante. par la sphère. précédemment de manière à ce qu’elle pénètre dans les fentes de la bille. Commutateurs DIP de l’émetteur de télécommande...
- Page 13 Inspecter le moteur pour trouv er des pattes stabilisatrices en plastique pour le Installez la garniture au plafond et alignez les trous piriformes avec les vis sur la partie transport, et les enlever.Lame d'attache Desserrer deux vis et retirer une vis. inférieure du support de suspension.
- Page 14 LE BÂTI DE MUR INSTALLENT Attachez le couvercle d’interrupteur Reliez l’interrupteur de commande avant à l’interrupteur de commande murale à la boîte de sortie de murale à l’aide des vis fournis à cet courant à l’aide des vis mécaniques effet. fournis à...
- Page 15 Dispositifs D'Émetteur De Télécommande : ÉVENTEZ L'INVERSE (la LUMIÈRE DE LED pression une fois pour changer la direction du VITESSE MOYENNE fan)avec le fonction- nement de ventilateur. À GRANDE À VITESSE VITESSE RÉDUITE ÉVENTEZ OUTRE DU ARRANGEMENT ET RÉGLAGE (ventila- GRADATEUR teur de tours au loin "marche/arrêt"...
-
Page 16: Guide De Dépannage
guide de dépannage Si vous éprouvez des difficultés à faire fonctionner v otre nouveau venilateur, il se peut que celui-ci ait été mal monté, installé ou branché. Dans certains cas, de telles erreurs d´installation peuv ent être prises pour des défectuisités. En cas de problémes, veuillez consulter ce Guide de dépannage. -
Page 17: Key Holes
6/21/06 REV.0 New made from 5GMR manual Aug.13.09 6 set screws instead of 4 Jan.25.10 Key holes...
Need help?
Do you have a question about the 5CLR66XXD-L Series and is the answer not in the manual?
Questions and answers