Advertisement
Advertisement
Table of Contents

Subscribe to Our Youtube Channel
Related Manuals for Bissell POWERWASH LIFT-OFF 1190


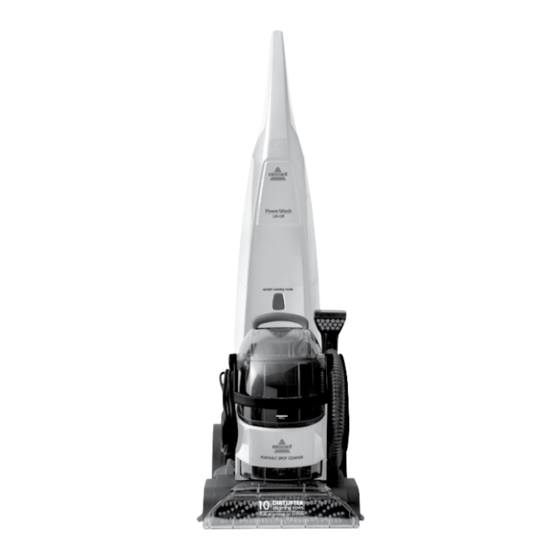
Summary of Contents for Bissell POWERWASH LIFT-OFF 1190
-
Page 2: Important Safety Instructions
» Use only the type and amount of liquids ONLY ON SURFACES MOISTENED BY THE CLEANING specified under the Operations section of PROCESS. USE ONLY BISSELL CLEANING PRODUCTS this guide. INTENDED FOR USE WITH THIS MACHINE. » Do not leave appliance when plugged in. -
Page 3: Symbol Definitions
Your BISSELL deep cleaner is well made, and we back it with a limited two-year guarantee. We also stand behind it with a knowl- edgeable, dedicated Consumer Care department, so, should you ever have a problem, you’ll receive fast, considerate assistance. -
Page 4: Assembly Instructions
2 screws into guiding the 2 posts on the screws into the marked the marked outermost holes body into the opening on holes at an upward angle under the support handle. the upper handle. above the support handle. www.BISSELL.com... - Page 5 Manufacturer’s tag www.BISSELL.com...
- Page 6 The BISSELL cleaning fluids intended for use with Heatwave Technology automatically turns on when machine is turned on. Heatwave the deep cleaner.
-
Page 7: Before You Clean
C-2. ATTENTION To reduce the risk of fire, use only BISSELL deep cleaning formula for full size machines in your Some Berber carpets have a tendency to fuzz with wear. deep cleaner. Use of cleaning formulas that... -
Page 8: Cleaning Your Machine
Machine is now ready to be stored. NOTE: Store cleaner in a protected, dry area. Since product uses water, it must not be stored where there is a danger of freezing. Freezing will damage internal components and void the guarantee. www.BISSELL.com... -
Page 9: Preparing The Machine
4. Using brush on tool, gently scrub the area to be cleaned. 5. Apply downward pressure on tool and pull it toward you. The suction will remove dirt and cleaning solution. Continue until no more dirt can be removed. www.BISSELL.com... -
Page 10: Care, Maintenance & Storage
7. Re-attach end cap by tightening with (3) black screws. 8. Replace nozzle assembly back onto machine. Refer to step 2 in section C-5. For questions or assistance installing or replacing belt(s) or brushes, please call BISSELL Consumer Care. www.BISSELL.com... -
Page 11: Troubleshooting
Follow instructions in section D-1 Please do Other maintenance or service not included in the manual should not return be performed by an authorized service representative. Thank you for selecting a BISSELL product. this product to the store. www.BISSELL.com... -
Page 12: Consumer Care
NOT EXCEED THE PURCHASE PRICE OF THE PRODUCT. Consumer Care or contact your local distributor. BISSELL DOES NOT EXCLUDE OR LIMIT IN ANY WAY ITS LIABILITY FOR This Guarantee is given to the original purchaser of the product from (A) DEATH OR PERSONAL INJURY CAUSED BY OUR NEGLIGENCE OR THE new and is not transferable.
Need help?
Do you have a question about the POWERWASH LIFT-OFF 1190 and is the answer not in the manual?
Questions and answers