Table of Contents
Advertisement
Quick Links
Operating and Installation Instructions
(Read these instructions carefully and retain for future reference)
A qualified electrician must carry out the electrical installation of this radiator. The Electrical
installation must comply with the current UK regulations. Any claim on the warranty could be
invalid if these requirements have not been met.
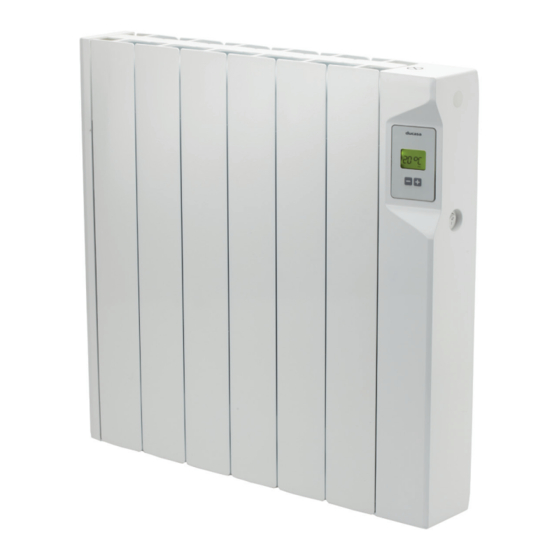
AVANT–DGS
Thermal Electric Radiator
Models:
AVANT-DGS 350
AVANT-DGS 500
AVANT-DGS 800
AVANT-DGS 1000
AVANT-DGS 1300
AVANT-DGS 1500
AVANT-DGS 1800
NOTE:
1
Advertisement
Table of Contents

Related Manuals for Ducasa AVANT-DGS 350


Summary of Contents for Ducasa AVANT-DGS 350
- Page 1 AVANT–DGS Thermal Electric Radiator Operating and Installation Instructions (Read these instructions carefully and retain for future reference) Models: AVANT-DGS 350 AVANT-DGS 500 AVANT-DGS 800 AVANT-DGS 1000 AVANT-DGS 1300 AVANT-DGS 1500 AVANT-DGS 1800 NOTE: A qualified electrician must carry out the electrical installation of this radiator. The Electrical installation must comply with the current UK regulations.
- Page 2 CONTENTS General / Important Information Page 2 Installation Instructions Page 4 Electrical Power Supply Location of Radiator Mounting of Radiator Operating Instructions Page 7 Controls Switching On Setting the temperature Selection Of Mode Programming Keypad Locking (Anti-Tamper) Maintenance and Guarantee Page 8 GENERAL INFORMATION The Avant DGS has a special cast aluminium body specifically designed to assure maximum rate of heat radiation;...
- Page 3 Technical Data Power Rating MODEL Number Of Fins Size (mm) Net Weight (Kg.) Avant-DGS 350 340 x 580 x 100 Avant-DGS 500 420 x 580 x 100 Avant-DGS 800 580 x 580 x 100 Avant-DGS 1000 1000 740 x 580 x 100...
-
Page 4: Electrical Connection
Location The ideal place to site the Ducasa radiator is as close as possible to coolest wall in the room but it is not recommended to site the radiator on un-insulated exterior walls, in this case, the part of the wall behind the radiator should be insulated. - Page 5 Mounting The Radiator Place the radiator on the floor, as shown in Figure 1. For radiators with 4, 6, 8 or 10 elements position the supports supplied with the radiator as shown in Figure 1. For radiators with 12 elements the supports should be positioned between the second and third elements on both sides.
- Page 6 As soon as the radiator is hanging on the supports press on the locking plate until a click is heard. See Figure 4. The radiator is now installed. Fig. 4 FREE LOCKED...
- Page 7 OPERATING INSTRUCTIONS Controls The control of the room temperature is by means of an electronic thermostat in the control unit on the right hand side of the radiator. The panel consist of two push-buttons and an LCD display. There is also a main On-Off switch on the right hand side of the control panel.
- Page 8 MAINTENANCE AND CARE Ducasa radiators require very little maintenance. The surfaces of the radiator must not be cleaned with an abrasive product or those containing granular substances. We recommend regular cleaning with PH neutral products. In order to clean the radiator, it is recommended that the electric power is switched off.
Need help?
Do you have a question about the AVANT-DGS 350 and is the answer not in the manual?
Questions and answers