Table of Contents
Advertisement
Quick Links
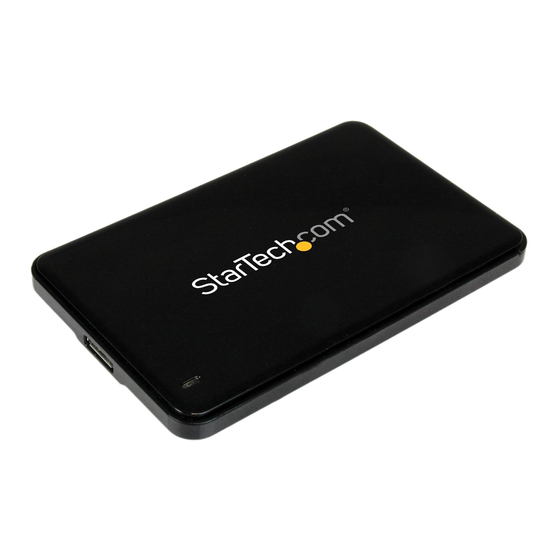
USB 3.0 to 7mm high 2.5in SATA III
Hard Drive Enclosure w/ UASP
S2510BPU337
DE: Bedienungsanleitung - de.startech.com
FR: Guide de l'utilisateur - fr.startech.com
ES: Guía del usuario - es.startech.com
IT: Guida per l'uso - it.startech.com
NL: Gebruiksaanwijzing - nl.startech.com
PT: Guia do usuário - pt.startech.com
For the most up-to-date information, please visit: www.startech.com
Manual Revision: 01/15/2014
*actual product may vary from photos
Advertisement
Table of Contents

Related Manuals for StarTech.com S2510BPU337


Summary of Contents for StarTech.com S2510BPU337
- Page 1 DE: Bedienungsanleitung - de.startech.com FR: Guide de l'utilisateur - fr.startech.com ES: Guía del usuario - es.startech.com IT: Guida per l'uso - it.startech.com NL: Gebruiksaanwijzing - nl.startech.com PT: Guia do usuário - pt.startech.com For the most up-to-date information, please visit: www.startech.com Manual Revision: 01/15/2014...
- Page 2 StarTech.com. Where they occur these references are for illustrative purposes only and do not represent an endorsement of a product or service by StarTech.com, or an endorsement of the product(s) to which this manual applies by the third-party company in question.
-
Page 3: Table Of Contents
Table of Contents Product Diagram..............1 Front View........................1 Rear View........................1 Introduction............... 2 Packaging Contents....................2 System Requirements....................2 Hardware Installation............3 How to Use................5 Specifications..............8 Technical Support..............9 Warranty Information............9 Instruction Manual... -
Page 4: Product Diagram
Product Diagram Front View Enclosure Cover Lock/Release switches Rear View Power/Activity USB 3.0 Micro Type B port Instruction Manual... -
Page 5: Introduction
Introduction Packaging Contents • 1x USB 3.0 to 2.5” SSD/HDD Enclosure • 1x USB 3.0 Cable • 1x Installation pad for 5mm drives • 1x Install Guide System Requirements • Computer system with available USB 3.0 (5 Gbit/s) port or USB 2.0 port (480Mbps) •... -
Page 6: Hardware Installation
Hardware Installation WARNING! Hard drives and storage enclosures require careful handling, especially when being transported. If you are not careful with your hard disk, lost data may result. Always handle your hard drive and storage device with caution. Be sure that you are properly grounded by wearing an anti-static strap when handling computer components or discharge yourself of any static electricity build-up by touching a large grounded metal surface (such as the computer... - Page 7 3. Connect your 2.5” SATA SSD/HDD to the SATA connector on the drive tray. Note: The enclosure tray has built-in drive positioning pegs, to help ensure the drives proper position within the housing. Ensure the drive is aligned with these pegs before attempting to replace the cover.
-
Page 8: How To Use
4. Place the top cover back into the drive tray in the same manor it was removed, and slide each of the cover Lock/Release switches back to the inside of the enclosure toward the lock indicator. 5. Complete installation by connecting the included USB cable from the USB 3.0 Micro type B port on the enclosure to an available USB port on the computer system. -
Page 9: Powering The Drive Enclosure
Powering the Drive Enclosure The hard drive enclosure requires no external power supply, as it is capable of receiving enough power from the USB Bus to which it is connected. LED Indicator The hard drive enclosure offers an LED indicator, to enable you to monitor drive activity. -
Page 10: Initializing The Hard Drive
all windows are closed, click on the USB storage icon on the desktop, and drag it to the Trash Can icon on the desktop. Allow 5 seconds before physically removing the enclosure/drive from the computer. Initializing the Hard Drive 1. If the SATA Hard Drive is blank it may need to be initialized and formatted before use. -
Page 11: Specifications
4. Follow the on screen prompts to initialize the drive in the format of your choice. Specifications Host Interface USB 3.0 External Connectors 1 x USB 3.0 Micro B 1 x 15 pin SATA Power female Internal Connectors 1 x 7 pin SATA Data male Maximum Data Transfer USB 3.0: 5 Gbit/s Rate... -
Page 12: Technical Support
Limitation of Liability In no event shall the liability of StarTech.com Ltd. and StarTech.com USA LLP (or their officers, directors, employees or agents) for any damages (whether direct or indirect, special, punitive, incidental,... - Page 13 Hard-to-find made easy. At StarTech.com, that isn’t a slogan. It’s a promise. StarTech.com is your one-stop source for every connectivity part you need. From the latest technology to legacy products — and all the parts that bridge the old and new — we can help you find the parts that connect your solutions.
Need help?
Do you have a question about the S2510BPU337 and is the answer not in the manual?
Questions and answers