Advertisement
Quick Links
Download this manual
See also:
User Manual
QUICK START GUIDE
PACKAGE CONTENTS:
Printer
USB cable
CD ROM
(Including user's guide and driver)
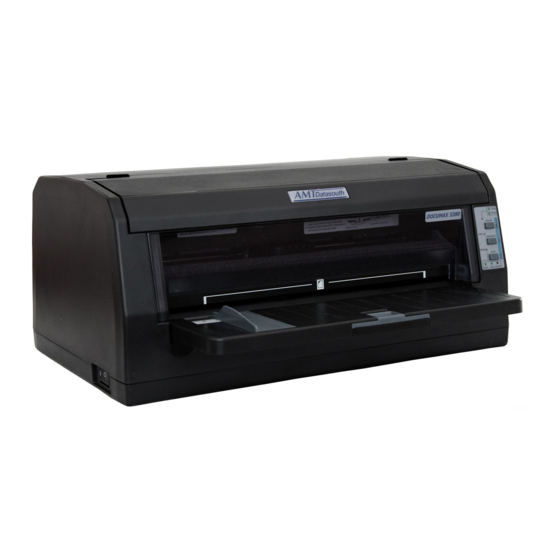
PRINTER OVERVIEW:
Front
Ribbon cartridge
Power switch
Paper guide
Rear
Paper select lever
UP Position ~ Cut Sheet
DOWN Position ~ Tractor Feed
http://www.amtdatasouth.com/support-1/downloads/
Documax 5380
Paper Support
Ribbon Cartridge
Power Cord
Quick Start Guide
Top Cover
Gap adjust lever
Control panel
Pinch roller
assembly
Paper support
Print head
Ethernet interface
USB interface
AC power inlet
Serial interface
Tractor
February 2013
INSTALLATION:
Paper Support
Ribbon
Ribbon cartridge
Print head
Ribbon guide
Doc #131024C
Top Cover
Installing the Paper Support
As shown to the left, open the Top Cover
and align tabs A,B,C of the support tray
over the corresponding slots on the
printer. Press downward on the Paper
Support until tabs A,B,C are completely
locked into place.
Paper support
Installing the Ribbon
1. Turn off the printer, open the
1
top cover, make sure the print
head is cool and slide the
carrier to the middle of the
6
printer.
2. Adjust the Gap Lever to the
2
highest position (#9).
3. Pull out the Pinch Roller
Assembly and rotate it upward
to expose the print head
assembly.
4
5
4. Lock the ribbon cartridge into
3
the printer chassis.
5. Carefully slide the plastic
Ribbon mask
Ribbon Guide holes onto the
left and right carrier pins.
6. Rotate the ribbon feed knob in
the direction of the arrow to
remove any slack.
Advertisement

Related Manuals for AMT Datasouth Documax 5380


Summary of Contents for AMT Datasouth Documax 5380
-
Page 1: Quick Start Guide
QUICK START GUIDE Documax 5380 PACKAGE CONTENTS: INSTALLATION: Paper Support Top Cover Paper Support Installing the Paper Support Printer Ribbon Cartridge As shown to the left, open the Top Cover and align tabs A,B,C of the support tray over the corresponding slots on the USB cable printer. -
Page 2: Control Panel
2 mode. (green) 4. Once the install is complete, open the Devices mode. and Printers window from the PC Start button. 5. Right-click on the Documax 5380 icon and The printer is The printer is in The printer is in SPEED select Printer Properties.
Need help?
Do you have a question about the Documax 5380 and is the answer not in the manual?
Questions and answers