
Related Manuals for Axkid Rekid


Summary of Contents for Axkid Rekid
- Page 1 Instruction manual Rekid Rear-facing 9-18 kg Rear-facing 9-25 kg installed with ISOfix installed with vehicle seat belt Tested and approved according to ECE R44 / 04 ISOfix size C/R3...
-
Page 2: Important Information
Do not use a child restraint in a seating position where an active airbag is fitted. If you still wish to install the Rekid in this location the airbag must be disconnected at an authorised service centre. - Page 3 A description of the Rekid’s different parts can be found on next page. On the following pages you will find instructions on how to install your Rekid.
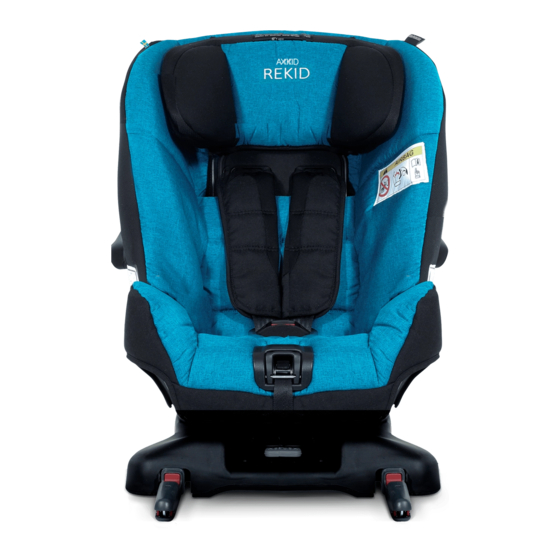
- Page 4 1. Parking brake neckrest 10. Adjustors for support leg 2. Adjustable Headrest 11. Heels 3. Internal harness 12. Pocket for storage of instruction 4. Harness adjustment button manual 5. Recline adjustment lever 13. Adjustor for ISOfix 6. Base 14. Belt lock-off 7.
- Page 5 Placing the child restraint The easiest way to lift the Rekid into the ve- hicle is with its back first. To begin push and hold the adjustor for ISOfix(1). Now you should be able to unfold the ISOfix arms (2).
- Page 6 Please note that once the installation of the Rekid is complete, it will be somewhat more reclined as it sinks into the vehicle’s seat when tightening seat belts and tether straps.
- Page 7 Continued on next page...
- Page 8 Continued on next page...
- Page 9 When installing Rekid in the front passenger seat the tether straps must be attached to the front gliding tracks so the tether points will be located along the front edge of the passenger seat.
- Page 10 If you have installed Rekid in the back seat you can now move the front seat to a com- fortable position. The back of the child re- straint can, but is not necessary, be in con- tact with the back of the front seat.
-
Page 11: Seat Belt
Important to remember Do not use a child restraint in a seating position where an active airbag is fitted. If you still wish to install your Rekid in this location the airbag must be disconnected at an authorized service centre. Some... - Page 12 Bear in mind that once the installation of the Rekid is complete, it will be somewhat more reclined as it sinks into the ve- hicle’s seat from tightening seat belts and tether straps.
- Page 13 This needs to be repeated on both sides to create two anchor points. When install- ing Rekid in the front passenger seat the tether straps must be attached to the front gliding tracks so the tether points will be located along the front edge of the passenger seat.
- Page 14 If you have installed Rekid in the back seat you can now move the front seat to a com- fortable position. The back of the child re- straint can, but is not necessary, be in contact with the back of the front seat.
- Page 15 On www.axkid.com you could find videos explaining how to deattach and attach the clothing. Any plastic parts of Rekid can be cleaned with mild detergent and water. Do not use aggressive chemicals containing solvents etc, as this can cause damage to the plastic and compromise the safety of the child restraint.
Need help?
Do you have a question about the Rekid and is the answer not in the manual?
Questions and answers