Table of Contents
Advertisement
Advertisement
Table of Contents

Subscribe to Our Youtube Channel
Related Manuals for Gree GJC07AA-E3MNC1A


Summary of Contents for Gree GJC07AA-E3MNC1A
-
Page 1: Service Manual
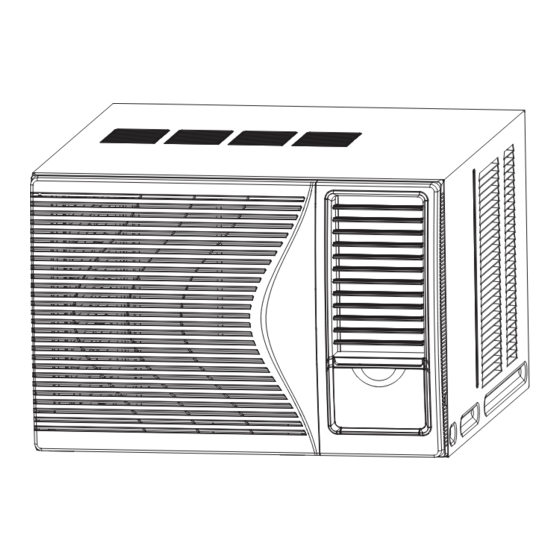
Change for Life Service Manual GREE ELECTRIC APPLIANCES,INC.OF ZHUHAI... - Page 24 Top View Front View Side View...
- Page 25 CENTRIFUGAL AXIAL FAN OR CROSS FAN COOLED AIR HOT DISCHARGED AIR COMPRESSOR OUTDOOR COILS INDOOR COILS CAPILLARY REFRIGERANT FLOW DIRECTION...
- Page 26 BN(BK) BU(WH) MAIN SWITCH YEGN(GN) YEGN FAN MOTOR POWER CAP. CAP. C2 W4YE W3RD SWING SWITCH SWING MOTOR R(M) YEGN COMP COMP. W5BK(RD)(BN)(BU) THERMOSTAT OVERLOAD PROTECTOR...
- Page 27 BN(BK) BU(WH) YEGN(GN) MAIN SWITCH YEGN MOTOR POWER CAP. CAP. SWING SWITCH SWING MOTOR R(M) COMP YEGN COMP. BK(RD) THERMOSTAT OVERLOAD PROTECTOR BN(BK) BU(WH) YEGN(GN) MAIN SWITCH YEGN MOTOR POWER CAP. CAP. SWING SWITCH SWING MOTOR R(M) COMP YEGN COMP. BK(RD) THERMOSTAT...
- Page 28 BN(BK) BU(WH) MAIN SWITCH YEGN YEGN(GN) MOTOR POWER TERMINAL BOARD CAPACITOR BK RD CAPACITOR SELECT SWITCH SWING MOTOR R(M,V) S(W,X) YEGN COMPRESSOR C(T,U) THERMOSTAT BN(BK) BU(WH) FAN MOTOR YEGN(GN) MAIN SWITCH YEGN TERMINAL BOARD CAP. CAP. SWING MOTOR COMP S(W,X) R(M,V) YEGN SELECT SWITCH...
-
Page 29: Fan Motor
MAIN SWITCH YELLOW/GREEN FAN MOTOR POWER SUPPLY CORD RED BROWN WHITE LOW COOL MED COOL HIGH COOL TERMINAL BOARD BLUE CAPACITOR YELLOW BLACK BLUE SELECT SWITCH CAPACITOR AIR SWING MOTOR BLUE YELLOW WHITE BLACK BLACK BLUE R(M) S(W) COMPRESSOR THERMOSTAT C(T) BN(BK) BU(WH) - Page 30 BN(BK) BU(WH) MAIN SWITCH YEGN YEGN(GN) MOTOR POWER TERMINAL CAPACITOR BOARD BK RD CAPACITOR SELECT SWITCH SWING MOTOR R(M,V) S(W,X) YEGN COMPRESSOR C(T,U) THERMOSTAT...
- Page 31 1. Main Conreol Panle Air Swing Air Swing Switch AIR SWING THERMOSTAT LOW COOL COOL Stop the operation of Air Swing. HIGH COOL Air Swing is in operation.(only for LOW COOL, MED COOL and HIGH COOL operation) Low fan speed operation Main Control Knob LOW COOL Fan all operation...
- Page 34 Horizontal line 6-10mm Wall Sunshade baffle Wooden frame Rubber plate 6-10mm Support Horizontal line...
- Page 36 Troubleshooting for temperature sensor the wiring terminal between the temperature sensor and the controller loosened or poorly contacted? Insert the temperature sensor tightly Is malfunction eliminated Is there short circuit due to trip - over of the parts? Make the parts upright Is malfunction eliminated Is the...
- Page 56 42 41...
- Page 58 43 42...
- Page 60 43 42...
- Page 62 y z PRT_CSYS_DEF 43 42...
- Page 64 44 43...
- Page 66 44 43...
- Page 72 Procedure Steps Remove panel assy Open the air-inlet panel; remove the filter; remove the screws in the middle, at the left side and right side of the panel; beat the clasp of cabinet slightly air-inlet panel and then remove the panel. filter screw Remove cabinet...
- Page 73 Steps Procedure screw Remove electric box Remove the knob; remove the remote control cover; remove the screws of electric box; disconnect the temperature sensor of evaporator; pull knob screw out the electric box. electric box...
- Page 74 Steps Procedure top cover sub-assy Remove top cover Remove the screws fixing top cover and then remove the top cover. Remove cross beam, swing louver and air door lever Take out the cross beam; take out the swing louver; remove the screws fixing cross beam air door lever and then remove the air swing louver...
- Page 75 Steps Procedure Remove evaporator Unsolder each connection pipe (Note: discharge the refrigerant completely before unsoldering). Remove the screws fixing evaporator and then remove the evaporator. screw evaporator Remove condenser Unsolder each connection pipe (Note: discharge the refrigerant completely before unsoldering). Remove the screws fixing condenser and then screw condenser...
- Page 76 Steps Procedure Remove axial flow blade Remove the nut of axial flow blade; remove the washer and then remove the axial flow blade. axial flow blade Remove centrifugal blade Remove the nut of centrifugal blade and then remove the centrifugal blade. centrifugal blade...
- Page 77 Steps Procedure Remove motor Remove the screws of motor support; take out the motor support; remove the screws of motor and then remove the motor. motor screw Remove compressor Unsolder each connection pipe (Note: discharge the refrigerant completely before unsoldering). Remove the 3 foot nuts of compressor and then remove the compressor.
Need help?
Do you have a question about the GJC07AA-E3MNC1A and is the answer not in the manual?
Questions and answers