Page 1
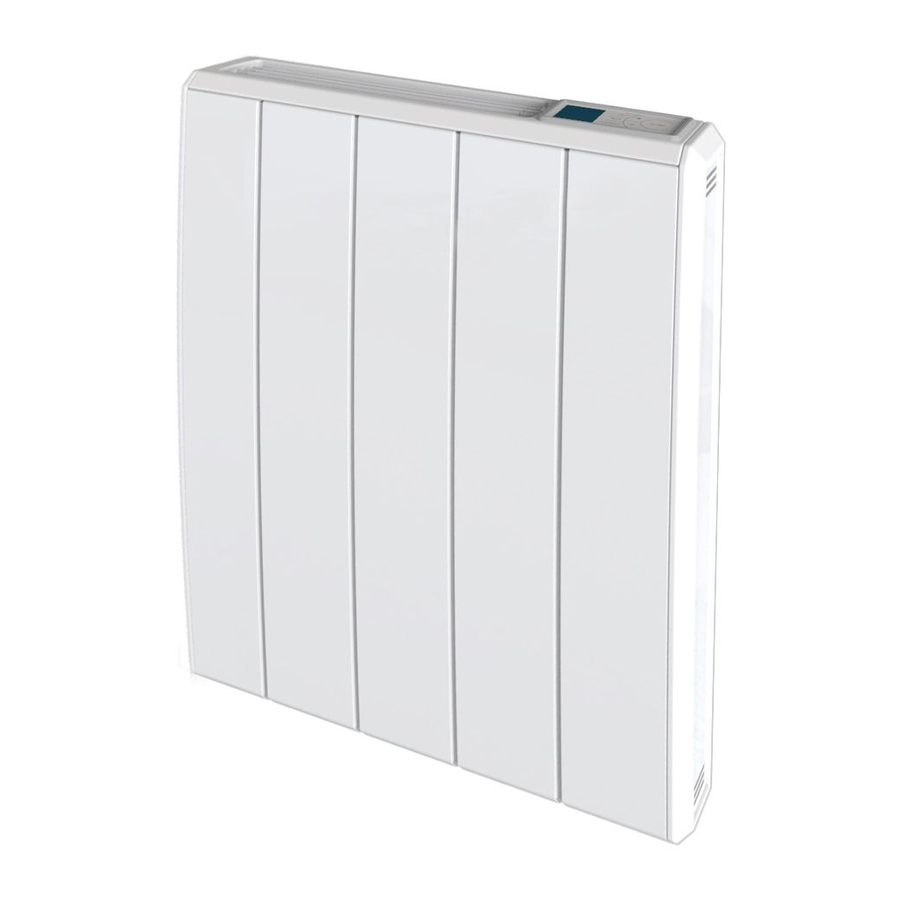
OPERATING INSTRUCTIONS MANUAL Q-Rad Electric Radiator QRAD200 Models: QRAD050 / QRAD075 QRAD100 QRAD150 These instructions should be read carefully and retained for future use. Note also the information presented on the appliance. INDEUKE3RG ISSUE 2...
Page 2
IMPORTANT These instructions should be read carefully and retained for future use. Note also the information presented on the appliance. IMPORTANT SAFETY ADVICE When using electrical appliances, basic precautions should always be followed to reduce the risk of fire, electrical shock, and injury to persons, including the following: IMPORTANT –...
Page 3
3mm. Pilot Wire Connection The BLACK control wire is designed to carry a signal from a wall mounted Dimplex programmer. If a programmer is not being used, the pilot wire should be isolated in accordance with the current IEE Wiring Regulations.
Raise the heater to upright position and push the heater onto bracket to engage top latches. Dimensions Model(s) Watt (kW) A (mm) QRAD050 0.50 kW QRAD075 0.75 kW QRAD100 1.0 kW QRAD150 1.5 kW QRAD200 2.0 kW...
Page 5
Fig. 1 Fig. 2 150 mm (Min) Shelf 546 mm 300 mm 105 mm 150 mm (Min) Fig. 3 Model (s) A (mm) QRAD050 QRAD075 QRAD100 QRAD150 QRAD200 275 mm 294 mm (Min) 260 mm (Min)
Pilot wire mode must be enabled in the heater’s settings in order for the appliance to be controlled by a Dimplex controller with pilot wire connection. Press Menu, Back and Enter for ten seconds to enter the service menu, select Pilot Wire and press Enter.
Page 7
Energy saving features The Dimplex Q-Rad Electric Radiator has many features which are designed to save you money. It has a self-learning capacity, constantly monitoring the effect that its actions have on the room temperature.
Page 8
Quick Start Guide This guide is for quick reference only. Please refer to the operating section for further information. How Does the Heater Control Work? The control allows you to choose when you want heat and at what temperature. When using a timer mode (see below), Comfort On will display on the home screen to tell you when the heater is maintaining the temperature displayed.
Page 9
Which Timer Mode is Best for Me? The heater leaves the factory set in Out All Day mode. If you are out during the day and only require heat in the mornings and evenings then this mode will suit your lifestyle and you won’t need to alter anything. If you are in during the day then you should select the Home All Day mode which is a single heating period.
Operation The controls are located on the top right of the heater. The heater is fitted with an adjustable electronic controller consisting of a display screen and six touch sensitive buttons. Display Screen ‘Menu’ Button ‘Back’ Button ‘Up and Down’ Arrows ‘Enter’...
Control Functions The heater controls can be easily adjusted by using the six buttons on the User Interface. The Display Screen shows the options available at each stage of adjustment. Menu – displays the main options list; Date/Time – Set the date and time. Mode –...
Main Screen After 30 seconds of inactivity the heater will default back to the Main Screen. Here the chosen temperature is displayed along with the mode of operation. Any use of the Advance function will be displayed here, and pressing Enter will show the functions which are enabled.
Modes of Operation The heater comes pre-programmed with a set of heating profiles. There are four options available - three preset and one user adjustable timer; 1. Out Day (pre-programmed) - has the following preset times Monday to Sunday, which can be altered if desired; 07.00 until 08.30 17.30 until 22.00 2.
Page 14
Choosing and Setting a Mode Timer Modes To choose a timer mode press Menu and to select Mode, then press Enter. Now select Timer Mode, again using the Enter button. Select the mode required, by pressing the and Enter buttons. For options Out All Day, Home All Day and User Timer, three choices are available - Select, Preview and Modify.
Page 15
If EcoStart control is disabled, the heater will not operate until the beginning of the heating period. This should be taken into consideration when setting the heating periods (See note below and page 17). In Holiday mode the number of days that the room will be unoccupied can be adjusted together with the required room temperature.
Page 16
Advance The Advance function allows the heating profile of the appliance to be changed temporarily. When Advance a timer has been selected, the Advance function is used to begin the next Comfort On mode early. Home All Day If the heater is in Comfort Off mode and heat is Comfort On required, press the Advance button.
Child Lock To lock the controls press Back and Enter for three seconds. Child Lock will appear at the bottom of the screen. To unlock the control repeat the action of pressing Back and Enter for three seconds. NOTE: The controls cannot be adjusted when child lock is active.
Energy Saving Tips The energy we use to heat, light and power our Treat your hot water tank... homes contributes over a quarter of the UK’s give it a jacket An insulating jacket for hot carbon emissions, the principle contributor to water tanks costs only a few pounds and pays climate change.
Page 19
It is us by e-mail at aftersales@dimplex.co.uk or call however advisable to keep the room well 0844 879 3588. For ROI please call 01 842 8222.
Need help?
Do you have a question about the QRAD050 and is the answer not in the manual?
Questions and answers