Makita EX2650LH Instruction Manual
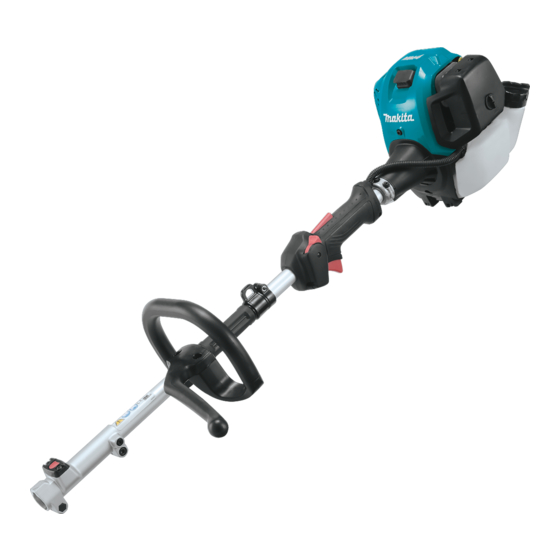
Multi function power head
Hide thumbs
Also See for EX2650LH:
- Original instruction manual (212 pages) ,
- Instruction manual (172 pages) ,
- Owner's and safety manual (76 pages)
Table of Contents
Advertisement
Advertisement
Table of Contents

Related Manuals for Makita EX2650LH


Summary of Contents for Makita EX2650LH
- Page 1 Multi Function Power Head EX2650LH INSTRUCTION MANUAL Original Instruction Manual EX2650LH WARNING: Read this instruction manual carefully before putting the Multi Function Power Head into operation and strictly observe the safety regulations! Save instruction manual for future reference.
-
Page 2: Table Of Contents
Thank you very much for purchasing the MAKITA Multi Function Power Head. Table of Contents Page We are pleased to recommend to you the MAKITA Multi Function Power Head Symbols .................2 which is the result of a long development programme and many years of Safety instructions ............3... -
Page 3: Safety Instructions
Intended use of the machine This multi function power head is intended for driving an approved attachment listed in this instruction manual. Never use the machine for the other purpose. SAFETY INSTRUCTIONS General instructions To ensure correct operation, user has to read this instruction manual to make himself familiar with the handling of the Multi Function Power Head. - Page 4 Start the Multi Function Power Head only in accordance with the instructions. Do not use any other methods for starting the engine! Use the Multi Function Power Head and the tools only for such applications as specified. Only start the Multi Function Power Head engine, after the entire assembly is done.
-
Page 5: Maintenance Instructions
Authorized Service Agent. Use only genuine spare parts and accessories released and supplied by MAKITA. Use of non-approved accessories and tools means increased risk of accidents. MAKITA will not accept any liability for accidents or damage caused by the use of non-approved attachments and fixing devices of attachments, or accessories. -
Page 6: Ec Declaration Of Conformity
EC DECLARATION OF CONFORMITY We Makita Corporation as the responsible manufacturer declare that the following Makita Machines: Designation of Machine: Multi Function Power Head Model No./ Type: EX2650LH Specifications: see “TECHNICAL DATA EX2650LH” table are of series production and Conforms to the following European Directives:... -
Page 7: Technical Data
TECHNICAL DATA EX2650LH EX2650LH Model Loop handle Dimensions: length x width x height (without cutting blade) 975 x 323 x 241 with barrier Dimensions: length x width x height (without cutting blade) 975 x 242 x 241 without barrier Mass (without plastic guard and cutting blade) -
Page 8: Approved Attachments
Noise Sound pressure level average Sound power level average Applicable standards Attachment Uncertainty K Uncertainty K PA eq WA eq EM400MP 95.0 105.5 ISO 22868 EM401MP 89.9 99.7 ISO 22868 ER400MP 97.9 106.2 ISO 22868 EY400MP 93.0 104.5 ISO 22868 EY400MP + LE400MP 90.3 107.8... -
Page 9: Designation Of Parts
DESIGNATION OF PARTS EX2650LH DESIGNATION OF PARTS Fuel tank Rewind starter Air cleaner I-O switch (on/off) Exhaust muffler Clutch case Rear grip Hanger Handle Throttle lever Lock-off lever Control cable Shaft Fuel filler cap Starter knob Exhaust pipe Oil cap... -
Page 10: Mounting Of Handle
MOUNTING OF HANDLE CAUTION: Before doing any work on the Multi Function Power Head, always stop the engine and pull the spark plug connector off the spark plug. Always wear protective gloves! CAUTION: Start the Multi Function Power Head only after having assembled it completely. -
Page 11: Disassembling
DISASSEMBLING Loosen lever. Press button and extract attachment. (As much as possible, try to extract the attachment in a straight line.) Note: Do not leave the lever in a tightened state when attachment is not attached. -
Page 12: Before Start Of Operation
BEFORE START OF OPERATION Inspection and refill of engine oil Perform the following procedure, with the engine cooled down. Set the engine level, remove oil cap (Fig. 1), and check to see whether or not there is oil in the range between the upper limit and lower limit marks of the oil pipe (Fig. - Page 13 Note • Do not replace oil with the engine in a tilted position. • Filling with oil while engine is tilted leads to overfilling which causes oil contamination and/or white smoke. Point 2 in Replacement of oil: “If oil spills out” If oil spills out between the fuel tank and engine main unit, the oil is sucked into through the cooling air intake port, which will contaminate the engine.
-
Page 14: Correct Handling Of Machine
CORRECT HANDLING OF MACHINE Attachment of shoulder strap Adjust the strap to the suitable length for your operation. Detachment In an emergency, push the notches (1) at both sides, and you can detach the machine from you. Be extremely careful to maintain control of the machine at this time. Do not allow the machine to be deflected toward you or anyone in the work vicinity. - Page 15 Primer pump Primer pump Continue to push the primer pump until fuel enters into the primer pump. (In general, fuel enters into the primer pump by 7 to 10 pushes.) If the primer pump is pushed excessively, an excess of gasoline returns to the fuel tank.
- Page 16 STOPPING 1) Release the throttle lever (2) fully, and when the engine rpm has lowered, set the I-O switch to STOP the engine will now stop. 2) Be aware that the attachment may not stop immediately and allow it to slow down fully.
-
Page 17: Servicing Instructions
SERVICING INSTRUCTIONS CAUTION: Before doing any work on the Multi Function Power Head, always stop the engine and pull the plug cap off the spark plug (see “checking the spark plug”). Always wear protective gloves! Never use gasoline, benzine, thinner, alcohol or the like. Discoloration, deformation or cracks may result. To ensure a long service life and to avoid any damage to the equipment, the following servicing operations should be performed at regular intervals. - Page 18 5) Set the engine level, and gradually fill up to upper limit mark with new oil. External mark (upper limit) 6) After filling, tightly secure oil cap, so that it will not loosen and cause leaks. If oil cap is not tightly secured, it may leak. External mark Internal stepped (lower limit)
- Page 19 CHECKING THE SPARK PLUG Only use the supplied universal wrench to remove or to install the spark plug. The gap between the two electrodes of the spark plug should be 0.7 - 0.8 mm (0.028” - 0.032”). If the gap is too wide or too narrow, adjust it. If the spark plug is clogged or contaminated, clean it thoroughly or replace it.
-
Page 20: Storage
STORAGE WARNING: When draining the fuel, be sure to stop the engine and confirm that the engine cools down. Just after stopping the engine, it may still hot with possibility of burns, inflammability and fire. ATTENTION: When the machine is kept out of operation for a long time, drain up all fuel from the fuel tank and carburetor, and keep it at a dry and clean place. - Page 21 Operating time Before After Daily Shutdown/ Corres- 200h Item operation lubrication (10h) rest ponding P Inspect/clean Engine oil Replace Tightening parts Inspect (bolt, nut) Clean/inspect — Fuel tank Drain fuel Throttle lever Check function — Stop switch Check function Low-speed rotation Inspect/adjust Air cleaner Clean...
-
Page 22: Troubleshooting
TROUBLESHOOTING Before making a request for repairs, check a trouble for yourself. If any abnormality is found, control your machine according to the description of this manual. Never tamper or dismount any part contrary to the description. For repairs, contact Authorized Service Agent or local dealership. State of abnormality Probable cause (malfunction) Remedy... - Page 24 Makita Corporation Anjo, Aichi, Japan www.makita.com 885036C224...
Need help?
Do you have a question about the EX2650LH and is the answer not in the manual?
Questions and answers