Table of Contents
Advertisement
Advertisement
Table of Contents

Related Manuals for Grundig Sonoclock 590


Summary of Contents for Grundig Sonoclock 590
- Page 1 CLOCK RADIO Sonoclock 590 Sonoclock 590 Q EN FR RU ES NL NO DA SV...
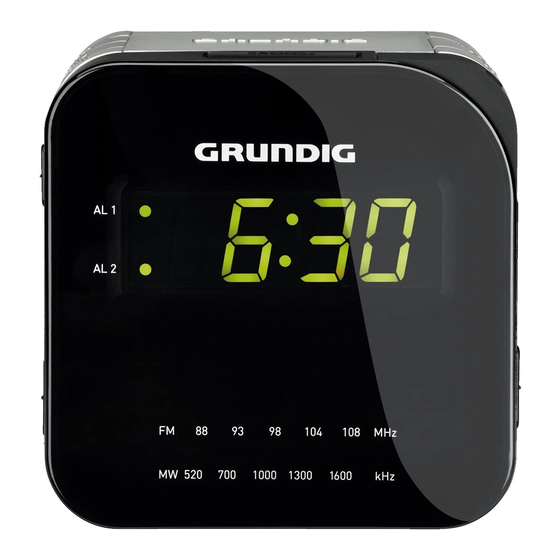
- Page 2 ___________________________________________________________ ALARM TIME SLEEP SNOOZE DOWN RADIOON AL11+22 -TUNING+ +VOLUME- FMMW ...
- Page 3 ___________________________________________________________ DEUTSCH 05-13 ENGLISH 14-22 FRANÇAIS 23-31 ITALIANO 32-40 РУССКИЙ 41-49 ESPAÑOL 50-58 NEDERLANDS 59-67 NORSK 68-76 DANSK 77-85 SVENSKA 86-94 SUOMI 95-103 TÜRKÇE 104-116 ...
-
Page 4: Safetyandset-Up
SAFETYANDSET-UP _ ___________________________ T his device is designed for the D o not expose the back-up batte- playback of audio signals. Any ry to extreme heat, caused for ex- other use is expressly prohibited. ample by direct sunlight, heaters or fire. - Page 5 OVERVIEW ______________________________________ See the figure on page 3. Controlsonthetop To set the clock and SLEEP Activates the sleep alarm time with the timer. time running quickly To display the current forwards. sleep timer setting. DOWN To set the clock and TIME Press and hold down: alarm time with the...
- Page 6 OVERVIEW ______________________________________ Controlsontherightside Controlsonthebottom +VOLUME- Adjusts the volume. Battery compartment for 9V back-up battery. AL11+22 Sliding switch, swit- ches between alarm Thedisplay time 1 or 2; • Sensor for the auto- activates alarm time 1 matic dimmer. or 2 or 1+2. AL1...
-
Page 7: Power Supply
POWERSUPPLY ________________________________ Mainsoperation Insertingtheback-up Check that the mains voltage on battery the type plate (on the bottom of the During mains operation, the back-up device) corresponds to your local battery ensures that stored settings mains supply. If this is not the case, are not lost in the case of a power contact your specialist dealer. -
Page 8: Setting The Clock
2« to »1« or »2«. up battery is inserted. – Display: the »AL1« or »AL2« LED glows. The time at Sonoclock 590 will be synchronized by the mains frequen- Press and hold down »ALARM«. cy and for the Sonoclock 590Q it is Using »DOWN«... -
Page 9: Radio Operation
OPERATION _____________________________________ Switchingonandoff – Display: the »AL1« or »AL2« LED glows; Press »RADIOON« to switch on the device. activate both alarm times by plac- Press » « to switch off (stand-by) ing the »AL11+22« sliding in the device. the »1+2« position. –... - Page 10 OPERATION _____________________________________ Alarmwithradiostation Cancelling the alarm for the Press »RADIOON« to switch on During the alarm press » «. the device. – The alarm (signal or radio) Set the frequency band with »FM stops, the alarm stand-by retains MW«. the set time for the next day.
-
Page 11: Sleep Timer Mode
OPERATION _____________________________________ Sleeptimermode Switchingoffthesleep The device possesses a sleep timer, timer which switches it off in radio mode at To switch off the sleep timer be- a preset time. It is possible to set the fore the set time press » «. switch-off time for between 0 minute (off) and 59 minutes. -
Page 12: Environmental Note
stic waste at the end of its service life. 230 V, 50 Hz (Sonoclock 590) Take it to a collection point for the 230 V, 50/60 Hz (Sonoclock 590 Q) recycling of electrical and electronic Max.powerconsumption: equipment. < 3,5 W (operation) This is indicated by this symbol on <... - Page 13 Grundig Intermedia GmbH Beuthener Strasse 41 90471 Nürnberg www.grundig.com 72011 410 3100 13/03...