Table of Contents
Advertisement
Advertisement
Table of Contents

Summary of Contents for CompuLab fit-PC2i
- Page 1 Owner’s Manual...
- Page 2 Package contents Hardware specifications fit-PC2i features Quick start guide Connecting fit-PC2i Booting Linux (applies to fit-PC2i Linux) Booting Windows 7 (applies to fit-PC2i Win7) Maintenance Affixing rubber feet Installing Hard Disk BIOS Setup Utility BIOS Setup Utility Sections Warranty and RMA...
-
Page 3: Package Contents
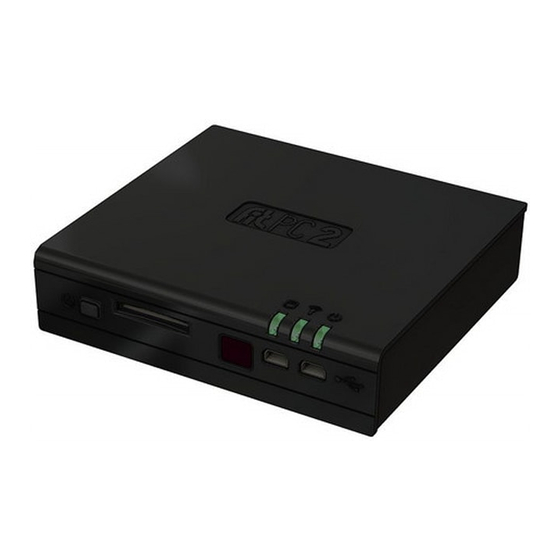
Introduction Package contents fit-PC2i computer 12V DC power supply AC cord with North American or localized standard plug HDMI to DVI adapter 3.5mm to RCA cable 2 mini-USB to USB-A adapters Mini serial to DB-9 cable 4 Rubber feet WiFi antenna (in some models) To use fit-PC2, you will need: ... -
Page 4: Serial Port
Display interface is DVI-D over HDMI connector. To connect fit-PC2i to a DVI display Use the provided HDMI to DVI adapter. Use a DVI cable to connect the adapter to the display. To connect fit-PC2i to a flat-screen TV Use an HDMI cable between the HDMI connector and HDMI input of the TV. -
Page 5: Power Button
SMA connector. Power button fit-PC2i has a tactile power push-button. It is used for turning on/off the fit-PC and for standby/resume when supported by the operating system. A push of at least 5 seconds will always turn off the fit-PC2i. -
Page 6: Maintenance
The Windows 7 serial number is printed on the Windows 7 label on the bottom of your fit- PC2i. Maintenance The fit-PC2i requires no maintenance. You should not take the fit-PC2i apart - this will void its warranty. The following operations can be conducted by the user: Affixing rubber feet You should stick the rubber feet to the bottom of the fit-PC2i to protect the supporting surface. -
Page 7: Installing Hard Disk
Installing Hard Disk Open the two HDD screws on the HD door as indicated below and remove it. Release spacers using a 5.5mm nut-driver and remove with attached screw. Slide-in HDD. - Page 8 Tighten the four HDD screws indicated below. Removing Hard Disk Open the two HDD screws on base Push out the HDD cover as indicated below. Hard disk will slide out.
-
Page 9: Bios Setup Utility
BIOS Setup Utility Entering BIOS Setup Utility Turn off the fit-PC2i. Turn on while holding down the F2 key. Screen Layout Menu is on the top. The left pane shows configuration items. When an item is highlighted, the right pane displays help for this item. - Page 10 Supervisor password for protecting setup utility User password for protecting fit-PC2i boot If you wish to clear a password, set a new, blank password. Boot Select a boot sequence between the built-in HDD, built-in flash disk, USB thumb drive (USB key), USB CDROM, USB HDD, USB Floppy (FDC) and SD.
-
Page 11: Warranty And Rma
This warranty is void if the product has been altered or damaged by accident, misuse or abuse. Keep the original package for shipping in case of hardware failure. In case of HW failure of a fit-PC2i under warranty, please contact the seller of that fit- PC2i. Please provide the following required information: ... - Page 12 -Increase the separation between the equipment and receiver. the party responsible for compliance (CompuLab Ltd.) could void the user’s -Connect the equipment into an outlet on a circuit authority to operate the equipment. different from that to which the receiver is connected.


