Table of Contents
Advertisement
Quick Links
Advertisement
Table of Contents

Related Manuals for CompuLab fitlet3


Summary of Contents for CompuLab fitlet3
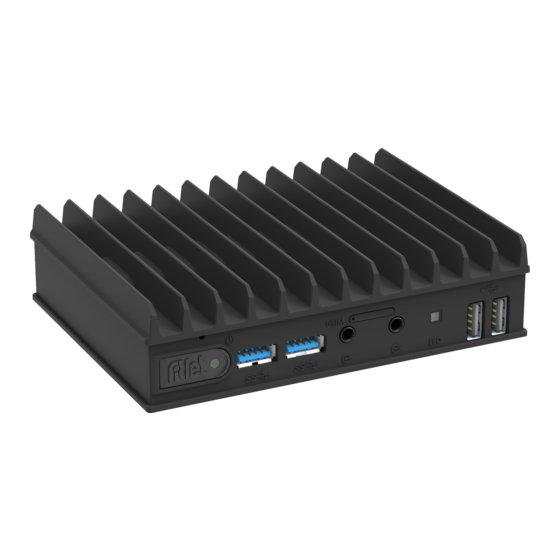
- Page 1 Owner’s Manual Revision 1.1 Feb-2022...
-
Page 2: Safety Instructions
Damage servicing, that is not authorized by Compulab, is not covered by your warranty. Read and follow the safety instructions that came with the product. CAUTION : To avoid electrostatic discharge and prevent internal components damage from electrostatic discharge when... -
Page 3: Table Of Contents
UPPORT ..................... 21 ARRANTY RMA ......................21 For more information and to obtain the latest revision of this document, please visit: www.fit-iot.com For technical support and product related questions, please email: support@fit-pc.com www.fit-iot.com Page 3 of 22 fitlet3 owner’s manual... -
Page 4: Introduction
Tel: +972-48-290-168 | Fax: +972-48-325-251 | www.fit-iot.com Introduction Thank you for purchasing fitlet3. It is a miniature PC designed to be tough, capable, versatile and user-friendly. With proper installation, we expect fitlet3 to serve you for many years. The unique fanless design of fitlet3 eliminates the need for any maintenance after installation. -
Page 5: Specifications
5% - 95% non-condensing Physical Cooling Fanless, passive cooling Characteristics Dimensions 132.8 mm X 100 mm X 34.8 mm Weight ~ 420 gr. Mounting Side / bottom VESA / DIN Rail mount www.fit-iot.com Page 5 of 22 fitlet3 owner’s manual... -
Page 6: Dimensions
Up to 1 unit of 2.5” SATA storage expansion (EB-M2SATA) is possible FACET expansion card and Wi-Fi/BT card are mutually exclusive. For Wi-Fi/BT on systems with FACET cards, on-board Wi-Fi/BT module bust be selected. www.fit-iot.com Page 6 of 22 fitlet3 owner’s manual... -
Page 7: Expansion Boards
FACET expansion card and Wi-Fi/BT card are mutually exclusive. For Wi-Fi/BT on systems with FACET cards, on-board Wi-Fi/BT module bust be selected. Up to 1 unit of EB-M2SATA is possible, and up to two storage devices in total. EB-M2SATA expansion requires deep bottom that will enlarge the fitlet3 size. Optional accessories Name... -
Page 8: Connectors Layout
Hayetsira St. 17, Yokneam, Israel Tel: +972-48-290-168 | Fax: +972-48-325-251 | www.fit-iot.com Connectors’ layout www.fit-iot.com Page 8 of 22 fitlet3 owner’s manual... -
Page 9: Quick Start Guide
Note Pay attention to RAM and storage. If not installed, fitlet3 will not boot. You will have to install these devices firstly. www.fit-iot.com Page 9 of 22... -
Page 10: Opening Fitlet3
Hayetsira St. 17, Yokneam, Israel Tel: +972-48-290-168 | Fax: +972-48-325-251 | www.fit-iot.com Opening fitlet3 You will need to open fitlet3 in order to install RAM, storage and RTC battery. Required tool: Phillips screwdriver. To open fitlet3 please follow these steps: Place fitlet3 on a flat surface bottom-up. -
Page 11: Installing Ram
Tel: +972-48-290-168 | Fax: +972-48-325-251 | www.fit-iot.com Installing RAM RAM socket is positioned on the top side of the motherboard. fitlet3 accepts a single SODIMM DDR4. Insert DDR4 SODIMM module and press it down until it is latching firmly on both sides www.fit-iot.com... -
Page 12: M.2 Cooling Plate, Ssd And Modem
• Provide cooling to M.2 devices • Assist in battery placement • Provide proper cable management inside fitlet3 M.2 Key-M accepts SATA of NVME modules, 2230, 2242, 2260 or 2280. M.2 Key-B accepts SATA M.2 modules or modems, with lengths of 30mm, 42mm, 52mm or 60mm and widths 22mm or 30mm The SSD has to be fastened to the M.2 cooling plate. - Page 13 Once positioned correctly the connector edge should stick out above the edge of the M.2 cooling plate. Tighten the fastening screw Turn over the M.2 cooling plate and push the M.2 SSD into its socket at the underside of the motherboard. www.fit-iot.com Page 13 of 22 fitlet3 owner’s manual...
- Page 14 Hayetsira St. 17, Yokneam, Israel Tel: +972-48-290-168 | Fax: +972-48-325-251 | www.fit-iot.com Push down the M.2 cooling plate and tighten the 3 panel screws www.fit-iot.com Page 14 of 22 fitlet3 owner’s manual...
- Page 15 By default the WiFi/BT module is not installed. Installing WiFi/BT module 1. Assemble the adapter 2. Tighten the appropriate screws 3. Insert the red spacer and fastening screw but do not tighten it. www.fit-iot.com Page 15 of 22 fitlet3 owner’s manual...
- Page 16 Tel: +972-48-290-168 | Fax: +972-48-325-251 | www.fit-iot.com 4. Insert the WiFi/BT module into an appropriate socket in an angle. 5. Press it down until latching the spacer. 6. Tighten the fastening screw. www.fit-iot.com Page 16 of 22 fitlet3 owner’s manual...
-
Page 17: Rtc Battery
1. Connect the battery plug to the corresponding socket (see illustration). 2. Place the wire as shown inside the slots of the M.2 cooling plate to minimize clutter. 3. Place the battery in the marked pocket. Once fitlet3 bottom cover is assembled - the battery is secured in place. www.fit-iot.com Page 17 of 22 fitlet3 owner’s manual... -
Page 18: Re-Assembling Fitlet3
Hayetsira St. 17, Yokneam, Israel Tel: +972-48-290-168 | Fax: +972-48-325-251 | www.fit-iot.com Re-assembling fitlet3 Place the fitlet3 onto the top cover. Note: The top cover is symmetric – direction does not matter. Place the bottom cover onto the fitlet3. Important note: The tall U-shaped boss (!) has to be near the M.2 sockets. Otherwise,... -
Page 19: Connecting Fitlet3
Rotate clockwise 90° to secure. Slide into the power-supply the AC blade correct to your country and plug the power-supply into an AC- outlet. The power button on fitlet3 should turn green, in a few seconds an image should appear on the display. -
Page 20: Entering Bios Setup
Hayetsira St. 17, Yokneam, Israel Tel: +972-48-290-168 | Fax: +972-48-325-251 | www.fit-iot.com Entering BIOS Setup Turn off the fitlet3. Turn on while holding down the Del key, until access into AMI Inc. BIOS utility. http://www.fit-pc.com/wiki/index.php/Main_Page. Installing and booting operating system Please consult https://www.fit-iot.com/web/products/fitlet3/os... -
Page 21: Service
Compulab guarantees products against defects in workmanship and material for a period of 60 months from the date of shipment. • Your sole remedy and Compulab’s sole liability shall be for Compulab, at its sole discretion, to either repair or replace the defective product at no charge. •... - Page 22 Statement technician for help. Changes or modifications to this equipment not expressly approved by the party responsible for compliance (Compulab Ltd.) could void the user’s authority to operate the equipment WEEE This symbol means that you must dispose of an...