
Related Manuals for Samsung MWR-WH00


Summary of Contents for Samsung MWR-WH00
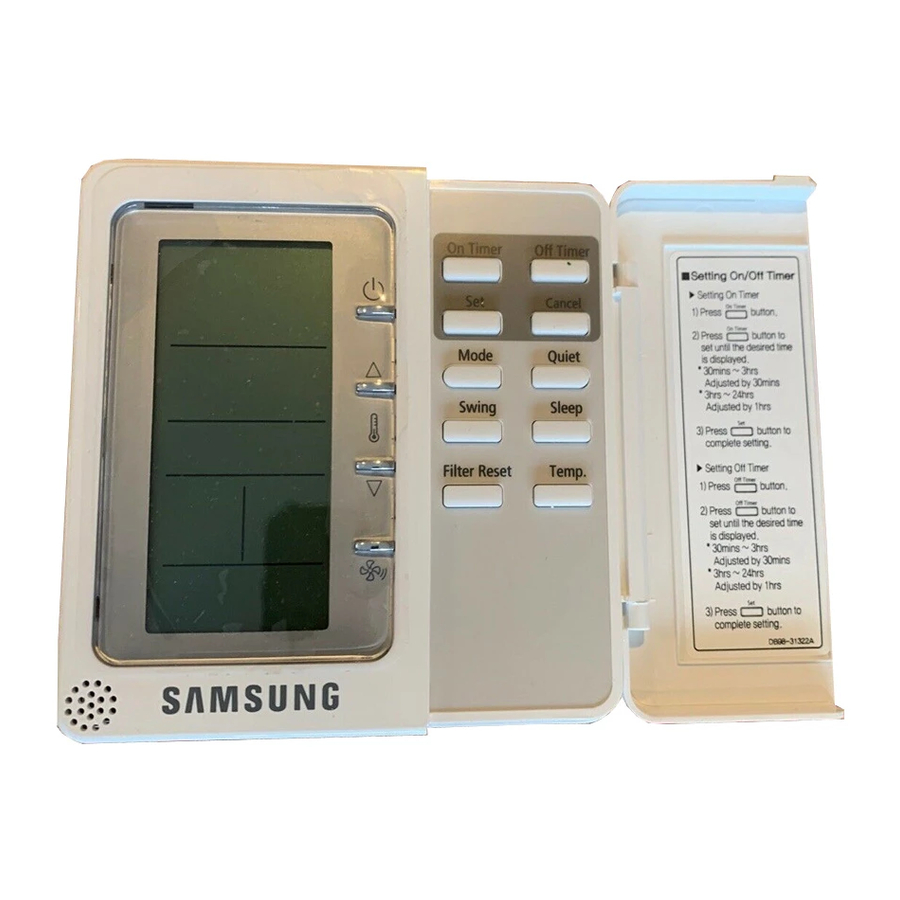
- Page 1 INSTALLATION MANUAL Wired Remote Controller MWR-WH00 System Air Conditioner G R A DB98-31218A(2)
-
Page 2: Safety Precautions
Safety Precautions This installation manual describes how to install the wired remote controller. For installation of other optional accessories, refer to the appropriate installation manual. R ead carefully this installation manual before WARNING installation and check if the wired remote controller is installed correctly after installation. -
Page 3: Table Of Contents
Contents ................... 4 IRED REMOTE CONTROLLER AND CCESSORIES Accessories .............................. 4 Dimension ............................... 4 ..................5 NSTALLING THE IRED REMOTE CONTROLLER Installing the Power Supply Cables inside of Indoor Unit ..........5 Installation ............................... -
Page 4: Wired Remote Controller And Accessories
Wired remote controller and Accessories Accessories The following accessories are supplied with the air conditioner. The number of each accessory is indicated in parentheses. Power cable for Cable Tie (2) Cable Clamp(4) M4X16 Screw(5) indoor unit (1) Communication cable Wire joint (4) User's manual(1) Installation manual(1) -
Page 5: Installing The Wired Remote Controller
Installing the Wired remote controller Installing the Power Cables inside of Indoor Unit This is an explanation of power supply cable and communication cable. Make sure that you read this thoroughly before installation. Connector type cable connection Indoor unit terminal block AC Power supply Indoor unit PCB... -
Page 6: Installation
Installing the Wired remote controller (Continued) Installation Open the wired remote controller by pushing up the top cover of the remote controller while holding the rear cover firmly. The wired remote controller opens in the way of slide. Install the rear cover of the wired remote controller on the wall with the supplied screws. After that, arrange the power cables on rear side of the front cover. -
Page 7: Setting The Wired Remote Controller Options
Setting the Wired Remote Controller Options Switch Switch OFF Switch ON SW1 Cooling and Heating Cooling Only Allow wireless remote Disable the wireless remote controller controller Master remote Slave remote controller controller SW4 Temperature display : °C Temperature display : °F Use the wired remote Use the indoor unit controller Temperature... -
Page 8: Wired Remote Controller Error Codes
Installing the Wired remote controller (Continued) Wired remote controller Error Codes The error codes of the wired remote controller, indoor unit, outdoor unit are displayed on the LCD display. Refer to the indoor and outdoor unit technical manuals for the error codes reference. - Page 9 Error display priority P riority 1: Wired remote controller error > Indoor/Outdoor unit error Priority 2: Displays master indoor unit error (Master Indoor unit = Indoor unit whose option switch K10 is set OFF) Priority 3: Displays the error code of the indoor unit which has earlier Main(COM1) address Priority 4: Displays the error code of the indoor unit which has earlier COM2 address when Main(COM1) addresses is overlapped Display...
-
Page 10: Indoor Unit Tracking With The Wired Remote Controller
Installing the Wired remote controller (Continued) Indoor Unit Tracking with the Wired remote controller Tracking is started automatically after connecting to the power. Total quantity of searched units To execute tracking again after the installation, press the Tracking in buttons at the same time for 5 seconds. progress ... -
Page 11: Connecting The Wired Remote Controller
Connecting the Wired remote controller Individual Control U sing one wired remote controller for one indoor unit. Outdoor unit COM1(F1, F2) COM1(F1, F2) Indoor unit RMC:0 RMC:1 RMC:2 COM2(F3, F4) COM2(F3, F4) COM2(F3, F4) Wired remote controller The wired remote controller controls the indoor units, ... - Page 12 Installing the Wired remote controller (Continued) Group Control - indoor units only Using one wired remote controller for a group of indoor units. G roup control of 3 indoor units with one wired remote controller Outdoor unit COM1(F1, F2) COM1(F1, F2) COM1(F1, F2) Indoor unit...
- Page 13 SW1 SW2 SW3 SW4 SW5 SW6 SW7 SW8 2 3 4 5 6 7 8 2 3 4 5 6 7 8 Using 1 MWR-WH00 and 1 MWR-WE00 - Indoor unit and ERV together Outdoor unit COM1(F1, F2) Indoor unit...
-
Page 14: Additional Functions
Additional Functions Service Mode T he wired remote controller supports the following service modes. Menu Description Monitoring and Setting the Indoor Unit Option Code Monitoring the Indoor Unit Main/Group Address Monitoring the Indoor Unit Cycle Data Monitoring and Setting the Indoor Temperature Compensation for the Wired remote controller Monitoring the RPM Compensation Monitoring the EEV Step for the Stopped Indoor Unit during Heating Mode... -
Page 15: Monitoring And Setting The Indoor Unit Option Code
Monitoring and Setting the Indoor Unit Option Code In order to monitor and set the indoor unit option code using the wired remote controller, hold down the buttons at the same time for 5 seconds. The menu will display . Press the button to enter the indoor unit option code mode. -
Page 16: Monitoring The Indoor Unit Main/Group Address
Additional Functions (Continued) Monitoring the Indoor Unit Main/Group Address In order to monitor the indoor unit Main/Group Address using the wired remote controller, hold down the buttons at the same time for 5 seconds. The menu will display . Press the button and the menu will display . -
Page 17: Monitoring The Indoor Unit Cycle Data
Monitoring the Indoor Unit Cycle Data In order to monitor the indoor unit cycle data using the wired remote controller, hold down the buttons at the same time for 5 seconds. The menu will display . Press the button twice and the menu will display . Press the button. -
Page 18: Monitoring And Setting The Indoor Temperature Compensation For The Wired Remote Controller
Additional Functions (Continued) Monitoring and Setting the Indoor Temperature Compensation for the Wired remote controller In order to monitor and set the indoor temperature compensation using the wired remote controller, hold down the buttons at the same time for 5 seconds. The menu will display . -
Page 19: Monitoring The Rpm Compensation
Monitoring the RPM Compensation In order to compensate for the RPM using the wired remote controller, hold down the buttons at the same time for 5 seconds. The menu will display . Press the button until is displayed. Press the button. -
Page 20: Monitoring The Eev Step For The Stopped Indoor Unit During The Heating Mode
Additional Functions (Continued) Monitoring the EEV Step for the Stopped Indoor Unit during the Heating Mode In order to monitor EEV step when the indoor unit is off during heating mode using the wired remote controller, hold down the buttons at the same time for 5 seconds. The menu will display . -
Page 21: Monitoring The Filter Time Setting
Monitoring the Filter Time Setting In order to monitor the filter time setting using the wired remote controller, hold down the buttons at the same time for 5 seconds. The menu will display . Press the button until is displayed. Press the button. -
Page 22: Monitoring The Temperature Compensation Value Under The Heating Mode
Additional Functions (Continued) Monitoring the Temperature Compensation Value under the Heating Mode In order to monitor the temperature compensation value under heating mode using the wired remote controller, hold down the buttons at the same time for 5 seconds. The menu will display . Press the button until is displayed. -
Page 23: Checking The Central Control Usage
Checking the Centralized Control Usage In order to check the centralized control usage using the wired remote controller, hold down the buttons at the same time for 5 seconds. The menu will display . Press the button until is displayed. Press the button. -
Page 24: Checking The Drain Pump Usage
Additional Functions (Continued) Checking the Drain Pump Usage In order to check the drain pump usage using the wired remote controller, hold down the buttons at the same time for 5 seconds. The menu will display . Press the button until is displayed. -
Page 25: Checking The Electric Heater Usage
Checking the Electric Heater Usage In order to check the electric heater usage using the wired remote controller, hold down the buttons at the same time for 5 seconds. The menu will display . Press the button until is displayed. Press the button. -
Page 26: Checking The Water Coil Usage
Additional Functions (Continued) Checking the Water Coil Usage In order to check the water coil usage using the wired remote controller, hold down the buttons at the same time for 5 seconds. The menu will display . Press the button until is displayed. -
Page 27: Checking The External Control Usage
Checking the External Control Usage In order to check the external control usage using the wired remote controller, hold down the buttons at the same time for 5 seconds. The menu will display . Press the button until is displayed. Press the button. -
Page 28: Checking The Connected Indoor Unit/Erv Quantity
Additional Functions (Continued) Checking the Connected Indoor Unit/ERV Quantity In order to check the connected indoor unit/ERV quantity using the wired remote controller, hold down the buttons at the same time for 5 seconds. The menu will display . Press the button until is displayed. -
Page 29: Checking The Wired Remote Controller Pcb Settings
Checking the Wired remote controller PCB Settings In order to check the DIP switch settings using the wired remote controller, hold down the buttons at the same time for 5 seconds. The menu will display . Press the button until is displayed. -
Page 30: Checking The Wired Remote Controller Software Version
Additional Functions (Continued) Checking the Wired remote controller Software Version In order to check the wired remote controller software version using the wired remote controller, hold down the buttons at the same time for 5 seconds. The menu will display . Press the button until is displayed. - Page 31 Memo...