Table of Contents
Advertisement
Advertisement
Table of Contents

Related Manuals for Jensen HD Radio JiMS-525i


Summary of Contents for Jensen HD Radio JiMS-525i
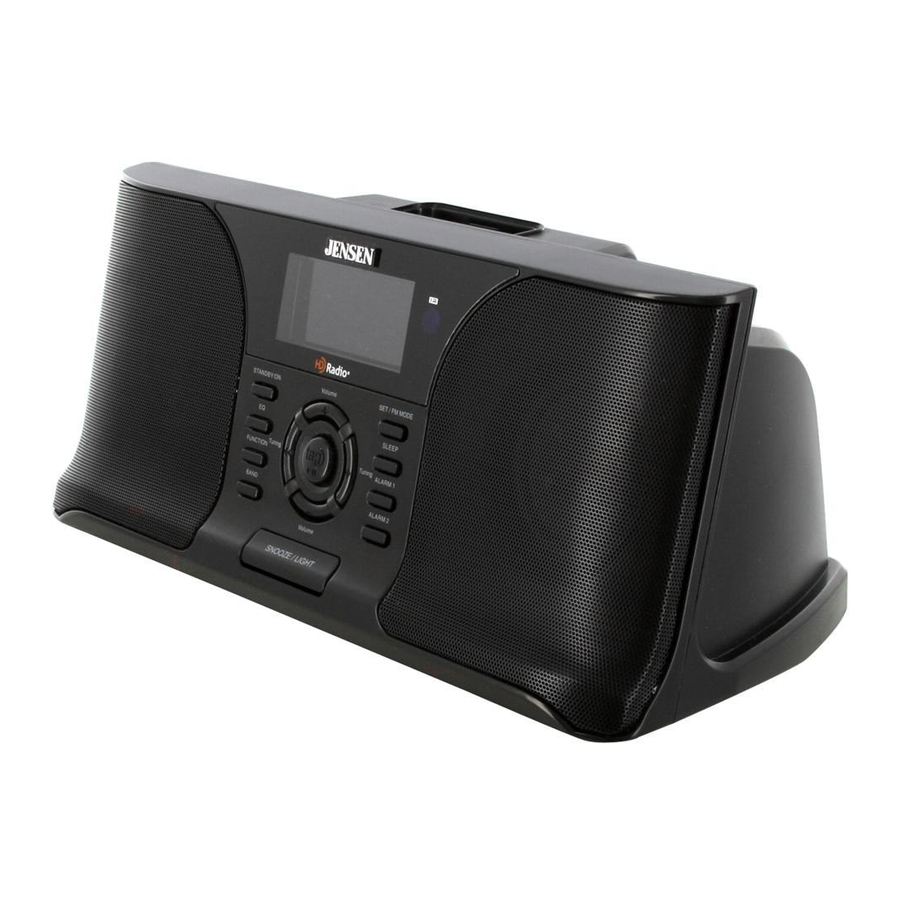
- Page 1 ® Docking Digital HD Radio™ System for iPod and iPhone™ Made for Works with iPhone Owner's Manual JiMS-525i (iPod and iPhone Not Included) Please read and follow this Instruction Manual carefully before using the unit and retain it for future reference - 24 -...
- Page 2 IMPORTANT SAFETY INSTRUCTIONS WARNING: TO REDUCE THE RISK OF FIRE OR ELECTRIC SHOCK, DO NOT EXPOSE THIS APPLIANCE TO RAIN OR MOISTURE. DANGEROUS HIGH VOLTAGES ARE PRESENT INSIDE THE ENCLOSURE. DO NOT OPEN THE CABINET REFER SERVICING TO QUALIFIED PERSONNEL ONLY. The lightning flash and arrow head within the triangle is a warning...
- Page 3 IMPORTANT SAFETY INSTRUCTIONS 9. Do not defeat the safety purpose of the polarized or grounding – type plug. A polarized plug has two blades with one wider than the other. A grounding type plug has two blades and a third grounding prong. The wide blade or the third prong is provided for your safety. If the provided plug does not fit into your outlet, consult an electrician for replacement of the obsolete outlet.
-
Page 4: Table Of Contents
WELCOME ... 4 PROTECT YOUR FURNITURE ... 4 ABOUT THIS MANUAL ... 4 LOCATION OF CONTROLS ... 4 FRONT VIEW ... 4 REAR VIEW ... 5 DISPLAY UNIT ... 5 REMOTE CONTROL SECTION ... 6 GETTING STARTED ... 6 UNPACKING THE HD RADIO CONNECTING THE FM ANTENNA WIRE ... -
Page 5: Welcome
Thank you for purchasing the JENSEN JiMS-525i HD Radio Before operating the unit, please read this manual thoroughly and retain it for future reference. PROTECT YOUR FURNITURE!! This system is equipped with non-skid rubber 'feet' to prevent the product from moving when you operate the controls. -
Page 6: Rear View
LOCATION OF CONTROLS (Continued) Rear View 1. AC INPUT SOCKET 2. AM Antenna Connector 3. S-VIDEO Output (5 Gen iPod) 4. FM Antenna Connector Display Unit 1. Band/AM-PM Indicator 2. iPod Icon 3. HD Radio Icon 4. Time/Frequency Reading 5. ALARM 1 Indicator - 5 - 5. -
Page 7: Remote Control Section
LOCATION OF CONTROLS (Continued) Remote Control Section POWER Turn the Radio On/Off BAND Select AM/FM Band FUNCTION Selects Radio, iPod or Aux Modes 0 – 9 Numeric buttons PRESET STATIONS Memory Stations Down PRESET STATIONS Memory Stations Up Equalizer Options MEMORY Program Preset Stations +, –... -
Page 8: Connecting The Hd Radio
GETTING STARTED (Continued) Connecting FM / HD Radio This Radio's FM Antenna Connector is a standard connector that will accept either the FM Antenna wire (included) or the cable FM feed from most cable systems that provide FM programming. To connect the included FM Antenna wire, slide the black plastic end of the antenna wire onto the center post of the antenna connector on the back of the unit. -
Page 9: Connecting Ac Power Supply
GETTING STARTED (Continued) Connecting AC Power Supply • This JiMS-525i HD Radio • The Remote Control operates on 1 Lithium battery, CR2025 (Included). Insert the AC Cord Inlet into the AC cord socket on back of the Radio and the other end into a standard 120V AC outlet as shown in the diagram below. -
Page 10: Radio Operation
The following procedures can be accomplished by using either the remote or the controls on the main unit. Listening to the Radio Note: When entering the Radio function mode, the words "PLEASE WAIT TO TURN ON RADIO" will appear first on the bottom row of the Display and then the Band and Frequency Reading will be shown in the Display after one or two seconds. -
Page 11: To Preset Channels
RADIO OPERATION (Continued) To Preset Channels This Radio is equipped with 10 preset memories for AM and 20 preset memories for FM. Once they are preset, they can be instantly accessed by keying in the preset channel using the Numeric Buttons or pressing the Buttons on the Remote Control. -
Page 12: Special Information About Delay In The Hd Radio
RADIO OPERATION (Continued) Special Information about Delay in the HD Radio System Digital systems inherently produce a delay in audio. To overcome such delay, HD Radio broadcasting uses a station's current analog signal to ensure fast tuning of an AM or FM station. After an estimated 5 seconds, the audio will change from analog to digital HD Radio broadcasting. -
Page 13: Itunes Tagging
® Note: iTunes Tagging for iPod - Compatibility with iPod nano (3rd generation), iPod classic and iPod (5th generation). To Store Song Tag(s) 1. In Radio mode, "Tag Available" will appear on the display indicating that a song Tag is available for the song that is currently playing. -
Page 14: Aux Operation
AUX OPERATION You can play other music sources (iPod shuffle, MP3, CD or other digital audio player) through the speakers of this Radio by connecting the AUX LINE-IN Jack to your external player's audio out jack or headphone jack. 1. Set up the Radio and your external player as described in the section AUX IN Connection. 2. -
Page 15: Docking Your Ipod
1. Press the Button to turn on the unit. 2. Press the FUNCTION Button to select iPod mode. 3. According to TABLE 1, select a suitable adaptor for your iPod and insert it into the docking bay. Your iPod can now be inserted onto the iPod connector by aligning the connector on the bottom of the iPod onto the connector in the docking bay. -
Page 16: Docking Your Iphone
1. Press the Button to turn on the unit. 2. Press the FUNCTION Button to select iPod mode. 3. According to TABLE 1, select the 30G adaptor and insert it into the docking area. Your iPhone can now be inserted into the docking port by aligning the connector on the bottom of the iPhone onto the connector in the docking. -
Page 17: Connecting The S-Video (For Ipod Video Output)
CONNECTING THE S-VIDEO (for iPod Video Output) You are able to view videos and photos stored in your 5th generation iPod, iPod classic, 3rd generation IPod nano and iPod touch on a standard TV screen or video display using the S-Video OUT feature of this unit. -
Page 18: Using Headphones (Not Included)
USING HEADPHONES (NOT INCLUDED) Inserting the plug of your headphones (not included) into the Headphone jack, on the back of the Radio, will enable you to listen in private. When using headphones, the speakers will be disconnected automatically. NOTE: READ THIS IMPORTANT INFORMATION BEFORE USING YOUR HEADPHONES 1. -
Page 19: Setting The Alarm (S)
Setting the Alarm (s) This Radio allows you to set two different wake-up times which can be used independently or simultaneously AL1 or AL2 or AL1 and AL2. ii. The procedure for setting the alarm time for ALARM 1 and ALARM 2 are the same. iii. -
Page 20: Alarm Operation
This unit provides wake to HD Radio FM, HD Radio AM, iPod or ALARM. Wake to Radio, iPod or Alarm 1. Refer to "SETTING THE ALARMS" on page 18 to set the desired wake up time (s), wakeup mode, i.e. HD RADIO FM, HD Radio AM, iPod or ALARM and volume level. HD Radio FM 2. -
Page 21: Sleep Operation
You can use the SLEEP Timer to fall asleep to Radio or iPod for a maximum duration of 90 minutes. Setting Sleep Timer Note: The default SLEEP duration is 90 minutes. 1. In Power On mode, operate the Radio or iPod as usual. Adjust the volume to the desired level. 2. -
Page 22: Care And Maintenance
1. Avoid operating your unit under direct sunlight or in hot, humid or dusty places. 2. Keep your unit away from heating appliances and sources of electrical noise such as fluorescent lamps or motors. 3. For better Clock Display clarity, avoid operating the unit under direct sunlight or in strong room illumination. -
Page 23: Troubleshooting Guide
If you experience difficulties in the use of this product, please check the following or call 1-800-777-5331 for Customer Service. Symptom Possible Cause The unit does AC cord is not plugged properly not respond. into a wall outlet or the connector (no power) is not plugged into the AC IN jack on the back of the unit. -
Page 24: Service
SERVICE Please refer to the instructions on the enclosed warranty card for returning your unit for service. When returning the unit, please remove any batteries to prevent damage to the unit in transit and/or from possible battery leakage. We are not responsible for batteries returned with the product or for the cost of replacement.