Advertisement
Quick Links
SmartRack
Assembly Instructions
®
Instrucciones de Ensamble del SmartRack®
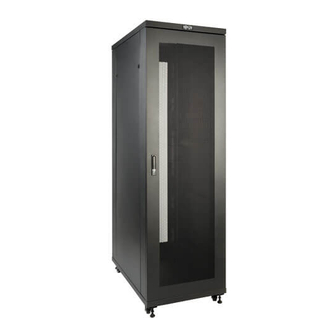
Model/Modelo: SR42UBEVS
1111 West 35th Street, Chicago, IL 60609 USA • www.tripplite.com/support
Copyright © 2013 Tripp Lite. All trademarks are the sole property of their respective owners.
Copyright © 2013 Tripp Lite. Todas las marcas registradas son exclusivas de sus respectivos propietarios.
1
Advertisement

Related Manuals for Tripp Lite SmartRack SR42UBEVS


Summary of Contents for Tripp Lite SmartRack SR42UBEVS
- Page 1 1111 West 35th Street, Chicago, IL 60609 USA • www.tripplite.com/support Copyright © 2013 Tripp Lite. All trademarks are the sole property of their respective owners. Copyright © 2013 Tripp Lite. Todas las marcas registradas son exclusivas de sus respectivos propietarios.
-
Page 2: Parts List
Parts List M6 Flange M4 Phillips Keys Self Tapping Screws Flat Washer NON-LOCKING LOCKING REAR FRONT Required Tools: Optional Accessory: • #1 Phillips Screwdriver • SRCASTER Rolling Caster Kit Visit www.tripplite.com/support for additional information. • #2 Phillips Screwdriver • Open End Wrench or Ratchet WARNING: The rack enclosure is extremely heavy. -
Page 3: Lista De Piezas
Lista de Piezas M6 Tuerca M4 Tornillo Llaves de Brida Autoroscante Phillips Arandela Plana SIN CIERRE CIERRE POSTERIOR ANTERIOR Herramientas Necesarias: Accesorio Opcional: • Desatornillador Phillips #1 • Juego de Ruedas SRCASTER Para más información, visite www.tripplite.com/support. • Desatornillador Phillips #2 •... - Page 4 step/ NOTE: Assemble unit in an area that is as close to the area of final installation as possible. paso NOTA: Ensamble la unidad en la área más cerca posible de la área de la instalación final. Each rear door locks and unlocks using L-shaped levers on the insides of the doors.
- Page 5 step/ paso step/ paso REAR TOP PARTE SUPERIOR POSTERIOR...
- Page 6 step/ paso REAR BOTTOM PARTE INFERIOR POSTERIOR step/ paso Non-locking door can be installed on either side of the enclosure but must be installed first. La puerta sin cerradura puede instalarse en cualquier lado del gabinete, pero debe instalarse primero.
- Page 7 step/ paso Integrated holes for baying (combining) multiple enclosures in rows for data center applications. (4 ¼-20 x ½” long Phillips pan head machine screws are needed.) Orificios integrados para unir (combinar) múltiples gabinetes en hileras para aplicaciones de centros de datos. (Se necesitan cuatro tornillos para metal de cabeza redondeada Phillips de ¼-20 x ½”...
- Page 8 Tripp Lite follows a policy of continuous improvement. Product specifications are subject to change without notice. Tripp Lite tiene la política de mejora continua. Las especificaciones del producto están sujetas a cambios sin notificación previa. 13-09-120 • 9332DA-EN Rev A...