Table of Contents
Advertisement
Quick Links
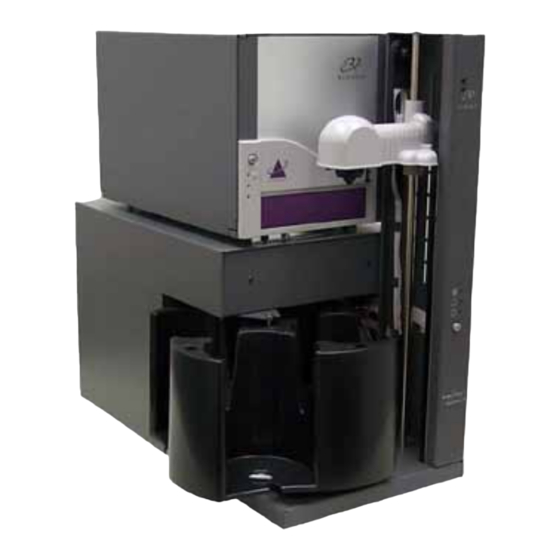
Rimage AutoPrinter™
User Guide
This manual provides the information needed to operate the AutoPrinter and identify the parts. To
setup and install your AutoPrinter, refer to the Setup and Installation Guide included with your
This manual provides the information needed to operate the AutoPrinter and identify the parts. To
setup and install your AutoPrinter, refer to the user guide included with your printer.
Note: The term AutoPrinter applies to both the AutoEverest™ and the AutoPrism. The terms
AutoEverest and AutoPrism will be used only to refer to either AutoPrinter specifically.
Advertisement
Table of Contents

Related Manuals for Rimage AutoPrinter


Summary of Contents for Rimage AutoPrinter
- Page 1 Rimage AutoPrinter™ User Guide This manual provides the information needed to operate the AutoPrinter and identify the parts. To setup and install your AutoPrinter, refer to the Setup and Installation Guide included with your This manual provides the information needed to operate the AutoPrinter and identify the parts. To setup and install your AutoPrinter, refer to the user guide included with your printer.
- Page 2 Rimage Corporation in this document at any time without any prior notice. 7725 Washington Avenue South Rimage Corporation reserves the right to revise this Minneapolis, MN 55439 publication and to make changes from time to time in the content hereof without obligation of Rimage Corporation...
-
Page 3: Table Of Contents
1 7 B I nstall the Ribbons .......................... 11 1 8 B C leaning Method and Schedule ..................... 11 1 9 B A lign the Printer on an AutoPrinter II ..................... 11 2 5 B E verest Printer ............................11 2 6 B P rismPlus! Printer ........................... -
Page 4: Introduction
This manual provides the information needed to operate and identify the parts of the AutoEverest and AutoPrism AutoPrinter. To set up your AutoPrinter and install the CD Designer™ Software Suite, refer to the set up and installation guide included with your product. -
Page 5: Important Information
Support for the Rimage AutoPrinter is available through your authorized reseller. Important! Make sure that you register your AutoPrinter so Rimage can notify you of upgrades as they become available. Registration for products using Rimage software versions 8.2 or higher is now managed through the Rimage website at www.rimage.com/support/warranty-registration. -
Page 6: Safety And Compliance Information
Rimage-approved components to maintain the safety approval issued by UL. Ÿ Do not disassemble or use tools on a Rimage Ÿ printer. All service procedures should be Use only the supplied AC power cord. For performed by a Rimage-authorized... -
Page 7: 1 B C Ompliance Information
Rimage AutoPrinter™ User Guide C ompliance Information 2 1 B Product Name AutoPrinter II AutoPrinter III Model RAS10 RAS25 Notice for USA NOTE: This equipment has been tested and found to comply with the limits for a Class A digital device, pursuant to part 15 of the FCC Rules. These limits are designed to provide reasonable protection against harmful interference when this equipment is operated in a commercial environment. -
Page 8: R Image Autoprinter Specifications
Notes: · The most up-to-date technical specifications for the AutoPrinter are located at www.rimage.com/support. From the Support menu select: Printer Series > AutoPrinter > User Manuals tab. · For printer specifications, refer to you Everest or Prism printer user guide or www.rimage.com/support. - Page 9 Refer to your printer user guide for the correct media requirements. Rimage requirements Media Kits™ are designed for optimum recording and print performance. Ribbon Refer to your printer user guide for the correct printer ribbons. Rimage Media requirements Kits™ include the required print ribbons. Label design Refer to your printer user guide for label design requirements.
-
Page 10: Identify The Parts Of The Autoprinter
Identify the Parts of the AutoPrinter Identify the Parts of the AutoPrinter This section identifies the different parts of the AutoPrinter. For detailed information about the parts of the Everest or Prism printer, refer the printer user guide that shipped with your product. -
Page 11: 2 B R Ear View
Cable Power Power Cord Cord Prism Power Serial Cable* Switch AutoPrinter AutoPrinter Power Power Switch Switch * The serial cable is used only for updating the firmware. Do not connect the serial cable to the AutoPrinter during normal operation. 110656_L... -
Page 12: Operate The Autoprinter
AutoPrinter. · The Everest printer does not have a power switch. The Everest printer powers on when the AutoPrinter powers on. The Everest printer takes 1 to 2 minutes to complete initialization. -
Page 13: 5 B L Oad And Unload Discs
R eset the AutoPrinter 2 4 B When the AutoPrinter is reset, it begins picking discs from bin 1, not the bin it was picking from before the reset. Use the following procedure to reset the AutoPrinter. Lift the carousel up so that the top support bearing comes out of the bearing guide. (Refer to the photo on page 9.) The carousel present indicator light illuminates. -
Page 14: Maintain The Autoprinter
Align the Printer on an AutoPrinter II 1 9 B Note: The printer alignment instructions in this section are for AutoPrinter II systems only. The printer alignment on AutoPrinter III systems is preset and should not require adjustment. Use the appropriate alignment procedure for the Everest or Prism printer installed on the AutoPrinter II. - Page 15 Print When the printer is aligned, slide the lift arm to the top of the AutoPrinter. Press the printer operator button to close the printer tray. Press the disc release button to release the disc from the lift arm.
-
Page 16: 6 B P Rismplus! Printer
& Tip: If the Prism power switch is in the On position, you can power on both the printer and the AutoPrinter by pressing the AutoPrinter power switch. Wait for the system to complete initialization. Prepare the system for alignment. - Page 17 0.38 mm). Print When the printer is aligned, slide the lift arm to the top of the AutoPrinter. Press the printer operator button to close the printer tray. Press the disc release button to release the disc from the lift arm.