Advertisement
Quick Links
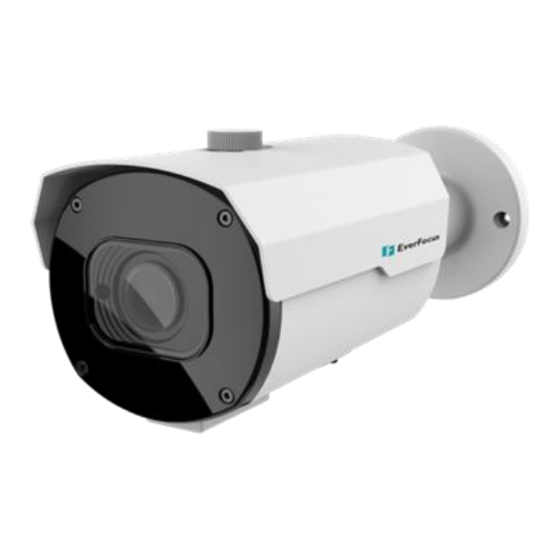
Value IP Series Network Camera
SG and NV Series
Quick Installation Guide
SG Series
NV Series
Copyright © EverFocus Electronics Corp.
Release Date: May, 2022
All the images including product pictures or screen shots in this document are for example only.
The images may vary depending on the product and software version. Information contained in
this document is subject to change without notice.
EverFocus Taiwan:
2F., No.12, Ln. 270, Sec. 3, Beishen Rd., Shenkeng Dist., New Taipei City 222, Taiwan
TEL: +886 2 2662 2338 FAX: +886 2 2662 3632 www.everfocus.com.tw
Advertisement

Related Manuals for EverFocus SG Series


Summary of Contents for EverFocus SG Series
- Page 1 The images may vary depending on the product and software version. Information contained in this document is subject to change without notice. EverFocus Taiwan: 2F., No.12, Ln. 270, Sec. 3, Beishen Rd., Shenkeng Dist., New Taipei City 222, Taiwan TEL: +886 2 2662 2338 FAX: +886 2 2662 3632 www.everfocus.com.tw...
- Page 2 1. Full Model List Series Photo Model Name EZN1250-SG / EZN1550-SG / EZN2250-SG / EZN2550-SG / EZN2850-SG EHN1250-SG / EHN1550-SG / EHN2250-SG / EHN2550-SG / EHN2850-SG EMN2560-SG EZN1240-SG / EZN1540-SG / EZN2240-SG / EZN2540-SG / EZN2840-SG EBN1240-SG / EBN1540-SG / EBN2240-SG / EBN2540-SG / EBN2840-SG EZN3540-NV / EZN3840-NV EBN3540-NV / EBN3840-NV...
- Page 3 2. Physical Description SG - EZN Series SG - EHN Series SG - EMN Series No. Item Name Descriptions Reset Button / Use the supplied Hexagon Wrench to loosen the Micro SD Card Slot / screws to access the Reset Button, Micro SD slot, CVBS Lan / CVBS Lan (this function is currently reserved), Zoom in &...
- Page 4 SG mini - EBN Series SG mini - EZN Series No. Item Name Descriptions Reset Button / Loosen the screws to access the Reset Button and Micro SD slot. Micro SD Card Slot Lens Camera Lens Sunshield Protect the camera from the direct fun rays. Use the supplied Hexagon Wrench to loosen the Tilt Screw Tilt Screws.
- Page 5 NV - EBN Series NV mini - EZN Series No. Item Name Descriptions Reset Button / Loosen the screws to access the Reset Button Micro SD Card Slot and Micro SD slot. Lens Camera Lens Warm Supplemental Warm lights to enhance visibility. Light Use the supplied Hexagon Wrench to loosen the Tilt Screw...
- Page 6 NV - EZN Series No. Item Name Descriptions Reset Button / Loosen the screws to access the Reset Button Micro SD Card Slot and Micro SD slot. Use the supplied Hexagon Wrench to loosen the Tilt Screw Tilt Screws. Use the supplied Hexagon Wrench to loosen the Pan Screw Pan Screws.
- Page 7 3. Dimensions SG - EZN Series SG - EHN Series SG mini - EMN Series...
- Page 8 SG mini - EBN Series SG mini - EZN Series NV - EBN Series NV mini - EZN Series NV - EZN Series...
- Page 9 4. Packing List Please check if all the items listed below are within the package. SG - EZN Series SG - EHN Series 1. Camera x 1 1. Camera x 1 2. Cable Gland Kit x 1 2. Cable Gland Kit x 1 3.
- Page 10 5. Cables The cables provide connections for network, power, audio input / output, and alarm input / output. Alarm Input / Output Audio Input Audio Output LAN / PoE Cable 12VDC Power Input LAN / PoE Cable Power Cable (12VDC) Connect the camera to the network using the supplied Cable Gland Kit.
- Page 11 d. Crimp the RJ-45 connector onto the RJ-45 network cable. Note that the wires should be placed into the RJ-45 connector based on the following order (from left to right). Orange with white stripe Orange Green with white stripe Blue Blue with white stripe Green Brown with white stripe...
- Page 12 6. Installation 6.1 EZN models 1. Drill three holes on the surface according to the screw positions on the Camera Base. Push the supplied 3 Screw Anchors into the holes. Drill another hole in the middle within the 3 screw holes if you wish to run the wires into the surface.
- Page 13 6.2 EHN models 1. Stick the supplied Mounting Sticker on the surface to mark the 4 screw positions. Drill the 4 screw-depth holes on the surface and then push the supplied 4 Screw Anchors into the screw holes. Optionally drill the bottom 2 Cable Holes if you want to run the cables through the surface.
- Page 14 6.3 EMN models 1. Remove the camera cover by unscrewing the 3 cover screws. 2. Insert a Micro SD card into the card slot (optional). 3. Install the network cable.
- Page 15 4. Stick the supplied Mounting Sticker on the surface to mark the 3 screw positions. Drill the 3 screw-depth holes on the surface and then push the supplied 3 Screw Anchors into the screw holes. 5. Screw the camera on the surface. 6.
- Page 16 6.4 EBN models 1. Stick the Mounting Sticker on the surface to mark the 3 screw positions. Drill 3 screw-depth holes on the surface and then push the supplied 3 Screw Anchors into the holes. Optionally drill a Cable Hole on the center if you want to run the cables through the surface.
- Page 17 7. Accessing the Camera You can look up the IP address of the IP camera using the IP Utility (IPU) program from EverFocus website (key word search: "IP Utility"). The default network is DHCP. However, if there is no dynamic IP address assigned to the device, its IP will switch to 192.168.0.10.