Makita PV001G Instruction Manual
Cordless polisher
Hide thumbs
Also See for PV001G:
- Instruction manual (103 pages) ,
- Instruction manual (100 pages) ,
- Instruction manual (72 pages)
Table of Contents
Advertisement
Quick Links
Advertisement
Table of Contents

Related Manuals for Makita PV001G


Summary of Contents for Makita PV001G
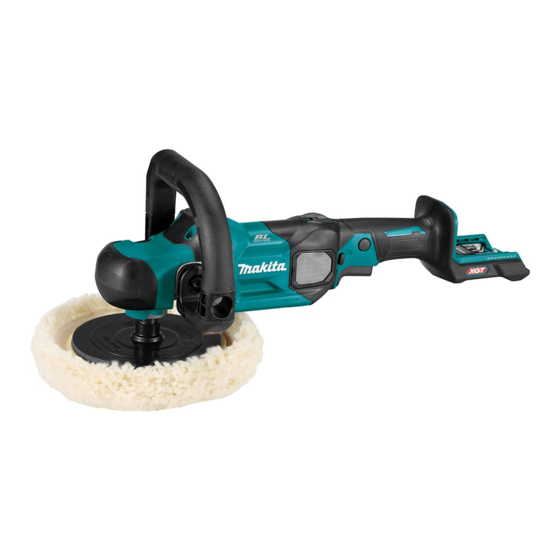
- Page 1 INSTRUCTION MANUAL Cordless Polisher PV001G Read before use.
-
Page 2: Specifications
SPECIFICATIONS Model: PV001G Maximum capacities Wool pad 180 mm Wool bonnet 180 mm Spindle thread European countries Countries other than Europe 15.88 mm (5/8″) / M16 / M14 (country specific) Rated speed (n) / No load speed (n 2,200 min... -
Page 3: Ec Declaration Of Conformity
Electrical safety Vibration Power tool plugs must match the outlet. Never modify the plug in any way. Do not use any The vibration total value (tri-axial vector sum) deter- adapter plugs with earthed (grounded) power mined according to EN62841-2-3: tools. Unmodified plugs and matching outlets will Work mode: polishing reduce risk of electric shock. - Page 4 Do not let familiarity gained from frequent use Keep handles and grasping surfaces dry, clean of tools allow you to become complacent and and free from oil and grease. Slippery handles and ignore tool safety principles. A careless action can grasping surfaces do not allow for safe handling and cause severe injury within a fraction of a second.
- Page 5 Do not convert this power tool to operate in 14. Do not operate the power tool near flammable a way which is not specifically designed and materials. Sparks could ignite these materials. specified by the tool manufacturer. Such a con- 15.
- Page 6 Avoid storing battery cartridge in a con- causing fires, personal injury and damage. It will tainer with other metal objects such as also void the Makita warranty for the Makita tool and nails, coins, etc. charger. Do not expose battery cartridge to water or rain.
-
Page 7: Functional Description
Tips for maintaining maximum To install the battery cartridge, align the tongue on the battery cartridge with the groove in the housing and slip battery life it into place. Insert it all the way until it locks in place with a little click. If you can see the red indicator as Charge the battery cartridge before completely shown in the figure, it is not locked completely. -
Page 8: Overload Protection
Charge the battery(ies) or replace it/them with recharged battery(ies). Let the tool and battery(ies) cool down. If no improvement can be found by restoring protection system, then contact your local Makita Service Center. Fig.4 Switch action ► 1. Switch trigger 2. Lock button 3. Trigger-lock... -
Page 9: Electronic Function
Speed adjusting dial Electronic function The rotating speed can be changed by using the speed adjust- The tool is equipped with the following electronic func- ing dial on top of the switch handle. Turn the speed adjusting tions for easy operation. dial to align the pointers with your desired rotating speed indi- Constant speed control cated on the speed scale. - Page 10 Attach the straight end of the loop handle over the NOTE: The loop handle has an asymmetric shape mounting hole on side of the tool head, fitting the guide that can be applied for left or right hand, making ridges on the handle end well into the guide grooves it more comfortable for you to grip and easy for around the mounting hole.
- Page 11 Installing wool pad Screw the side grip tightly into the mounting hole on either side of the tool head. Press in the shaft lock to prevent spindle rotation, and thread the backing pad into the spindle. Hand tighten the backing pad securely. Fig.12 ►...
-
Page 12: Operation
Install the lock nut onto the spindle, and then tighten it clockwise using the lock nut wrench to secure CAUTION: Only use Makita genuine pads for the rubber pad firmly in place. polishing (optional accessories). CAUTION: Be sure to hold the tool firmly with... - Page 13 Polishing operations NOTICE: Never force the tool. Excessive pressure may lead to decreased polishing efficiency, damaged pad, or shorten tool life. Surface treatment NOTICE: Continuous operation at high speed Use a wool pad for rough finishing, then use a sponge may damage work surface.
-
Page 14: Optional Accessories
Run the tool to remove wax. CAUTION: These accessories or attachments are recommended for use with your Makita tool specified in this manual. The use of any other accessories or attachments might present a risk of injury to persons. Only use accessory or attachment for its stated purpose. - Page 16 Makita Europe N.V. Jan-Baptist Vinkstraat 2, 3070 Kortenberg, Belgium Makita Corporation 3-11-8, Sumiyoshi-cho, Anjo, Aichi 446-8502 Japan 885941-225 www.makita.com 20211103...