
Related Manuals for Keurig B31


Summary of Contents for Keurig B31
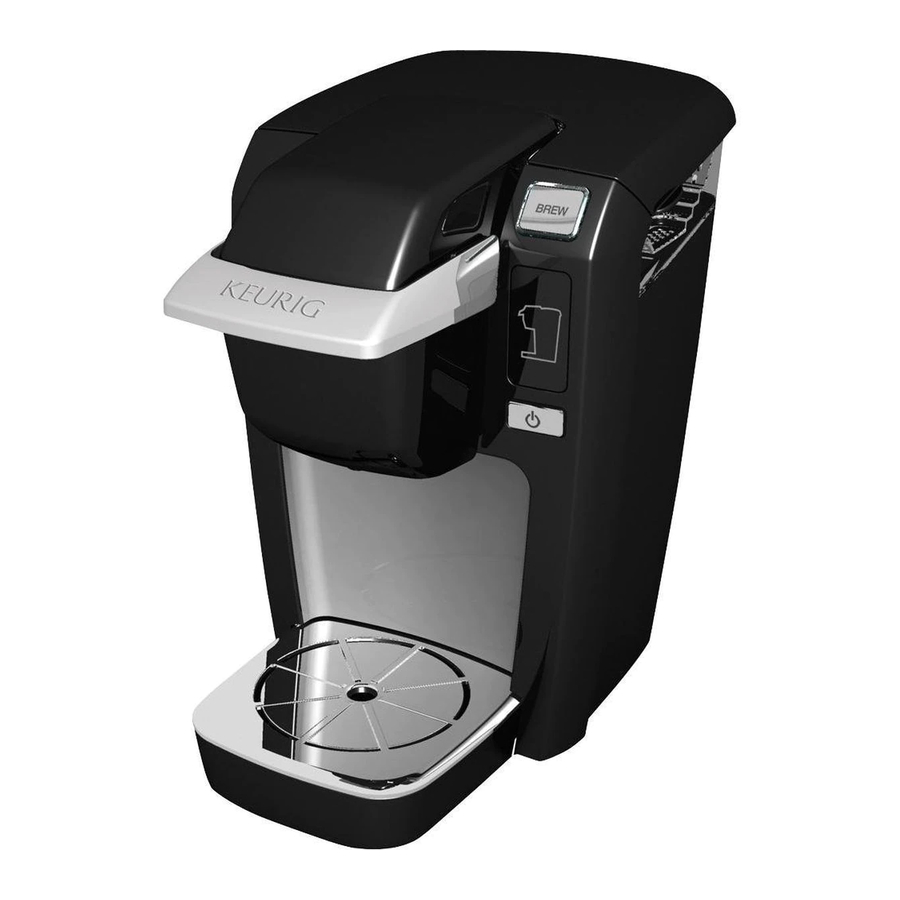
- Page 1 USING YOUR BREWER OWNER’S MANUAL: Getting the most from your new B31 MINI PLUS Keurig Brewer ®...
-
Page 2: Important Safeguards
12. Do not operate any appliance with a damaged cord or plug, or after the appliance malfunctions or is damaged in any manner. Contact Keurig Customer Service to report any malfunction of or damage to the Brewer. 13. Do not let the cord hang over the edge of the table or counter, or touch hot surfaces. - Page 3 CAUTION: There are two sharp needles that puncture the K-Cup portion pack, one above the ® K-Cup Holder and the other in the bottom of the K-Cup Holder. To avoid risk of injury, do not put your fingers in the K-Cup Assembly Housing. CAUTION: There is extremely hot water in the K-Cup Holder during the brew process.
-
Page 4: Table Of Contents
ContentS KEURIG GOURMET SINGLE CUP HOME BREWING SYSTEM ® Model B31 MINI PLUS Using Your Brewer SECTiON 1—Brewer Overview SECTiON 2 —Helpful Hints SECTiON 3—Buttons & indicators ...7 SECTiON 4 —Set-up & Operation Initial Cleansing & First Brew ... - Page 5 For replacement parts, please call 1.866.901.BREW (2739).
-
Page 6: Section 2 -Helpful Hints
— Your new Brewer makes one fresh beverage at a time. One Cup at a Time You’ll need to add fresh water each time you brew. Unlike other Keurig Brewers, the B31 does not store water in the reservoir. — For the best tasting gourmet coffee, The Right Water Makes a Difference tea or hot cocoa, Keurig recommends using bottled or filtered water. -
Page 7: Section 3-Buttons & Indicators
SeCtIon 3 Buttons & Indicators Power Button BREW BREW BREW The Power Button turns your Brewer On and Off. add Water Indicator — Indicates you should fill the Flashing Blue Cold Water Reservoir. BREW BREW Brewer Handle Indicator Flashing Blue —... -
Page 8: Section 4 -Set-Up & Operation
SeCtIon 4 Set-up & Operation Initial cleansing & First Brew Before Brew Before making your first beverage, Plug the Brewer into its own perform an initial cleansing brew. grounded outlet. If the electric circuit Follow these steps, skipping is overloaded with other appliances, numbers 9 and 10. - Page 9 Fill the Cold Water Reservoir to the desired fill level with filtered or bottled water. (We do not recommend distilled or reverse osmosis water.) The Brewer Handle Indicator will flash blue when the minimum water level (6 oz.) is reached. The Brewer has three fill levels –...
- Page 10 SeCtIon 4 Set-up & Operation (continued) There are two sharp needles that puncture the K-Cup, one above the K-Cup Holder and the other in the CAUTION: bottom of the K-Cup Holder. To avoid risk of injury, do not put your fingers in the K-Cup Assembly Housing. Lift the Brewer Handle to open.
- Page 11 Lower the Brewer Handle completely The BREW Button will flash blue. and firmly to close. Press the BREW Button. It will then flash red while the water is heating, and turn solid red when brewing begins. Ensure all of the water has left the Cold Water Reservoir and drained into the Brewer before lowering the Brewer Handle.
-
Page 12: Section 5-Cleaning & Maintenance
SeCtIon 5 Cleaning & Maintenance cleaning External Parts IMPORTANT: Make sure the Brewer is unplugged before cleaning. Regular cleaning of the Brewer’s external components is recommended. Never immerse the Brewer in water or other liquids. The Brewer housing and other external components should be cleaned with a damp, non-abrasive, lint-free cloth. - Page 13 The Funnel can be removed from the 2. Cleaning the Funnel — K-Cup Holder by pulling on it until it snaps off (fig. 3). The Funnel can be placed on the top shelf of a dishwasher. To replace the Funnel, just snap it temperature cycles in the dishwasher.
-
Page 14: Cleaning The Cold Water Reservoir
SeCtIon 5 Cleaning & Maintenance (continued) cleaning the cold Water Reservoir To access the Cold Water Reservoir, lift the Cold Water Reservoir Lid. Remove the Water Level Guide (fig. 5), then clean the inside of the reservoir with a damp, lint-free cloth as necessary (fig. 6). Replace the Water Level Guide and close the Cold Water Reservoir Lid when finished. -
Page 15: De-Scaling Your Brewer
De-Scaling Your Brewer Depending on the mineral content of the water, calcium deposits or scale may build up in your Brewer. Scale is non-toxic but left unattended, it can hinder Brewer performance. De-scaling your Brewer helps maintain the heating element and other internal parts of the Brewer. The Brewer should be de-scaled every 3-6 months to ensure optimal performance or when there are white deposits in the Cold Water Reservoir. -
Page 16: Section 6-Troubleshooting
SeCtIon 6 Troubleshooting Brewer does not have power Brewer will not brew when used for the first time Brewer will not brew SiTUATiON SOLUTiON • Make sure the Power Button is pressed. The Add Water Indicator should flash blue after pushing the Power Button. •... - Page 17 • This means the Drip Tray is almost full. Carefully remove the Drip Tray and empty its contents into the sink. Should other issues arise with your Brewer, please call Keurig Customer Service at 1.866.901.BREW (2739). Portion Pack Holder Assembly if necessary (see page 12). ®...
-
Page 18: Section 7-Warranty
Brewer so that your purchase information will be stored in our system. Keurig will, at its option, repair or replace the Brewer without charge upon its receipt of proof of the date of purchase. If a replacement Brewer is necessary to service this warranty, the replacement Brewer may be new or reconditioned. - Page 19 Keurig, Incorporated 55 Walkers Brook Drive Reading, MA 01867 Keurig, Incorporated is a wholly-owned subsidiary of Green Mountain Coffee Roasters, Inc. cLIcK, caLL OR SHOP I www.keurig.com I 1.866.901.BREW FOR HOUSEHOLD USE ONLY Covered by U.S. Patent Number 7,165,488 and other U.S.