
Related Manuals for Toa TS-920RC


Summary of Contents for Toa TS-920RC
- Page 1 USER MANUAL PTZOptics Camera Integration TS Conference TOA Canada Corporation Page 1 of 8...
-
Page 2: Table Of Contents
Table of Contents Basics ................................ 3 Configurations ............................4 2.1. Camera Attributes ..........................4 2.2. Search Camera ..........................5 2.3. Select Camera ............................ 5 2.4. Test Camera Network Connection ....................6 2.5. Set Camera Preset ..........................7 2.6. Camera Preset Operation........................8 Page 2 of 8... -
Page 3: Basics
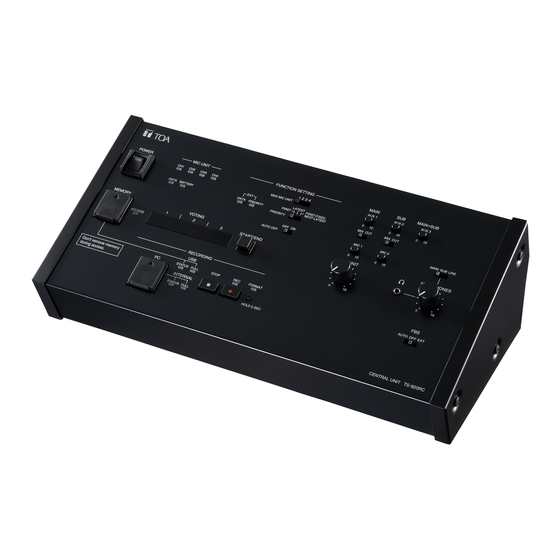
After physically wiring up the camera and the conference system, please start the software by selecting "Conference System" from "Programs" in the "Start" menu or from the Desktop Shortcut icon. Enter the below Project Name and Password in the Login box. Project Name: TOA Password: admin Equipment: TS920 Please select the File Name Directory, Enter a “Conference Name”... -
Page 4: Configurations
As highlighted in the red circle below, the green and red LED indicators show the status on whether the devices are connected or not. Red means that the camera is not connected or added. If you are experiencing this, please follow these steps to add a camera. -
Page 5: Search Camera
2.2. Search Camera Click [Search Camera], the search camera interface appears. Enter an IP address range, and then click [Scan]. Please note that if a camera has been used in the configuration, it is not possible to import another one with the same IP address. -
Page 6: Test Camera Network Connection
Once imported, the camera is added to the tree in the Camera List on the left side, and the total number of cameras will increase by one. 2.4. Test Camera Network Connection The valid address number of the camera ranges from 1 to 999, and the user sets it according to the address of the live camera. -
Page 7: Set Camera Preset
2.5. Set Camera Preset Select the conference units you want to camera to point to by clicking the [three dots] on the right side of the “Pointing Unit” option. In this example, we selected both the Chairman unit (ID #1) and the delegate unit (ID #2). -
Page 8: Camera Preset Operation
After the button is released, the camera icon will return to the default position (Chairman Unit (1) in this example). At the end of the conference, click [End Conference] to end the conference session. TOA Canada Corporation www.toacanada.com Page 8 of 8...