Advertisement
Available languages
Available languages
Quick Links
H-2672
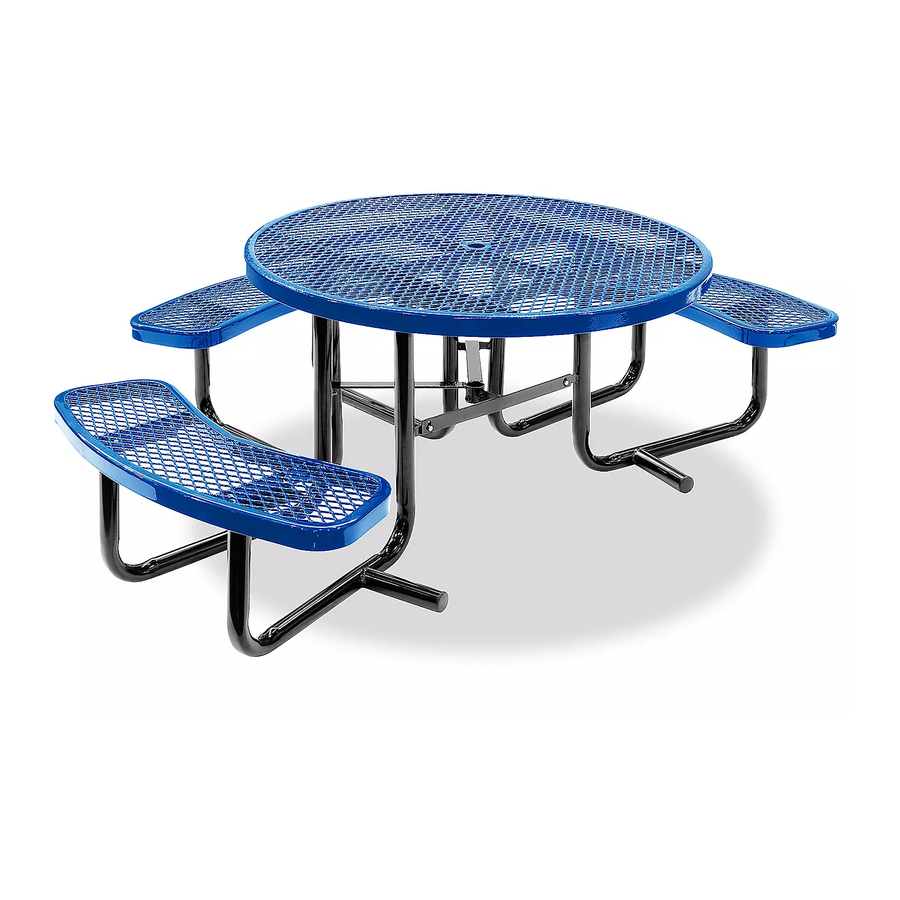
ROUND ADA
PICNIC TABLE
TOOLS NEEDED
Socket Wrench
1/2" Socket Bit
Bench Seat x 3
PAGE 1 OF 6
1-800-295-5510
uline.com
Tabletop x 1
5/16" Hex
5/16" Washer x 44
Head Bolt x 22
PARTS
Leg x 4
5/16" Nut x 22
Para Español, vea páginas 3-4.
Pour le français, consulter les pages 5-6.
Leg with
V Brace with
Support x 2
Umbrella Holder x 1
0321 IH-2672
Advertisement

Related Manuals for U-Line H-2672


Summary of Contents for U-Line H-2672
- Page 1 Para Español, vea páginas 3-4. Pour le français, consulter les pages 5-6. H-2672 1-800-295-5510 uline.com ROUND ADA PICNIC TABLE TOOLS NEEDED Socket Wrench 1/2" Socket Bit PARTS Bench Seat x 3 Tabletop x 1 Leg x 4 Leg with V Brace with...
- Page 2 ASSEMBLY INSTRUCTIONS 1. Verify all parts are present before beginning. Hardware is located in a white box. 2. Flip the tabletop upside down. Take one leg at a time and loosely attach to the tabletop using one Right bolt, one washer and one nut. The leg braces are Left an inside mount.
-
Page 3: Herramientas Necesarias
H-2672 800-295-5510 uline.mx MESA REDONDA PARA PÍCNIC QUE CUMPLE CON ADA HERRAMIENTAS NECESARIAS Llave de Dado Dado de 1/2" PARTES 3 Asientos de 1 Cubierta 4 Patas 2 Pata con 1 Soporte en V con Banca de la Mesa Apoyo... -
Page 4: Instrucciones De Ensamble
INSTRUCCIONES DE ENSAMBLE 1. Verifique que tenga todas las partes antes de comenzar. La tornillería se encuentra en una caja blanca. 2. Voltee la cubierta de la mesa. Tome las patas de Derecha una en una y fíjelas sin apretar a la cubierta de la Izquierda mesa usando un perno, una rondana y una tuerca. -
Page 5: Outils Requis
H-2672 1-800-295-5510 uline.ca TABLE À PIQUE-NIQUE RONDE APPROUVÉE PAR L'ADA OUTILS REQUIS Clé à douilles Douille tournevis de 1/2 po PIÈCES Banc x 3 Dessus de table x 1 Pattes x 4 Patte avec Renfort en V avec support x 2 support de parasol x 1 Boulons à... -
Page 6: Instructions De Montage
INSTRUCTIONS DE MONTAGE 1. Assurez-vous que toutes les pièces sont présentes avant de commencer. Le matériel d'installation se trouve dans une boîte blanche. 2. Placez le dessus de table à l'envers. Prenez une Droite patte à la fois et fixez-la lâchement au dessus de Gauche table à...