Weber Summit Assembly Instructions Manual
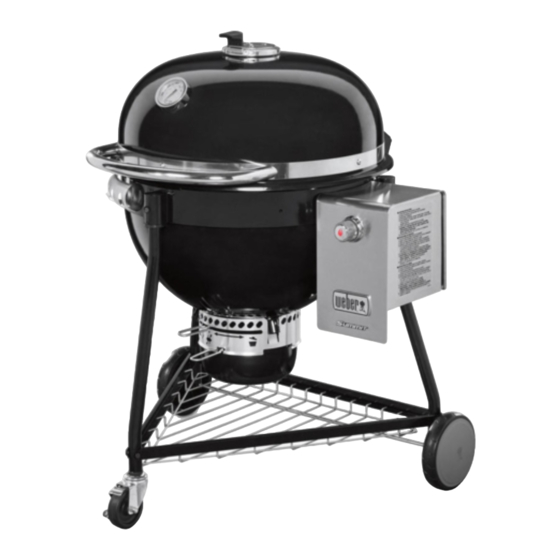
Grill center
Hide thumbs
Also See for Summit:
- Owner's manual (74 pages) ,
- Installation and owner's manual (45 pages) ,
- Manual (36 pages)
Advertisement
Quick Links
Advertisement

Related Manuals for Weber Summit


Summary of Contents for Weber Summit
- Page 1 Assembly Instructions #56559 56559 US 02/28/11 LP/NG ENGLISH...
- Page 2 Be sure to consider placement options before unpacking or beginning assembly. Unpack main grilling unit near the area where Summit Grill Center will reside. Weber recommends installing on a level, solid surface such as concrete, brick, or wood. Do not install on on dirt, gravel, or flagstone.
-
Page 3: Tools Needed
TOOLS NEEDED HARDWARE LIST If any parts or hardware are damaged or missing, Contact the Customer Service Representative in your area using the contact information on our website. Log onto www.weber.com ® Screw - 20 (1/4 - 20 x 1/2 In.) - Page 4 MAIN GRILLING UNIT PARTS LIST Rotisserie Spit - 1 Catch Pan Holder - 1 Catch Pan - 1 Rotisserie Motor - 1 Disposable Drip Pan - 2 Slide-out Grease Tray - 1 Cooking Grate - 3 Flavorizer Bar - 12 ®...
- Page 5 LEFT CABINET PARTS LIST Left Cabinet Paper Towel Holder - 1 Side Table - 1 Left Side End Skirt - 1 Left Cabinet Water Deflector - 1 Left Cabinet Door - 1 Left Frame - 1 Left Door Handle - 1 Height-adjustable Leg - 2 Left Cabinet Bottom Panel - 1...
- Page 6 SIDE BURNER CABINET PARTS LIST Side Burner Cabinet Side Burner Lid - 1 Back Panel - 1 Wok Ring (see Owner's Guide) -1 Side Burner Cabinet Bottom Panel - 1 Side Burner Grate - 1 Side Burner inner Ring - 1 Right Frame -1 Side Burner Outer Ring - 1 Side Burner Head - 1...
- Page 7 Remove protective film from all stainless steel surfaces before using grill.
- Page 8 WWW.WEBER.COM ®...
- Page 9 c d 3 Adjust legs on the Main Grilling Unit Your patio may not be a level surface, which is why your Grill Center is equipped with height-adjustable legs. The legs on the main grilling unit are pre-set to their minimum height of 3/4". You will need to slightly extend these legs, which shall allow levelling adjustments to be made as assembly progresses.
- Page 10 Requires 3 “D” alkaline batteries (included). Use alkaline batteries only. Do not mix old and new batteries or different types of batteries (standard, alkaline, or rechargeable). WWW.WEBER.COM ®...
- Page 11 LEFT CABINET ASSEMBLY...
- Page 12 1-1/2" (38 mm) WWW.WEBER.COM ®...
- Page 14 WWW.WEBER.COM ®...
- Page 15 Bottom edge of stainless steel tab must align with frame tab. Adjust the Left Cabinet legs to achieve proper tab alignment (if necessary).
-
Page 16: Rear View
REAR VIEW FRONT VIEW WWW.WEBER.COM ®... - Page 17 Level the Left Cabinet front to back and side to side. REAR VIEW...
- Page 18 SIDEBURNER CABINET ASSEMBLY...
- Page 19 1-1/2" (38 mm)
- Page 20 WWW.WEBER.COM ®...
- Page 22 Bottom edge of stainless steel tab must align with frame tab. Adjust the Side Burner Cabinet legs to achieve proper tab alignment (if necessary). WWW.WEBER.COM ®...
- Page 23 REAR VIEW...
- Page 24 FRONT VIEW WWW.WEBER.COM ®...
- Page 25 Adjust legs, if necessary. REAR VIEW...
- Page 26 See Owner’s Guide for proper installation of Side Burner components. Para la instalación correcta de los componentes del Quemador Lateral, consulte la Guía del Propietario. Voir le Mode d’emploi pour l’installation correcte des composants du Brûleur latéral. WWW.WEBER.COM ®...
- Page 27 See Owner's Guide for detailed Rotisserie operating and storage instructions.
- Page 28 WWW.WEBER.COM ®...
- Page 30 WWW.WEBER.COM ®...
- Page 32 Align doors, if necessary. WWW.WEBER.COM ®...
- Page 33 The Weber Grill Out Handle Light has a “Tilt Sensor”: Lid up - ON / Lid Closed - OFF. ™ The power button (a) activates or deactivates the “Tilt Sensor.” For daytime use, deactivate the sensor by pressing power button (a).
- Page 34 ATTENTION: This product has been safety tested and is only certified for use in a specific country. Refer to country designation located on outer carton. These parts may be gas carrying or gas burning components. Please contact Weber-Stephen Products LLC, Customer Service Department for genuine Weber-Stephen Products LLC replacement part(s) information.