Table of Contents
Advertisement
Quick Links
Advertisement
Table of Contents
Troubleshooting

Related Manuals for DeLonghi ECAM23.46 Series


Summary of Contents for DeLonghi ECAM23.46 Series
- Page 1 De’Longhi Appliances via Seitz, 47 31100 Treviso, Italy www.delonghi.com...
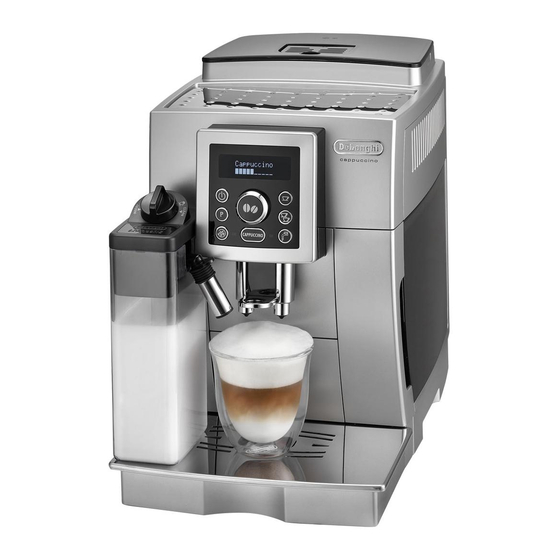
- Page 2 ECAM23.46X - 24.46X BEAN TO CUP ESPRESSO AND CAPPUCCINO MACHINE Instructions for Use Instructions videos available at: http://ecam23460.delonghi.com...
- Page 3 page 6 Decalcificante per macchine da caffè Descaler for coffee machines Détartrant pour machines à café Entkalker für Kaffeemaschinen De’Longhi Appliances s.r.l. Via L. Seitz, 47 31100 Treviso - ITALY Tel. +39 0422 4131 5413218631/04.15...
-
Page 7: Table Of Contents
CONTENTS 10. HOT WATER ..........13 10.1 Changing the quantity of water delivered 1. INTRODUCTION ..........7 automatically ..........13 1.1 Letters in brackets .........7 11. CLEANING ..........13 1.2 Troubleshooting and repairs ......7 11.1 Cleaning the machine .........13 2. DESCRIPTION..........7 11.2 Cleaning the internal circuit ......13 2.1 Description of the appliance ......7 11.3 Cleaning the coffee grounds container ..13 2.2 Description of the control panel ....7... -
Page 8: Introduction
Before using the appliance, always read the safety warnings. B2. Selection dial: turn to select the required quantity of cof- fee. (When in the settings MENU, turn to select the required 1. INTRODUCTION function) 1.1 Letters in brackets button: turns the appliance on and off The letters in brackets refer to the legend in the description of B4. -
Page 9: Turning The Appliance On
2. Connect the appliance to the mains electricity supply (fig. • To turn the appliance on, press the button (B3) (fig. 1); make sure the main switch (A8) at the back of the appli- 6). The message "Heating, Please wait" appears on the ance is pressed down (fig. -
Page 10: Auto-Start
When energy saving mode is active, an asterisk appears under 3. Press the button (B9) (fig. 3); "Energy Saving" in the menu. 4. Turn the selection dial (fig. 7) to change the hours; 5. Press the button to confirm; To enable or disable energy saving, proceed as follows: 6. -
Page 11: Setting The Language
6.11 Setting the language 7. RINSING To modify the language of the display (B1), proceed as follows: Use this function to deliver hot water from the coffee spouts 1. Press the P button (B4) to enter the menu; (A14) and hot water spout (C6), if inserted, to clean and heat 2. -
Page 12: Customising The "My Coffee" Quantity
8.6 Making coffee using coffee beans ≃40 SHORT Important! ≃60 STANDARD Do not use caramelised or candied coffee beans as they could ≃90 LONG stick to the coffee mill and make it unusable. 1. Fill the beans container (A7) (fig. 12) with coffee beans; ≃120 EXTRA LONG 2. -
Page 13: Making Cappuccinos And Milk-Based Coffees
2. Make sure the funnel is not blocked, then add one level Dial position Description measure of pre-ground coffee (fig. 15). No froth 3. Place a cup under the coffee spouts (A14, fig. 9). 4. Press the 1 cup coffee button (B7)(fig. -
Page 14: Programming The Quantity Of Coffee And Milk
• The milk container can be kept in the refrigerator. 2. Press and hold the button (B9) until the appliance • In some cases, before cleaning you must wait for the appli- starts delivering hot water, then release the button. ance to heat up. -
Page 15: Cleaning The Drip Tray And Condensate Tray
To clean (with the machine on): provided) with a damp cloth and a little mild washing up • Remove the drip tray (A19) (fig. 25), empty and clean. liquid; • Empty the grounds container (A15) and clean thoroughly 2. Remove the filter (C4) (if present) and rinse with running to remove all residues left on the bottom. -
Page 16: Cleaning The Milk Container
12. DESCALING 10. Put the water tank back. 11.10 Cleaning the milk container Important! • Before use, read the instructions and the labelling on the Clean the milk container (D) after use, every time that milk is descaler pack. prepared, as described below: •... -
Page 17: Setting Water Hardness
8. Place an empty container The descaling cycle is now complete. with a minimum capacity Please note: of 1.8 litres under the cof- • If the descaling cycle is not completed correctly (e.g. no fee spouts (A14) and hot electricity) we recommend repeating the cycle; water spout (C6) (fig. -
Page 18: Installing The Filter
To use the filter correctly, follow the instructions below. 9. Press the P button (B4) to enter the menu; 14.1 Installing the filter 10. Turn the selection dial 1. Remove the filter (C4) from the packaging; (B2) (fig. 9) until "Install 2. -
Page 19: Displayed Messages
1. Extract the tank (A10) and exhausted filter; De'Longhi reserves the right to modify the technical specifica- 2. Press the P button (B4) to enter the menu; tion and styling of its products at any moment, without com- 3. Turn the selection dial (B2) (fig. 9) until "Install filter *" promising their functionality and quality. - Page 20 DISPLAYED MESSAGE POSSIBLE CAUSE REMEDY GROUND TOO FINE ADJUST The grinding is too fine and the coffee is deliv- Repeat coffee delivery and turn the grind- MILL ered too slowly or not at all. ing adjustment dial (A2) (fig. 11) one click clockwise towards 7 while the coffee mill is in operation.
-
Page 21: Troubleshooting
17. TROUBLESHOOTING Below is a list of some of the possible malfunctions. If the problem cannot be resolved as described, contact customer services. PROBLEM POSSIBLE CAUSE REMEDY The coffee is not hot. The cups were not preheated. Warm the cups by rinsing them with hot water (Please note: you can use the hot water function). - Page 22 PROBLEM POSSIBLE CAUSE REMEDY The milk contains large The milk is not cold enough or is not Use skimmed or semi-skimmed milk at refrig- bubbles and squirts out of semi-skimmed. erator temperature (about 5°C). If the result is the milk spout (D5) or there is not as you wished, try changing brand of milk.