
Related Manuals for Necta ASTRO


Summary of Contents for Necta ASTRO
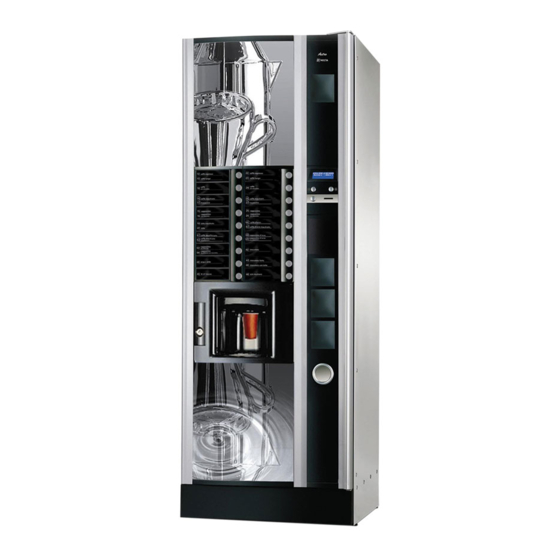
- Page 1 Necta ASTRO to TOUCH upgrade kit Brochure and installation manual 04 Jul 2019, Quvend Zrt. www.quvend.com...
-
Page 2: Table Of Contents
Necta ASTRO Touch screen upgrade kit by QUVEND Zrt.- MANUAL TABLE of content Introduction ............................. 3 What is in the box, tools needed ..................... 4 Installation ............................5 Unplug the machine from the power mains ................5 Disassembly of the door ......................5 Installation of the Display ...................... -
Page 3: Introduction
Necta ASTRO Touch screen upgrade kit by QUVEND Zrt.- MANUAL 1 Introduction This product is an upgrade kit for Necta Astro machines, and including all hardware and software to replace the physical button of the Necta Astro to a Touch Screen. -
Page 4: What Is In The Box, Tools Needed
Necta ASTRO Touch screen upgrade kit by QUVEND Zrt.- MANUAL 2 What is in the box, tools needed What is in the box? Display (item 1) Display mounting kit (item 2) Door back panels (upper and lower) (item 3) ... -
Page 5: Installation
Necta ASTRO Touch screen upgrade kit by QUVEND Zrt.- MANUAL 3 Installation 3.1 Unplug the machine from the power mains 3.2 Disassembly of the door A. Remove the door back covers B. Remove the side door cover C. Remove the upper plastic cover D. -
Page 6: Installation Of The Display
Necta ASTRO Touch screen upgrade kit by QUVEND Zrt.- MANUAL 3.3 Installation of the Display A. Stick the 2 stickers following he signs on them (Item 6) B. Drill or rasp holes where it is marked on the stickers C. Replace the mid cover, but keep it loosened D. - Page 7 Necta ASTRO Touch screen upgrade kit by QUVEND Zrt.- MANUAL Step G Step I Step K Step J Step K...
-
Page 8: Installation Of The Power Supply
Necta ASTRO Touch screen upgrade kit by QUVEND Zrt.- MANUAL 3.4 Installation of the power supply A. Remove the back panels (behind the canisters) of the Machine B. Remove the right hand side metal box C. Remove the side plate of the power supply unit (Item 4) and use it as a marker D. -
Page 9: Make Electric Shock Protection Tests
Necta ASTRO Touch screen upgrade kit by QUVEND Zrt.- MANUAL 3.5 Make electric shock protection tests Ou must be a certified mechanic to makte the installation and you need to do all of the tests needed. -
Page 10: Programming
Necta ASTRO Touch screen upgrade kit by QUVEND Zrt.- MANUAL 4 Programming 4.1 General information We offer 5 different theme. The Themes defines where the buttons are place on the display, but all appearance (background, texts, prices, buttons, desing, languages) can be modified easily by replacing proper –jpeg files... -
Page 11: Programming/Custom Fitting
Necta ASTRO Touch screen upgrade kit by QUVEND Zrt.- MANUAL 4.2 Programming/custom fitting A. Choose from the 5 themes which you wish to use. Each theme has a folder in the sd card. Now we continue with “touchsoft_v3_Buttons” theme B. Copy and replace all files and folders from the selected folder (“touchsoft_v3_Buttons”) to the \Storage Card\touchsoft\ folder C. -
Page 12: Troubleshooting- Cleaning The Screen
Necta ASTRO Touch screen upgrade kit by QUVEND Zrt.- MANUAL 5 Troubleshooting- Cleaning the screen Most of the problems are solves Screen pushed and different button answers: Remove the screen and completely clean it. Screensaver does not activate or change quickly: Clean the screen. -
Page 13: Disclaimer
Necta ASTRO Touch screen upgrade kit by QUVEND Zrt.- MANUAL 6 Disclaimer The touch screen is reused, the buyer need to check the quality safeness and conformity of the product at handover. The product can be cleaned with the same materials as similar electric equipments.