
Related Manuals for Swann DVR4-1100


Summary of Contents for Swann DVR4-1100
- Page 1 DVR4-1100™ 4CH Digital Video Recorder SW242-LP4 / SW242-LPN...
-
Page 2: Table Of Contents
1. DVR Features... 1 2. Layout Front Panel Rear Panel Remote Controller 3. Installation Installing Hard Drive Connecting Camera and Monitor Connecting Power Supply…………………………..…..3 4. System Boot Detecting Installed Hard Drive Recovering Lost Data Restore Recording Feature Main Screen 5. DVR Setup Setup Menu Camera Select Record Select... - Page 3 5.10 Miscellaneous Menu - Password Change ... 9 5.11 Miscellaneous Menu - Color Set... 9 5.12 Miscellaneous Menu - Time Set... 10 5.13 Hard Disk Set 5.14 Motion Set 5.15 Video Mode 5.16 Factory Reset 6. Recording Start Recording Stop Recording Recording Time on Hard Drive 7.
-
Page 4: Dvr Features
4 Channel BNC Camera Input 1 Channel BNC Video Output Video Source Option: NTSC / PAL Motion Detection with Sensitivity and Area Settings Time Schedule Recording / Motion Triggered Recording One ATA-100 Hard Disk Interface USB 2.0 Back up to computer With Remote Control &... -
Page 5: Rear Panel
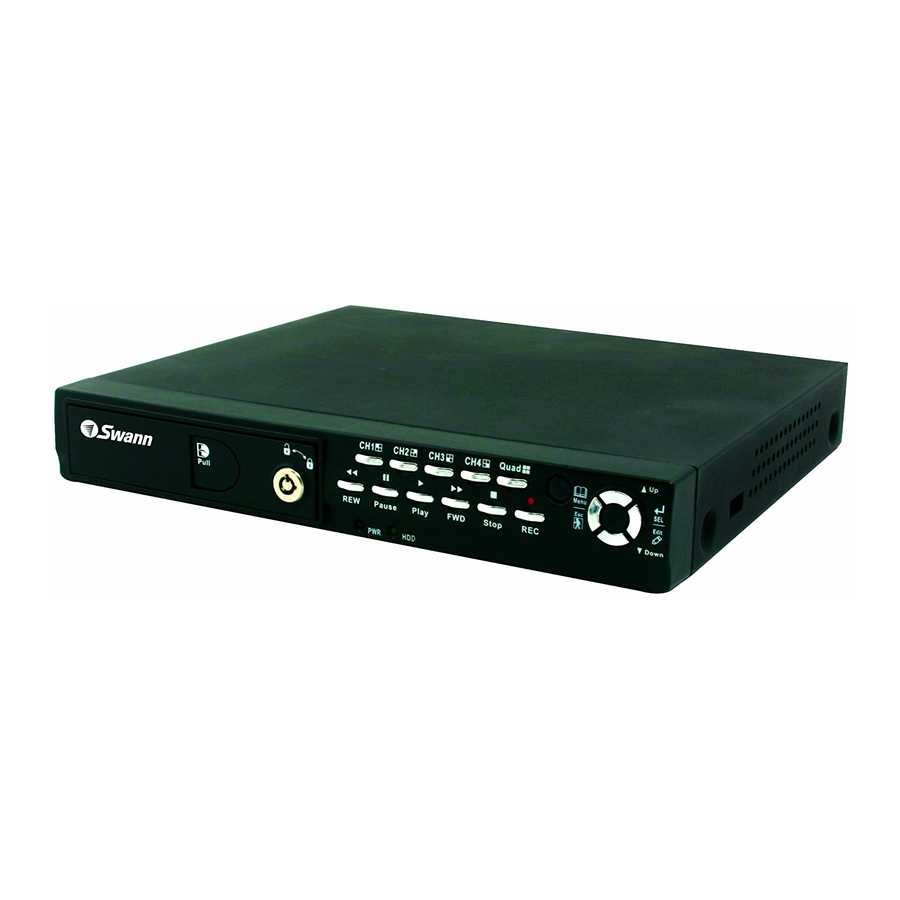
2.2 Rear Panel 1 BNC video output 4 BNC video inputs USB Port is located on the right side of the case. 2.3 Remote Controller Power Supply Input Select or enlarge Channel #1 Select or enlarge Channel #2 Select or enlarge Channel #3 Select or enlarge Channel #4 Quad View Quad... -
Page 6: Installation
3.1 Installing Hard Drive 1. Unplug the power supply. Don’t install or uninstall HDD when DVR is on!! 2. Slide the HDD tray out of DVR body carefully. 3. Connect the power cord and data cable to hard disk drive. Make sure the HDD is set to be MASTER according to the hard drive manual. -
Page 7: System Boot
4.1 Detecting Installed Hard Drive Checking HDD …… MASTER… 4.2 Recovering Lost Data RECOVER HDD? 04811-101735 (SELECT)YES/(MENU)NO 4.3 Restore Recording Feature Power Error Detected Restore Hard Disk (Master) OK Restore REC Mode………… OK Chapter 4: System Boot After connecting the power, the system will boot-up and detect the installed hard drive. -
Page 8: Main Screen
4.4 Main Screen EACH REC [M] <T> > 5.1 Setup Menu CAMERA SELECT RECORD SELECT RESOLUTION RECORD FRAME MAIN RECORD QUALITY MENU SCHEDULE SET MISCELLANEOUS MENU HARD DISK SET MOTION SET VIDEO MODE FACTORY RESET While the DVR is running, the monitor will display the view from the cameras as following: Upper left: Percentage of used hard drive... -
Page 9: Camera Select
MAIN MENU CAMERA SELECT RECORD SELECT RESOLUTION RECORD FRAME RECORD QUALITY SCHEDULE SET MISCELLANEOUS MENU HARD DISK SET MOTION SET VIDEO MODE FACTORY RESET PRESS (UP,DOWN), ENTER (SELECT) PRESS (MENU) TO EXIT 5.2 Camera Select If a channel is disabled, the system will display “OFF” on the monitor, meanwhile, this channel won’t be selected to record. -
Page 10: Resolution
5.4 Resolution There are two modes of resolution for video recording: EACH Mode: The DVR compresses and records each video channel separately so you can enlarge a single channel to full screen display and still be recording on all channels. You can also record on specific channels, for example, you can turn off the record function of CH1 and CH2 and then the system will only record video on CH3 and CH4. -
Page 11: Record Quality
5.6 Record Quality There are three levels of recording quality: High, Normal, and Low. Higher quality uses more hard drive space. Record frame rate, record quality and available hard drive space will affect the total recording time of the DVR system. 5.7 Schedule Set You can set video recording method by Time and Motion Detection Triggered Recording. -
Page 12: Miscellaneous Menu-Auto Record
5.8 Miscellaneous Menu-Auto Record When the function is set to be “ON”, DVR will be awaked to record automatically by record schedule if DVR is without any manual operations in five (5) minutes. When you choose “OFF”, DVR will not record until you press the [ REC] button. -
Page 13: Miscellaneous Menu - Time Set
TIME SET ∨ 2008/08/08 20:08:08 PRESS (UP,DOWN), ENTER (SELECT) PRESS (MENU) TO EXIT 5.13 Hard Disk Set HARD DISK SET OVERWRITE ENABLED HDD SIZE 120042MB HDD USED 80865MB 77% HDD FORMAT PRESS (UP, DOWN), ENTER (SELECT) PRESS (MENU) TO EXIT HDD SIZE: Indicates the total capacity of the hard drive installed in the DVR. -
Page 14: Motion Set
MOTION SET MOTION RECORD TIME: MOTION ALARM TIME: MOTION SET PRESS (UP, DOWN), ENTER (SELECT) PRESS (MENU) TO EXIT MOTION SET: MOTION DETECTION SET >CHANNEL 1 SENSITIVITY CHANNEL 2 SENSITIVITY CHANNEL 3 SENSITIVITY CHANNEL 4 SENSITIVITY CHANNEL 1 AREA SET CHANNEL 2 AREA SET CHANNEL 3 AREA SET CHANNEL 4 AREA SET... -
Page 15: Factory Reset
5.16 Factory Reset Press [ SEL] button to reload factory defaults, then the DVR will reboot, all custom settings (including password) will be restore to default. Caution: There is no confirming dialog box for this selection after you press [ SEL] button, please be prudent! If you forget your password, please keep the system on main screen, and then press [Pause] button for ten (10) times, the DVR will reset the system. -
Page 16: Stop Recording
2. Recording symbol (channel is currently recording) 3. Channel Name 4. Record Resolution (QUAD or EACH) 5. Status (REC, Play, FF1, FF2, FF3, REW, PAUSE) 6. HDD Info. ([M] Master Hard disk) 7. Record Schedule: (T) Continuous (M) Motion Detection (-) No Recording 8. -
Page 17: Playback
Press [ Play] button to play the latest recording. During playback, press the [ from the hard drive. Newest video will be listed at the top. Press [ Up] and [ Down] to move the cursor and select an event, press [ Play] button to start playback. -
Page 18: Usb Programming
Chapter 8: USB Programming Through connecting DVR and PC, you can use PC Viewer software to play back and backup DVR recorded video. 8.1 PC Viewer Program 1. Put the USB Driver Program CD into your CD-ROM Drive 2. Open CD directory 3. -
Page 19: Pc Backup
Item 1. DVR event list 2. Capture picture 3. Save video clip 5. Load video file saved in PC 6. DVR Mode* 7. PC Mode* 8. Channel selection keys 9. Playing scroll bar 10. Fast backward 11. Previous frame 12. Play backward 13. -
Page 20: Specifications
Chapter 9: Specifications ITEM Video Format Operation System Camera Input Channel Video Output Channel NTSC Display Frame Rate NTSC Recording Frame Rate NTSC Recording Frame Rate (Each Mode) Record Mode Display Resolution Record Video Co mpression Format HDD Support Estimated Record Length Remote Control Method Search... -
Page 21: Appendix
10.1 System Connection Diagram 10.2 DVR Accessories (included) Power Cord The shape of the plug might be different from different countries or regions. CD-ROM Chapter 10: Appendix Power Adaptor Remote Controller - 18 - User’s Manual User’s Manual USB Cable...