Table of Contents
Advertisement
Quick Links
INSTALLATION & OPERATION MANUAL
For additional information on Vulcan or to locate an authorized parts and
service provider in your area, visit our website at www.vulcanequipment.com
©ITW Food Equipment Group, LLC
3600 North Point Blvd.
Baltimore, MD 21222
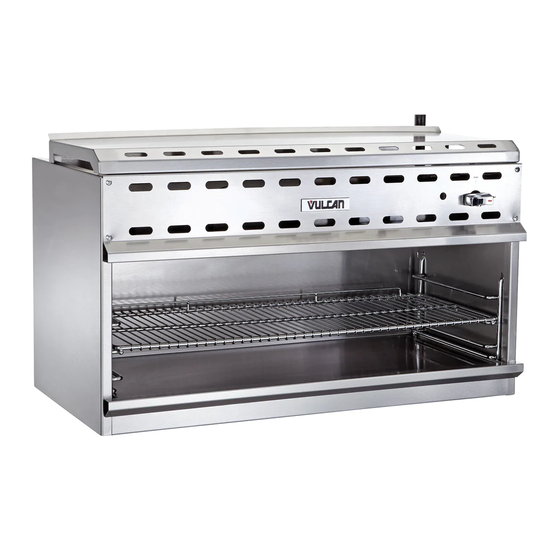
CHEESEMELTER
VICM36
MODELS
VICM24
VICM36
VICM48
VICM60
VICM72
WICM24
WICM36
WICM48
WICM60
WICM72
RETAIN THIS MANUAL FOR FUTURE USE
FORM F-45396 (10-15)
Advertisement
Table of Contents

Related Manuals for Vulcan-Hart VICM24


Summary of Contents for Vulcan-Hart VICM24
- Page 1 INSTALLATION & OPERATION MANUAL CHEESEMELTER MODELS VICM24 VICM36 VICM48 VICM60 VICM72 WICM24 WICM36 WICM48 WICM60 WICM72 VICM36 For additional information on Vulcan or to locate an authorized parts and service provider in your area, visit our website at www.vulcanequipment.com ©ITW Food Equipment Group, LLC RETAIN THIS MANUAL FOR FUTURE USE 3600 North Point Blvd.
-
Page 2: Important For Your Safety
IMPORTANT FOR YOUR SAFETY THIS MANUAL HAS BEEN PREPARED FOR PERSONNEL QUALIFIED TO INSTALL GAS EQUIPMENT, WHO SHOULD PERFORM THE INITIAL FIELD START-UP AND ADJUSTMENTS OF THE EQUIPMENT CO VERED BY THIS MANUAL. POST IN A PROMINENT LOCATION THE INSTRUCTIONS TO BE FOLLOWED IN THE EVENT THE SMELL OF GAS IS DETECTED. -
Page 3: Installation
Cheesemelters are produced with quality workmanship and material. Proper installation, usage and maintenance of your Cheesemelter will result in years of satisfactory performance. Model # of Burners BTU/hr Input Rating VICM24-L / W ICM24-L 18,000 VICM36-L / W ICM36-L 24,000 VICM48-L / W ICM48-L 36,000 (2 @ 18,000) -
Page 4: Installation Codes And Standards
LOCATION The equipment area must be kept free and clear of combustible substances. Minimum Clearances Combustible Construction Non-Combustible Construction Back 2" 0" Sides 20" Bottom 10" 4" The installation location must allow adequate clearances for servicing and proper operation. While another gas-fired cheesemelter can be placed adjacent to this Cheesemelter, there must be no obstruction to the front of the Cheesemelter. - Page 5 Wall support the weight of the cheesemelter. Model Weight 130 lbs/59 kg VICM24 / W ICM24 160 lbs/73 kg VICM36 / W ICM36 VICM48 / W ICM48 200 lbs/91 kg Wall Mounting Bracket(s) VICM60 / W ICM60...
-
Page 6: Gas Connections
Special Hi-Shelf Mounting If the Cheesemelter is to be mounted over a Gas Range, a reinforced hi-shelf designed to support the weight of the cheesemelter is required. 1. Remove the knockouts on the bottom of the unit to expose the threaded attachment points. 2. -
Page 7: Testing The Gas Supply System
TESTING THE GAS SUPPLY SYSTEM When gas supply pressure exceeds ½ psig (3.45 kPa), the Cheesemelter and its individual shutoff valve must be disconnected from the gas supply pip ing system. When gas supply pressure is ½ psig (3.45 kPa) or less, the Cheesemelter should be isolated from the gas supply system by closing its individual manual shutoff valve. -
Page 8: Operation
OPERATION The cheesemelter and its parts are hot. Use care when operating, cleaning or servicing the cheesemelter. LOADING AND UNLOADING Place the rack in the desired position. Pull the rack out for loading and avoid spillage. Push the rack into place and cook for the appropriate time. Pull the rack out for unloading. - Page 9 Spray-On Cleaners Be careful when using spray-on cleaners. Some cleaners may contain caustics. Please follow cleaner manufacturer's instructions. CONTROLS The cheesemelter and its parts are hot. Use care when operating, cleaning or servicing the cheesemelter . Red Pilot Safety Button Pilot Adjustment Valve Burner Valve Knob Rack...
-
Page 10: Extended Shutdown
Rack There are three rack positions. Place the shelf on the rack needed for Cheesemelting. For deeper, longer heat, use lower positions. For thinner foods, or faster cooking, use top shelves. Crumb Tray The crumb tray collects crumbs and waste. Do not allow the crumb tray to overflow. Empty the crumb tray when three-quarters full to reduce the possibility of spillage. -
Page 11: Maintenance
MAINTENANCE The cheesemelter and its parts are hot. Use care when operating, cleaning or servicing the cheesemelter . LUBRICATION All moving parts must be checked for wear and lubricated if necessary. Contact your local Service Contractor. All valves and controls should be lubricated with a high -temperature grease by a trained service technician. -
Page 12: Troubleshooting
TROUBLESHOOTING PROBLEM POSSIBLE CAUSES Burner valve not set to “MAX” position Restriction in burner orifice. (Call for service) Burner not lighting Burner clogged(Call for service) Check for clogged vent on regulator Low gas pressure (Call for service) Insufficient gas input Cracked or loose ceramic in burner.