Table of Contents
Advertisement
Advertisement
Table of Contents

Related Manuals for Scytek electronic G-20


Summary of Contents for Scytek electronic G-20
- Page 1 VEHICLE SECURITY SYSTEM G25/G20...
-
Page 2: Limited Lifetime Warranty
Limited Lifetime Warranty This vehicle security system is warranted to the original purchaser, to be free from defects in material and workmanship. The manufacturer will repair or replace at its option, and free of charge for the first twelve (12) months, any part that proves defective in material or workmanship under normal installation, use, and service, provided the product is returned to the manufacturer freight prepaid. -
Page 3: Remote Transmitter Description
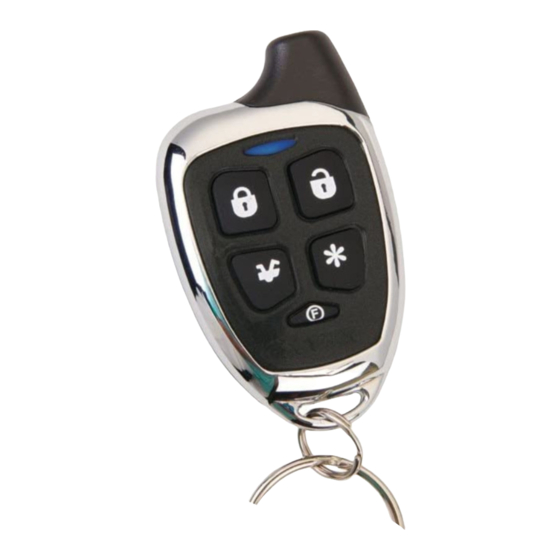
Remote Transmitter Description Button 1 Button 3 The G25/G20 Security System is supplied with two 5/4-button Remote Transmitters used to control system operations. Button 1 Arms the system and when held for 2 seconds, activates the system’s Panic feature. Button 1 also locks the doors when the system is in Valet Mode. Button 2 Disarms the system. -
Page 4: Tamper Alert
Tamper Alert If the system was triggered while away, the LED will flash to indicate which zone triggered the system after disarming and turning on the ignition. The LED indication will repeat 8 times. LED Flashes: 1 flash 2 flashes 3 flashes 4 flashes 5 flashes... -
Page 5: System Operation
Remote Arming The system monitors 3 independent areas ( zones ) while armed: doors, hood/trunk, and shock sensor input. To Arm the System: 1. Turn off the ignition. 2. Press Button 1. · The siren will chirp once.* · The doors will lock. ·... -
Page 6: Panic Mode
1. Turn off the ignition. 2. Open the door and exit the vehicle. · Once all doors are closed and the dome light is off, the LED will begin flashing rapidly. 3. After 30 seconds, · The siren will chirp. ·... -
Page 7: Valet Mode
10 seconds on the last press. · The system will disarm. If the code is entered incorrectly, turn off the ignition and begin again. To set the Emergency Override Code: 1. Turn on ignition. 2. Within 5 seconds, press the valet switch 5 times. ·... -
Page 8: Extended Features
Ignition Controlled Door Locks For added safety, the Ignition Door Locking feature allows vehicles equipped with power door lock systems to automatically lock the doors when the ignition is turned on, and unlock the doors after the ignition key is turned off. If a door is open when the ignition is turned on, the ignition locking feature is disabled to protect against locking the keys inside the vehicle. -
Page 9: Entering System Programming
Entering System Programming To enter System Programming: 1. Turn on ignition. 2. Within 5 seconds, press the valet switch 5 times. · The siren will provide one long chirp, indicating that you have entered Programming. 3. Press the valet switch the number of times equal to the System Parameter you want to change. ·... - Page 10 1. Horn Chirps with Arm & Disarm. Selects one of three modes: Normal, Horn Chirps, and Horn Chirps w/Warn. Normal. When selected, the horn will honk only when the alarm is triggered. Horn Chirps. When selected, the horn will provide the arm/disarm and trigger indications, allowing the siren installation to be skipped.
-
Page 11: Door Lock Diagrams
Door Lock Diagrams Adding Actuators Negative Trigger Reverse Polarity Positive Trigger blue green Starter Interrupt Positive Horn Honk Page 10 - G25/G20... -
Page 12: Wiring Diagram
Wiring Diagram Shock Sensor Green - Lock Out (-) 500mA Blue - Unlock Out (-) 500mA Valet Switch Orange - Ground when Armed Output (-) 500mA Blue Blue - Hood/Trunk Trigger Input (-) Black/White -Domelight/ Aux. 2 Output (-)500mA Brown/White - Horn Output (-)500mA Control Unit Gray - Auxiliary 1 Output (-)500mA G25/G20...