Table of Contents
Advertisement
Quick Links
Advertisement
Table of Contents

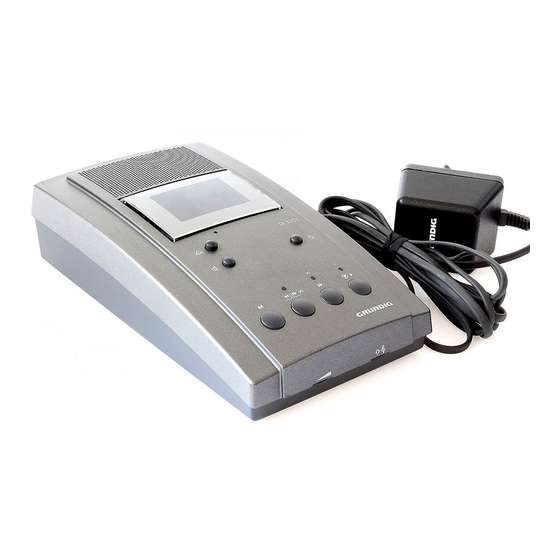
Summary of Contents for Grundig DT 3201
- Page 1 Dt 3 2 0 1 Dt 32 0 0...
- Page 2 DT 3201 ac 9V ac 9V DIN 32750-T steno-cassette 30 ßE Dt 3201 ßW ßQ ß` ß? ßI...
- Page 3 Made in Germany Fabriqué en Allemagne ßR ßT...
-
Page 4: Table Of Contents
Contents General Mains connection ............ 3 Important information ........... 3 Preparation Switching on/off ..........4 3 ßE Stenocassette compartment ......... 4 ßW Playback Starting and stopping ..........5 ßI Volume and sound ..........5 ßR Playback speed ............6 ßT Short rewind ............ - Page 5 Contents Care and Maintenance Housing ..............10 Parts that come in contact with the tape......10 Technical Data Power supply unit NT 675..........12 Dt 3201..............12...
-
Page 6: General
Connect the mains cable to the alternating voltage mains 230 V … 240 V (± 10 %), 50 Hz … 60 Hz. Plug the Dt 3201 mains connection plug into the ac 9 V~socket (at the back of the unit). -
Page 7: Preparation
Preparation Switching on and off With the button. The operating lamp is on. Your unit and the power supply unit are disconnected from the alternating voltage system only when the mains plug has been removed from the power supply socket! Stenocassette compartment After stop has been pressed, open the stenocassette compartment. -
Page 8: Playback
Playback … using the speaker on the unit: Click the speaker button down. … using accessories: such as the GDM 756 microphone, 556 small headset, 560 two-system headset, 561 headphones or AKS 20 acoustic coupler. Click the speaker button out. Note: The maximum playback volume is 85 dB (A) when using heaphone accessories. -
Page 9: Playback Speed
Playback Playback speed … with the speed adjuster (on the bottom); locks at in the middle position (normal speed). You can adjust the playback speed when a foot switch 535 or a hand switch 541 is connected. The speed adjuster does not work if a GDM 756 micro- phone is connected. -
Page 10: Search Function
Fast Forward and Rewind Fast forward Rewind Stop, or the tape stops automatically at the beginning or the end. Search function Automatically locates marks set at the ends of letters during recording; see “Marking the End of a Letter/Index Signal”. Press the buttons at the same time or one right after the other: …... -
Page 11: Erasing
Erasing To erase longer text passages or an entire stenocassette: Wind the tape to the desired position. From the operating mode Stop: Press (approx. 2 sec.) until you hear the index signal, then press for “Fast erase” reverse press for “Fast erase” forward. Erase indicator lights up. -
Page 12: Foot Switch 535 (Accessory)
Foot Switch 535 Connection Plug the foot switch plug into the socket. Operation You can operate the foot switch with both feet. You can rest the foot that you are not using on the middle section. Switch options: right pedal = start left pedal = short rewind. -
Page 13: Housing
Care and Maintenance Housing Clean only with a soft cloth suitable for removing dust. Polishing and cleaning agents can damage the surface. Parts that come into contact with the tape From time to time you should check these parts in the stenocasset- te compartment for dirt which is a result of excessive tape wear. -
Page 14: Care And Maintenance
Care and Maintenance Stand by If you do not select a function within a 10 minute period, the unit switches to “stand by”. When the unit is in stand by mode, the parts that usually touch the tape (see above) no longer come into contact with it. The unit remains in stand by mode. -
Page 15: Power Supply Unit Nt 675
Power supply unit NT 675 Mains voltage: 230 V … 240 V (± 10 %), 50 Hz … 60 Hz Fuse: thermostatic fuse (primary) 130 Dt 3201 Tape speed: 2.38 cm/second (± 2 %); can be adjusted during playback by approx. ± 15 %.


