NTI RACKMUX-V17-N-8USBHDU-IP Manuals
Manuals and User Guides for NTI RACKMUX-V17-N-8USBHDU-IP. We have 2 NTI RACKMUX-V17-N-8USBHDU-IP manuals available for free PDF download: Installation Manual
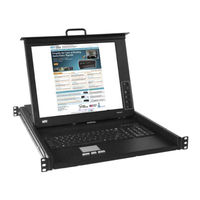
NTI RACKMUX-V17-N-8USBHDU-IP Installation Manual (62 pages)
Rackmount KVM Drawer with Built-In High Density USB KVM Switch and KVM on IP
Brand: NTI
|
Category: LCD Drawer
|
Size: 2 MB
Table of Contents
Advertisement

NTI RACKMUX-V17-N-8USBHDU-IP Installation Manual (62 pages)
RACKMUX Series KVM Drawer with Built-In High Density USB KVM Switch and KVM on IP
Brand: NTI
|
Category: LCD Drawer
|
Size: 2 MB
Table of Contents
Advertisement