NKT Photonics Koheras BOOSTIK LC Manuals
Manuals and User Guides for NKT Photonics Koheras BOOSTIK LC. We have 2 NKT Photonics Koheras BOOSTIK LC manuals available for free PDF download: Product Manual

NKT Photonics Koheras BOOSTIK LC Product Manual (72 pages)
Brand: NKT Photonics
|
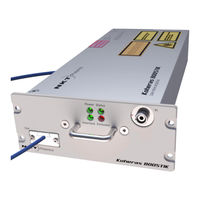
Category: Amplifier
|
Size: 9.29 MB
Table of Contents
Advertisement
NKT Photonics Koheras BOOSTIK LC Product Manual (68 pages)
Narrow linewidth laser amplifier
Brand: NKT Photonics
|
Category: Amplifier
|
Size: 7.33 MB
Table of Contents
Advertisement
Related Products
- NKT Photonics Koheras BOOSTIK
- NKT Photonics Koheras BOOSTIK HP
- NKT Photonics Koheras BASIK
- NKT Photonics Koheras ADJUSTIK
- NKT Photonics Koheras HARMONIK Series
- NKT Photonics Koheras HARMONIK
- NKT Photonics Koheras ACOUSTIK
- NKT Photonics Koheras ADJUSTIK HP
- NKT Photonics Koheras BOOSTIK HP-C15
- NKT Photonics Koheras BOOSTIK HP-E15