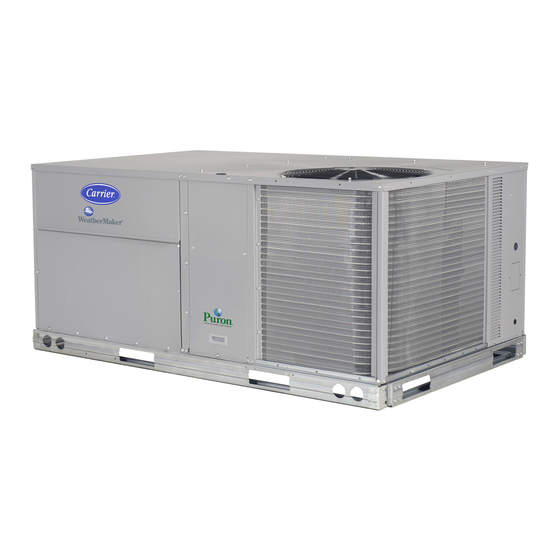
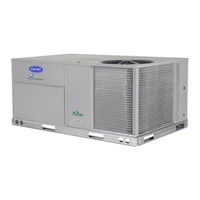
Sign In
Upload
Manuals
Brands
Carrier Manuals
Heat Pump
50TCQD
Carrier 50TCQD Manuals
Manuals and User Guides for Carrier 50TCQD. We have
2
Carrier 50TCQD manuals available for free PDF download: Installation Instructions Manual
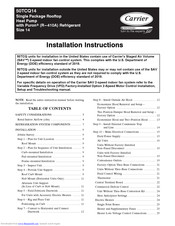
Carrier 50TCQD Installation Instructions Manual (68 pages)
Single Package Rooftop Heat Pump with Puron (R-410A) Refrigerant Size 14
Brand:
Carrier
| Category:
Heat Pump
| Size: 11.32 MB
Table of Contents
Table of Contents
1
Theinstallation.
3
Safety Considerations
3
Rated Indoor Airflow (Cfm)
4
Refrigeration System Components
7
Installation
9
Jobsite Survey
9
Step 1 - Plan for Unit Location
9
Roof Mount
9
Step 2 - Plan for Sequence of Unit Installation
9
Curb- - Mounted Installation
9
Pad- - Mounted Installation
9
Frame- - Mounted Installation
9
Step 3 - Inspect Unit
9
Step 4 - Provide Unit Support
9
Slab Mount (Horizontal Units Only)
11
Alternate Unit Support (in Lieu of Curb or Slab Mount)
11
Step 5 - Field Fabricate Ductwork
11
For Units with Accessory Electric Heaters
11
Step 6 - Rig and Place Unit
11
Positioning on Curb
11
Step 7 - Convert to Horizontal and Connect
12
Ductwork
12
Step 8 - Install Outside Air Hood
12
Economizer Hood Removal and Setup
12
Factory Option
12
Two Position Damper Hood Removal and Setup
13
Economizer Hood and Two- - Position Hood
13
Step 9 - - Install External Condensate Trap and Line
14
Step 10 - Make Electrical Connections
15
Field Power Supply
15
All Units
16
Units Without Factory- - Installed
19
Non- - Fused Disconnect
19
Units with Factory- - Installed
19
Convenience Outlets
19
Factory- - Option Thru- - Base Connections
21
Units Without Thru- - Base Connections
21
Field Control Wiring
21
Thermostat
21
Central Terminal Board
22
Commercial Defrost Control
22
Unit Without Thru- - Base Conversion Kit
24
Heat Anticipator Settings
24
Electric Heaters
24
Single Point Boxes
25
Heater and Supplementary Fuses
25
Heater Low- - Voltage Control Connections
25
Economi$Er R X (Factory- -Installed Option)
27
Product Description
27
System Components
27
Specifications
27
W7220 Economizer Module
27
Electrical
27
Inputs
27
Outputs
28
Environmental
28
S- - Bus Sensor Wiring
28
CO 2 Sensor Wiring
29
Interface Overview
29
User Interface
29
Keypad
29
Menu Structure
30
Setup and Configuration
30
Time- - out and Screensaver
30
Sequence of Operation
36
Enthalpy Settings
40
Two- -Speed Fan Operation
40
Checkout
41
Power up
41
Initial Menu Display
41
Power Loss (Outage or Brownout)
41
Status
41
Checkout Tests
41
Troubleshooting
41
Alarms
41
Clearing Alarms
41
Premierlinkt Controller (Factory Option)
42
Supply Air Temperature (SAT) Sensor
42
Outdoor Air Temperature (OAT) Sensor
44
Economi$Er2
44
Field Connections
44
Space Sensors
44
Connect Thermostat
44
Configure the Unit for Thermostat Mode
45
Economizer Controls
47
Indoor Air Quality (CO Sensor)
47
Outdoor Air Quality Sensor
47
Space Relative Humidity Sensor
48
Smoke Detector/Fire Shutdown (FSD)
48
Filter Status Switch
48
Supply Fan Status Switch
48
Remote Occupied Switch
48
Power Exhaust (Output)
48
CCN Communication Bus
49
RTU Open Controller System
50
Supply Air Temperature (SAT) Sensor
52
Outdoor Air Temperature (OAT) Sensor
52
Economi$Er2
52
Field Connections
52
Space Temperature (SPT) Sensors
53
Indoor Air Quality (CO ) Sensor
53
Outdoor Air Quality Sensor
54
Space Relative Humidity Sensor
54
Smoke Detector/Fire Shutdown (FSD)
54
Connecting Discrete Inputs
54
Communication Wiring - - Protocols
54
General
54
Local Access
55
RTU Open Controller Troubleshooting
56
Outdoor Air Enthalpy Control
57
Differential Enthalpy Control
57
Return Air Enthalpy Sensor
57
Smoke Detectors
57
Step 11 - Adjust Factory- -Installed Options
63
Step 12 - Install Accessories
63
Step 13 - Check Belt Tension
64
Unit Start- - up Checklist
67
Advertisement
Carrier 50TCQD Installation Instructions Manual (44 pages)
Single Package Rooftop with Puron (R-410A) Refrigerant Sizes 17 & 24
Brand:
Carrier
| Category:
Heat Pump
| Size: 7.51 MB
Table of Contents
Table of Contents
1
Safety Considerations
1
Installation
6
Step 1 - Plan for Unit Location
6
Step 2 - Plan for Sequence of Unit Installation
7
Step 3 - Inspect Unit
7
Step 4 - Provide Unit Support
7
Step 5 - Field Fabricate Ductwork
10
Step 6 - Rig and Place Unit
10
Step 7 - Duct Connection
11
Step 8 - Install Outside Air Hood
12
Step 9 - Install External Condensate Trap and Line
13
Step 10 - Make Electrical Connections
13
Sizes
24
Step 11 - Adjust Factory- -Installed Options
42
Step 12 - Install Accessories
42
Appendix - Typical Wiring Diagrams
43
Advertisement
Related Products
Carrier 50TCQD14
Carrier 50TCQD17
Carrier 50TCQD24
Carrier 50TCQD17-D24
Carrier 50TCQD08
Carrier WeatherMaker 50TCQ
Carrier 50TCQA04
Carrier 50TCQA06
Carrier WeatherMaker 50TCQ*04
Carrier WeatherMaker 50TCQ*05
Carrier Categories
Air Conditioner
Heat Pump
Furnace
Thermostat
Chiller
More Carrier Manuals
Login
Sign In
OR
Sign in with Facebook
Sign in with Google
Upload manual
Upload from disk
Upload from URL