User Manuals: Burkert 8222 ELEMENT NEUTRINO Meter
Manuals and User Guides for Burkert 8222 ELEMENT NEUTRINO Meter. We have 8 Burkert 8222 ELEMENT NEUTRINO Meter manuals available for free PDF download: Quick Start Manual, Operating Instructions Manual
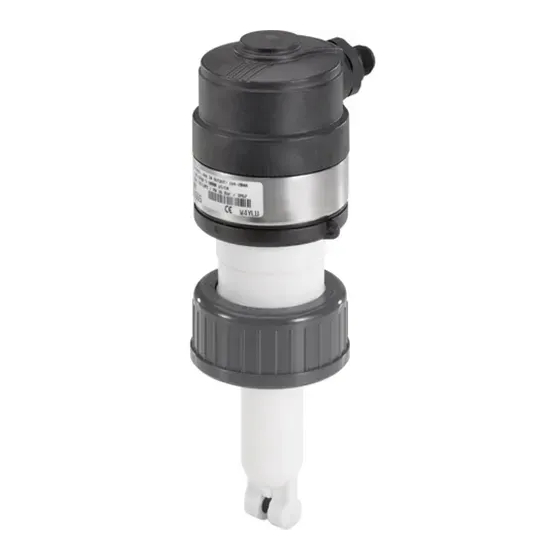
Burkert 8222 ELEMENT NEUTRINO Operating Instructions Manual (110 pages)
Conductivity transmitter
Brand: Burkert
|
Category: Transmitter
|
Size: 11 MB
Table of Contents
Advertisement
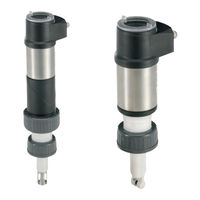
Burkert 8222 ELEMENT NEUTRINO Quick Start Manual (118 pages)
pH/Redox or conductivity meter
Brand: Burkert
|
Category: Measuring Instruments
|
Size: 3 MB
Table of Contents

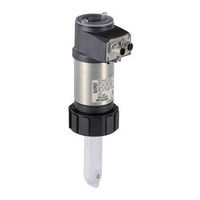
Burkert 8222 ELEMENT NEUTRINO Operating Instructions Manual (68 pages)
Conductivity meter
Brand: Burkert
|
Category: Measuring Instruments
|
Size: 2 MB
Table of Contents
Advertisement
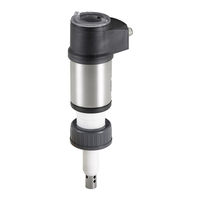
Burkert 8222 ELEMENT NEUTRINO Operating Instructions Manual (72 pages)
Conductivity meter
Brand: Burkert
|
Category: Measuring Instruments
|
Size: 1 MB
Table of Contents
Burkert 8222 ELEMENT NEUTRINO Operating Instructions Manual (68 pages)
Conductivity meter
Brand: Burkert
|
Category: Measuring Instruments
|
Size: 2 MB
Table of Contents

Bürkert 8222 ELEMENT NEUTRINO Operating Instructions Manual (74 pages)
ELEMENT, Conductivity meter
Brand: Bürkert
|
Category: Measuring Instruments
|
Size: 2 MB
Table of Contents

Burkert 8222 ELEMENT NEUTRINO Operating Instructions Manual (36 pages)
from serial number 3000.
Conductivity meter
Brand: Burkert
|
Category: Measuring Instruments
|
Size: 1 MB
Table of Contents

Burkert 8222 ELEMENT NEUTRINO Quick Start Manual (39 pages)
pH / Redox or conductivity meter
Brand: Burkert
|
Category: Measuring Instruments
|
Size: 2 MB