Agilent Technologies U1273A Manuals
Manuals and User Guides for Agilent Technologies U1273A. We have 3 Agilent Technologies U1273A manuals available for free PDF download: User Manual, Quick Start Manual
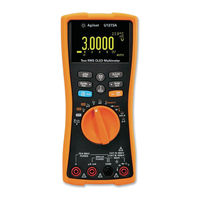
Agilent Technologies U1273A User Manual (177 pages)
Handheld Digital
Multimeter
Brand: Agilent Technologies
|
Category: Multimeter
|
Size: 8.27 MB
Table of Contents
Advertisement
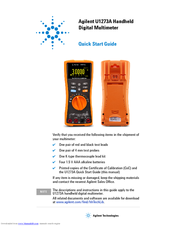
Agilent Technologies U1273A Quick Start Manual (19 pages)
Handheld Digital Multimeter
Brand: Agilent Technologies
|
Category: Multimeter
|
Size: 1.78 MB
Table of Contents

Agilent Technologies U1273A Quick Start Manual (19 pages)
Handheld Digital Multimeter
Brand: Agilent Technologies
|
Category: Multimeter
|
Size: 1.8 MB
Table of Contents
Advertisement