Advertisement
Table of Contents
- 1 Let's Talk Safety
- 2 Table of Contents
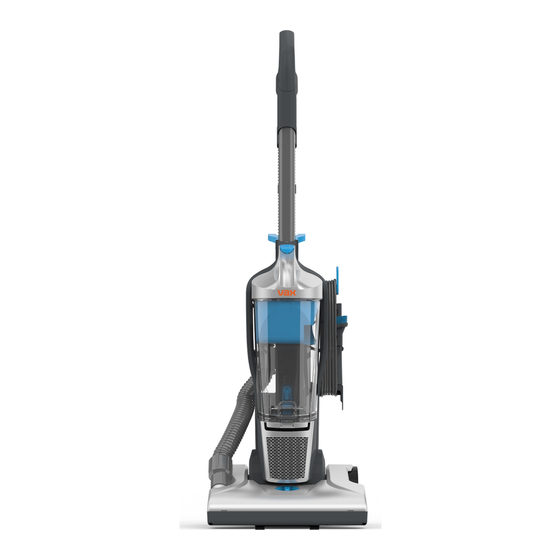
- 3 Getting to Know Your Machine
- 4 Assembling Your Vacuum Cleaner
- 5 Getting Started
- 6 Using Your Machine
- 7 Taking Care of Your Machine
- 8 Let's Talk Technical
- 9 Replacing the Belt
- 10 Accessories
- 11 What to Do if It Goes Wrong
- 12 Getting in Touch
- Download this manual
Advertisement
Table of Contents


Need help?
Do you have a question about the Power U84-M1-Be and is the answer not in the manual?
Questions and answers