Bose Lifestyle SoundTouch 235 Setup Manual
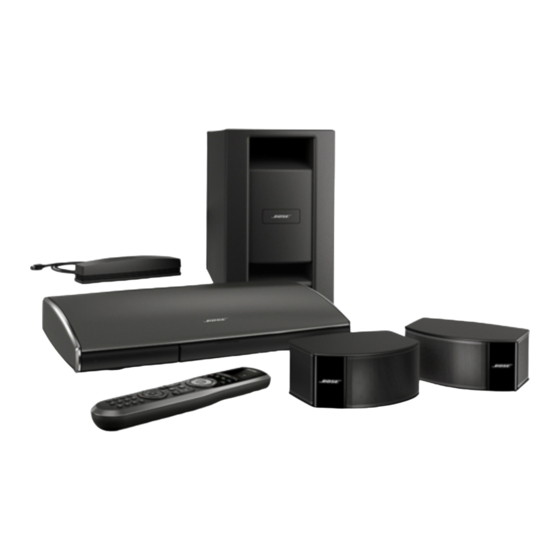
Entertainment system
Hide thumbs
Also See for Lifestyle SoundTouch 235:
- Setup manual (264 pages) ,
- Service manual (9 pages) ,
- Operating manual (420 pages)

Related Manuals for Bose Lifestyle SoundTouch 235


Summary of Contents for Bose Lifestyle SoundTouch 235
- Page 1 Set Up Guide • Guía de instalación • Guide de configuration Lifestyle 135 series IV ®...
-
Page 2: Important Safety Instructions
Please check your local building codes for the correct type of wire and cable required for in-wall installation. • Changes or modifications not expressly approved by Bose Corporation could void the user’s authority to operate this equipment. Important Safety Instructions 1. - Page 3 Bose Corporation hereby declares that this product is in compliance with the essential requirements and other relevant provisions of Directive 1999/5/EC and all other applicable EU directive requirements.
- Page 4 “5” is 2005 or 2015. Digits 2-4 are the month and date; “001” is January 1 and “365” is December 31. China Importer: Bose Electronics (Shanghai) Company Limited, Part C, Plan 9, No. 353 North Riying Road, China (Shanghai) Pilot Free Trade Zone...
-
Page 5: Table Of Contents
Contents Introduction About your Lifestyle SoundTouch™ system ..........® SoundTouch™ ..................... About your SoundTouch™ wireless adapter .......... Unpacking ......................Setting Up the Control Console Control console box ................... Setting Up the Acoustimass Module ® Acoustimass module box ................® Setting Up the Speakers Speaker box ...................... -
Page 6: About Your Lifestyle ® Soundtouch™ System
Introduction About your Lifestyle SoundTouch™ system ® The Lifestyle SoundTouch system is elegant and easy-to-use, delivering su- ® ™ perior performance for both music and video. This guide provides step-by-step instructions for setting up your new system. Refer to the operating guide for system features. -
Page 7: Unpacking
Note: If part of the system is damaged, do not use it. Contact your authorized Bose dealer or Bose customer service. Refer to the contact sheet in box 4. ® Save the carton and packaging materials for transporting or storing the system. -
Page 8: Setting Up The Control Console
Setting Up the Control Console Control console box From box 1: Control console Power supply Audio input cable HIGH SPEED HDMI cable ™ From the power cord box: Power cord Place the control console on a flat, stable surface near your TV. Control console Note: Until your system is completely installed, keep the control console positioned for easy access to its rear connector panel. - Page 9 Setting Up the Control Console Insert one end of the HIGH SPEED HDMI cable into an HDMI IN connector on ™ your TV. If an HDMI cable is already connected to an HDMI connector on your TV, you can disconnect the other end and use this cable. Note: If you plan on viewing 3D content, use the supplied HIGH SPEED HDMI cable.
- Page 10 Insert one end of the audio input cable into the Audio OUT connector on the control console, with the flat surface and arrow on the plug facing up. Note: Do not connect the audio input cable to a Bose link connector. Audio OUT Insert the power supply output cord into the Power connector.
-
Page 11: Setting Up The Acoustimass ® Module
Setting Up the Acoustimass Module ® Acoustimass module box ® From box 2: From the power cord box: Acoustimass module Power cord Place the Acoustimass module on the floor at the same end of the room as the TV near a live AC (mains) power outlet. Acoustimass module CAUTION: DO NOT stand the Acoustimass... - Page 12 Setting Up the Acoustimass Module ® Lay the module on its side and locate the connector panel. Connector panel Insert the audio input cable connected to the control console into the Media Center connector on the Acoustimass module, with the flat surface and arrow facing the front of the module.
-
Page 13: Setting Up The Speakers
Speaker cable ® Note: You can place system speakers on wall brackets or floor stands. To purchase these accessories, contact your local Bose dealer or visit www.Bose.com. ® Place the Left (L) speaker to the left of the TV and the right (R) speaker to the right. - Page 14 Setting Up the Speakers Separate the speaker cable so each plug can reach one speaker. Insert the L plug into the left (L) speaker. Insert the R plug into the right (R) speaker. Right ( ) speaker Left ( ) speaker 14 - English...
-
Page 15: Starting Up The System
Starting Up the System Insert the other end of the speaker cable into the SPEAKERS connector on the Acoustimass module. ® Turn in each thumb screw until it is finger tight. Thumb screw Put the Acoustimass module in its final position: ®... -
Page 16: Interactive Box
Starting Up the System Interactive box What you need: ADAPTiQ audio calibration headset Remote control with batteries ® SoundTouch wireless adapter USB cable ™ Before you start: • Do not connect any devices to the control console until instructed by UNIFY ®... -
Page 17: Powering On The System
Starting Up the System Powering on the system Press the power button on the control console. The system operates in a power saving mode when it is off to keep energy consumption low, so it may take several seconds to start. The system is ready to use when the status indicator on the console changes from blinking to solid green. -
Page 18: Completing Setup With Unify
® The UNIFY intelligent integration system guides you through the initial process of setting up your system. It guides you through choosing the right cables and inputs, and programming the Bose remote to operate your connected devices. ® Follow the instructions on your TV screen to complete the following: •... -
Page 19: Other Box 4 Items
Starting Up the System Other Box 4 items The remaining items in Box 4 may or may not be required to set up your Lifestyle SoundTouch system. For more information on using these accessories ® ™ or adding other devices to your system at another time, see the operating guide. Stereo audio cable IR emitter cable FM antenna*... -
Page 20: Care And Maintenance
Refer to “Troubleshooting” in your system operating guide. Contacting customer service For additional help using the system: • Visit SoundTouch.com • Contact Bose Customer Service. Refer to the contact sheet in Box 4. ® 20 - English... -
Page 21: Appendix: Using Unify
On your smartphone or tablet, download the SoundTouch controller app. ™ On your smartphone or tablet, download the SoundTouch controller app. ™ Bose SoundTouch ® controller app • iOS users: download from the App Store • Android users: download on the Google Play store ™... - Page 22 ©2015 Bose Corporation, The Mountain, Framingham, MA 01701-9168 USA AM744565 Rév. 00...
Need help?
Do you have a question about the Lifestyle SoundTouch 235 and is the answer not in the manual?
Questions and answers