
Related Manuals for Sandstrom SWC32B11


Summary of Contents for Sandstrom SWC32B11
- Page 1 Instruction Manual Wine Cooler SWC32B11 SWC32B11_IB_final110526.indd 1 5/26/11 6:25 PM...
- Page 2 SWC32B11_IB_final110526.indd 2 5/26/11 6:25 PM...
-
Page 3: Table Of Contents
Contents Unpacking ............................ 4 Installation ........................... 5 Location ..................................5 Installing the Door Handle ..........................5 Reversing the Door Swing ........................... 6 Levelling the Unit ..............................7 Cleaning Before Use .............................. 7 Before Using Your Unit ............................7 Product Overview ........................8 Control Panel ................................ -
Page 4: Unpacking
P.N.: MCJ-04H Door Handle Screws x2 Bottle Rack Instruction Manual P.N.: TY02-62A P.N.: GB818-85 P.N.: CJJ-27 P.N.: SWC32B11-001 If items are missing, or damaged please contact Partmaster (UK only). Tel: 0844 800 3456 for assistance. SWC32B11_IB_final110526.indd 4 5/26/11 6:26 PM... -
Page 5: Installation
Installation INSTALLATION Location When selecting a position for your unit make sure the floor is flat and firm, and that the room is well ventilated with an average room temperature of between 16°C and 32°C. Avoid locating your unit near a heat source, e.g. -
Page 6: Reversing The Door Swing
INSTALLATION Reversing the Door Swing Tools required: Philips style screwdriver / Flat bladed screwdriver / Hexagonal spanner. • Ensure the unit is unplugged and empty. • Adjust the two levelling feet to their highest position. • To take the door off it is necessary to tilt the unit backwards. You should rest the unit on something solid, e.g. -
Page 7: Levelling The Unit
INSTALLATION 12. Set the door back on to the top hinge. Screw the bottom hinge into place on the new side. Also screw in the levelling foot. 13. Check that the door is aligned horizontally and vertically and that the seals are closed on all sides before finally tightening the bottom hinge. -
Page 8: Product Overview
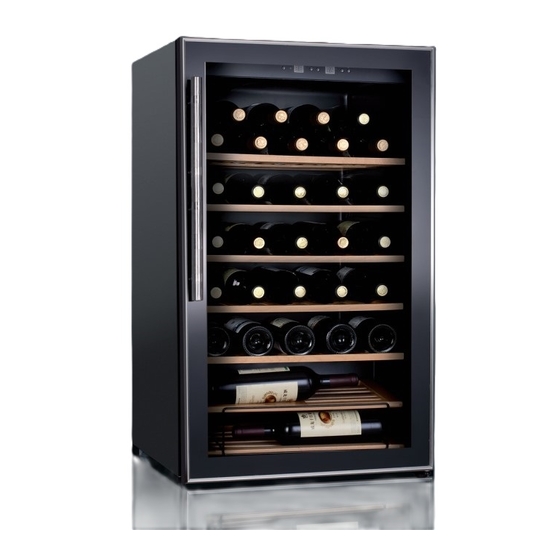
Product Overview Control Panel Adjustable Shelves Door Handle Smaller Shelf Upper Bottle Rack Shelf Bottle Rack Lower Bottle Glass Door Rack Shelf Levelling Feet Control Panel °C °C °F °F °C/°F POWER CHAMBER CHAMBER 1. Interior Light Button 5. Actual Temperature Display 2. -
Page 9: Operation
Operation Switching On Your Wine Cooler 1. Press the POWER button to switch on the Wine Cooler. 2. You can select the temperature display setting from Fahrenheit to Celsius degrees by pressing the °C/°F button. When Fahrenheit is selected, the °F indicator will illuminate on the display. When Celsius is selected, the °C indicator will illuminate on the display. -
Page 10: Filling Water Into Humidifier
Filling Water into Humidifier 1. Pull out the water tank of the humidifier. 2. Use a bottle to fill water into the water tank to the Max level. 3. Remember to fill with water every 6 days (depending on the actual humidity in your wine cooler). Stacking the Wine Bottles °C °C... -
Page 11: Storing Wine In Your Wine Cooler
Storing Wine in Your Wine Cooler One benefit of your new wine cooler is that you can simulate the conditions of a wine cellar. By using a wine cooler thermometer you can ensure a constant temperature of around 5-20°C, which is ideal for storing wine. -
Page 12: Cleaning
Cleaning Cleaning the Inside of the Wine Cooler There is usually no need to defrost the wine cooler as any ice that is deposited on the back wall will defrost automatically. 1. Before cleaning the wine cooler always switch off and disconnect the mains supply. 2. -
Page 13: Maintenance
Maintenance Changing the Internal Light All parts removed must be saved to do the replacement of the light bulb. Before removing the light bulb, either unplug the wine cooler or disconnect the electricity from the main power supply. Failure to do so could result in an electrical shock or personal injury. -
Page 14: Specification
Specification Model SWC32B11 Rated Voltage 230V~ Rated Current 0.7A Rated Frequency 50Hz Overall Dimension 870mm x 510mm x 500mm ( Height x Depth x Width ) 110L Overall Gross Volume 3.9 cubic feet 108L Storage Volume 3.8 cubic feet Storage Temperature 5°C-22°C... -
Page 15: Safety Warnings
Safety Warnings For your continued safety and to reduce the risk of injury or electric shock, please follow all the safety precautions listed below. • Read all instructions carefully before using the unit and keep them for future reference. • Retain the manual. - Page 16 Normal energy Increased energy consumption consumption Installation site In a ventilated room. In an enclosed, unventilated room. Protected from direct sunlight. In direct sunlight. Not situated near to a heat source Situated near to a heat source (radiator, oven). (radiator, oven). Where the ideal ambient room Where there is a high ambient temperature is approx 20°C.
- Page 17 There are separate collection systems for recycling in the EU. For more information, please contact the local authority or your retailer where you purchased the product. DSG Retail Ltd • Maylands Avenue • Hemel Hempstead Herts • HP2 7TG • England (P.N.: SWC32B11-001) SWC32B11_IB_final110526.indd 17 5/26/11 6:26 PM...
- Page 18 SWC32B11_IB_final110526.indd 18 5/26/11 6:26 PM...
- Page 19 SWC32B11_IB_final110526.indd 19 5/26/11 6:26 PM...
- Page 20 SWC32B11_IB_final110526.indd 20 5/26/11 6:26 PM...
Need help?
Do you have a question about the SWC32B11 and is the answer not in the manual?
Questions and answers