Advertisement
Quick Links
Advertisement

Related Manuals for Smeg SHI410X


Summary of Contents for Smeg SHI410X
- Page 1 Instructions Manual SHI410X...
-
Page 2: Table Of Contents
INDEX RECOMMENDATIONS AND SUGGESTIONS ........................3 CHARACTERISTICS ................................4 INSTALLATION..................................6 USE ...................................... 10 MAINTENANCE ................................... 11... -
Page 3: Recommendations And Suggestions
RECOMMENDATIONS AND SUGGESTIONS The Instructions for Use apply to several versions of this appliance. Accordingly, you may find descriptions of individual features that do not apply to your specific appliance. INSTALLATION • The manufacturer will not be held liable for any damages resulting from incorrect or improper installation. -
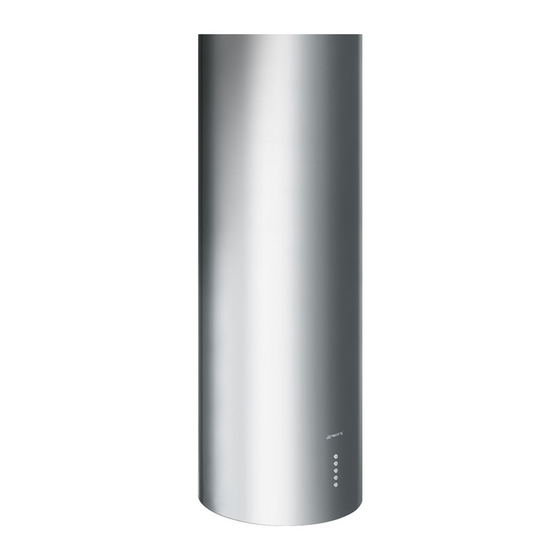
Page 4: Characteristics
CHARACTERISTICS Components Ref. Q.ty Product Components Hood Body, complete with: Controls, Light, Blower, Filters Chimney Upper Telescopic frame complete with extractor, consisting of: 7.1a Upper frame 7.1b Lower frame Reducer Flange ø 150-120 mm Flange ø 120 mm 7.1a Dumper Recirculation Air Outlet Connection Pipe clamps Ref. - Page 5 Dimensions 650mm minimum * Dimensions of the hood in ducting version. ** Dimensions of the hood in recycling version.
-
Page 6: Installation
INSTALLATION Drilling the Ceiling/shelf and fixing the frame DRILLING THE CEILING/SHELF • Use a plumb line to mark the centre of the hob on the ceiling/support shelf. • Place the drilling template 21 provided on the ceiling/support shelf, making sure that the template is in the correct position by lining up the axes of the template with those of the hob. - Page 7 PREPARATION OF THE FRAME FOR THE HOOD IN RE- CYCLING VERSION In case the hood is used in recycling version it is neces- sary to prepare the frame with all the necessary connec- tion pieces. In order to make the installation easier it is necessary to lengthen the frame: •...
- Page 8 FIXING THE FRAME • Lift the frame up, making sure that the index over the frame plate is turned forwards. • Fit the frame slots onto the two screws inserted in the ceiling as above, and turn until reaching the centre of the adjustment slot.
- Page 9 Installing of the chimney and fixing of the hood When the hood is installed in recycling version the chim- ney has to be positioned with the slots upwards. When the hood is installed in ducting version it has to be posi- tioned in the opposite way.
-
Page 10: Use
Control panel Function Turns the lighting system on and off. Press and hold for approx. 2 seconds to turn the lighting system on and off at reduced intensity. Turn the suction motor on and off at speed one. Press and hold the button for approximately 2 seconds, After 100 working hours all the with all the loads turned off (Motor and Lights), to reset LEDs (L1-L2-L3-L4) will light up... -
Page 11: Maintenance
MAINTENANCE Metal grease filters These can also be washed in the dishwasher, and need to be cleaned when all the command LEDs light up in a continuous manner or at least once every 2 months use, or more frequently if use is particularly intensive. - Page 12 Activated Charcoal Filter (Recirculation Version) • This cannot be washed or regenerated, and must be changed when all the command LEDs start to flash, or at least once every 4 months. Activating the alarm signal • In Recirculation Version Hoods, the Filter Saturation Alarm must be activated on installation or at a later date.
- Page 16 991.0263.497_ver1...
Need help?
Do you have a question about the SHI410X and is the answer not in the manual?
Questions and answers