Advertisement
Quick Links
Advertisement

Related Manuals for Digitus DA-70577


Summary of Contents for Digitus DA-70577
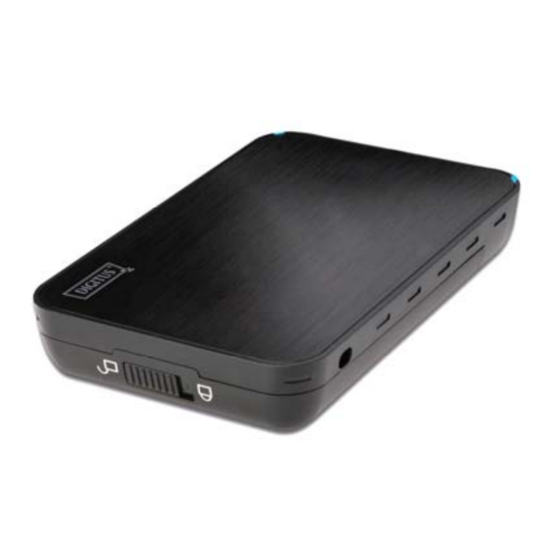
- Page 1 SATA HDD 3.5 USB 3.0 External Enclosure User Manual (DA-70577)
- Page 2 I. System Requirement Basic environment for setup this device: Hardware requirement: a PC or Notebook Operation system:Windows2000/XP/Vista/7 II. Feature No screws design, easy install or remove disk drive Suitable for 3.5" SATA HDD Compliant USB3.0 to SATA interface, transfer rate max up to5Gbps One touch backup function Support Plug-paly and Hot-plug.
- Page 3 3. Slide the plastic cover to the main case 4. Slide the button to the [Lock] position 5. Insert the enclosure to the attached stand 6.Connect the USB cable to enclosure and PC 7.Connect the Adapter to the enclosure and power source...
- Page 4 V. Driver Installation a . Setup mode under Windows2000/XP/Vista/7 Under system win2000/XP/Vista/Win7, system will automatically detect the new hardware and finish the setup! Then an icon will appear on the right-bottom area of the system toolbar as below: Congratulation,you enyoy this product now! VI.
- Page 5 VII. software installation and usage A. software installation 1.Open the folder [PCCLONEEX_LITE_1_82_01_JMICRON] and double click [Setup],the window will apear as below: 2. Click [Agree] to accrpt the license agreement . Click [Install] enter next step...
- Page 6 1. After finish the installation, on icon will appear on desktop, double click [PCCloneEX] then one window will appear as below:...
- Page 7 2. Press the backup button, program will appear [Please select file(s)], click [OK]...
- Page 8 3. Please select the file(s) which you want to backup in the left window, then press the button again 4. Follow the instruction to press the button again or click [Start] with mouse...
- Page 9 5. System start to backup the file(s) which you have selected, when finish, there will display [Back up finished], click [OK] 6. Now you can check the file in right window...
- Page 10 VIII. Remove the external enclosure Before removing this unit from your computer, please finish the following procedures for a safe removal: 1). Click the icon in the [Desktop] window of your computer 2). A [Safely Remove Hardware] message window will appear , click the [Stop] button 3).
- Page 11 Disclaimer All the information in this document is subject to change without prior notice The manufacturer makes no representations or any warranties regarding the Contents of this manual. The information contained in this manual is provided for the general use by the customers.
Need help?
Do you have a question about the DA-70577 and is the answer not in the manual?
Questions and answers