
Related Manuals for Digitus DA-71559


Summary of Contents for Digitus DA-71559
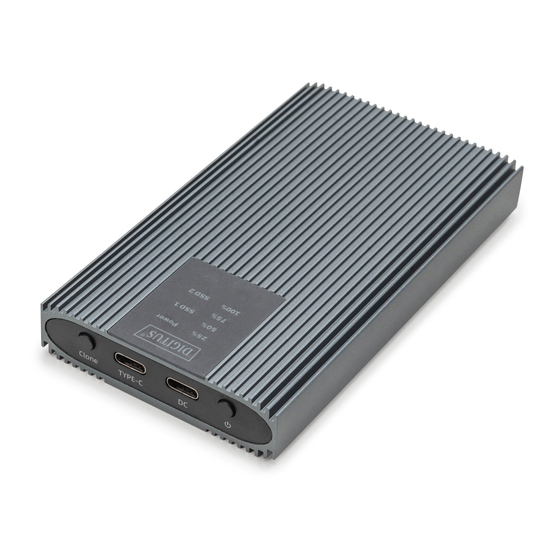
- Page 1 M.2 NVME CLONESTATION, SSD, NVME, 20GBITS, USB 3.2 GEN2, ALUMINUM, TOOLFREE Quick Installation Guide DA-71559...
-
Page 2: Table Of Contents
Table of contents Introduction ............... 3 Technical Features ............. 3 Package content ............4 Specification ............... 4 Installation ..............6 Clone Function ............9... -
Page 3: Introduction
1. Introduction The DN-71559 mobile NVMe cloning station is the ultimate solution for fast and efficient data migration and backup. This powerful cloning station supports Mini SSDs in M.2 format with M Key and B+M Key, making it extremely versatile and compatible with a wide range of modern SSDs. Thanks to the USB 3.2 Gen 2 Type-C interface, the cloning station offers lightning-fast data transfer rates of up to 20 Gbps, allowing you to copy large files in seconds. -
Page 4: Package Content
Cross-platform support: Compatible with Windows, macOS, Linux, Google Chrome OS, Android and iOS. Robust chipset: JMS586U chipset for reliable and efficient performance. LED activity indicator: Integrated LED indicator for monitoring the status of your SSD. Durable and stylish: aluminum housing in Pantone 430C with excellent passive heat dissipation. - Page 5 Supported keys M Key, B+M Key (NMVe) USB standard USB 3.2 Gen2x2 Backwards compatible 3.1/ 3.0 / 2.0 / 1.1 with USB Chipset JMS586U LED activity indicator Casing Aluminum Heat dissipation passive Supports Plug & Play Power supply USB connection Win 11,10, 8, 7 Android / iOS Supports system...
-
Page 6: Installation
5. Installation 5.1 Read& Write Function 5.1.1 Fix the hard disk in the inner bracket, connect the power to the DC interface, and connect the data cable to the TYPE-C interface (connect the other end of the cable to your device interface) Note: Only the Source port can be plugged into the converted AHCI hard disk. - Page 7 5.2 New hard drive format 5.2.1 View “Computer-Mange-Disk Management” to find the new disk.
- Page 8 5.2.2 Right click the “Disk 1”, then click “New Simple Volume”. 5.2.3 According to the instruction, choose the size of partition, then click “Next” to finish. 5.2.4 Then you can find the new hard disk in the “Computer,” it’s ready to be use.
-
Page 9: Clone Function
6. Clone Function 6.1 Insert disk into bracket, then insert into aluminum case (Back up the data of your subdrive before cloning, because cloning overwrites the original content of the subdrive. Target disk storage should ≥ source disk storage), connect to power supply, no need to connect to USB C cable. Note: Only the Source disk can work with AHCI, but cannot fit to physical casing 1 Source SSD... - Page 10 Power cable Power indicator light Clone progress light SSD 1 disk indicator light 25%-50%-75%-100% Clone button SSD 2 disk indicator light Hereby ASSMANN Electronic GmbH declares that the Declaration of Conformity is part of the shipping content. If the Declaration of Conformity is missing, you can request it by post under the below mentioned manufacturer address.
Need help?
Do you have a question about the DA-71559 and is the answer not in the manual?
Questions and answers