
Related Manuals for Roberts Milano 3


Summary of Contents for Roberts Milano 3
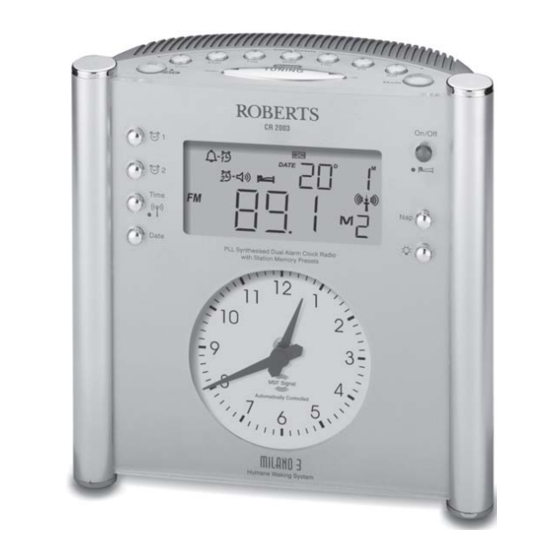
- Page 1 CR2003 3 band Auto set PLL Synthesised Clock Radio Please read this manual before use...
-
Page 2: Table Of Contents
Contents Controls ................2-5 Headphone socket ............20 Display ................6 Reset ................20 Automatic tuning system (ATS) ......... 7 Troubleshooting ............... 21 Automatic clock setting ............7 Specifications ..............21 MSF radio signal ..............8 Mains supply ..............22 Manual setting of the clock displays ........ - Page 3 Controls (Top) 1. Time/Date/Alarm set and ATS button 2. Preset memories and Alarm days buttons 3. Waveband and Alarm mode button 4. Tuning Up/Down and Snooze button If you need any further advice, please call our Technical Helpline on :- 020 8758 0338 (Mon-Fri)
- Page 4 Controls (Front) 5. Date button 6. Time button 7. Alarm 2 button 8. Alarm 1 button 9. On/Off and sleep button 10. Nap button 11. Light button 12. Analogue clock...
- Page 5 Controls (Right hand side) 13. Tone control 14. Volume control 15. Headphone socket If you need any further advice, please call our Technical Helpline on :- 020 8758 0338 (Mon-Fri)
-
Page 6: Controls
Controls (Base) 16. Reset button 17. Time zone switch 18. Alarm sound level control 19. Display brightness control... -
Page 7: Display
Display A. Waveband and clock AM/PM indicators H. Day of week indicators B. Time set indicator I. Month, date, year and alarm time display C. Summer time indicator J. MSF indicator D. Alarm indicators K. Auto tuning indicator E. Sleep indicator L. -
Page 8: Automatic Tuning System (Ats)
Automatic Tuning System (ATS) 1. Place your radio on a flat surface and connect the mains plug to a wall socket and switch on the wall socket. When connected to power for the first time or if power is restored after temporary loss the clock hands will set to the 12:00 o'clock position. -
Page 9: Msf Radio Signal
MSF radio signal At certain times of the year the MSF radio transmitter closes down for maintenance. During this time the clock will not automatically set (see the section headed Manual setting of the time). Recorded information on transmitter status can be obtained on 020 8943 6493. -
Page 10: Setting The Date
Setting the date (only if automatic setting fails) 1. Press the Date button, DATE will flash in the LCD display. 2. Press the Set button, Year will flash in the LCD display. 3. Press the up or down button to adjust the year. 4. -
Page 11: Operating The Radio
Operating the radio Your clock radio is equipped with three tuning methods:- Scan tuning, Manual tuning and Memory preset tuning. When switched-on your clock radio will display the waveband and frequency in use. Scan tuning 1. Press the On/Off button to switch on the radio. 2. -
Page 12: Manual Tuning
Manual tuning 1. Press the On/Off button to switch on your radio. 2. Select the required waveband by repeatedly pressing the Band button. On the FM waveband fully extend the Wire aerial located on the rear of your clock radio - for MW and LW rotate your clock radio for best reception. -
Page 13: Presetting Stations
Presetting stations There are 7 memory presets for each of the 3 wavebands. 1. Press the On/Off button to switch on the radio. 2. Tune to the required station using one of the methods previously described. 3. Press and hold down the required Preset button until the radio beeps (greater than 2 seconds) The preset number will appear in the display and the station will be stored under the chosen preset button. -
Page 14: Recalling A Preset Station
Recalling a preset station 1. Press the On/Off button to turn on the radio. 2. Select the required waveband by repeatedly pressing the Band button. 3. Momentarily press the required Preset button, the preset number and station frequency will appear in the display. -
Page 15: Alarms
Alarms Your clock radio is equipped with two alarms which can be operated independently of each other. Each of the alarms can be set so that you wake to either the radio or buzzer alarms. The alarms can be set with the radio switched On or Off. The LCD and analogue clock displays will change from Amber colour to Blue colour when the alarms sound and during snooze period. - Page 16 Setting alarms to wake to radio (continued) 6. Press the Day of week buttons to select required days of week on which the alarm will sound. Display will shows day of week on which alarm will sound e.g. 7. Repeatedly press and release Mode button until the radio alarm symbol appears in the display.
-
Page 17: Setting Alarms To Wake To Buzzer
Setting alarms to wake to buzzer A beep tone will sound when using the buzzer alarm. The alarm beep will increase in volume every 15 seconds for one minute followed by one minutes silence before repeating the cycle. The buzzer alarm will sound for one hour unless turned off by pressing the On/Off button. -
Page 18: Snooze Function
Setting alarms to wake to buzzer (continued) 6. Press the Day of week buttons to select required days of week on which the alarm will sound. Display will shows day of week on which alarm will sound e.g. 7. Repeatedly press and release Mode button until the buzzer alarm symbol appears in the display. -
Page 19: Cancelling Alarms
Cancelling alarms 1. Press the Alarm 1 or Alarm 2 buttons (depending on which alarm you wish to cancel). 2. Press the Set button the alarm symbols will flash in the display. 3. Repeatedly press and release Mode button until only the symbols appear in the display. -
Page 20: Sleep Timer
Sleep timer The sleep timer will automatically switch off your clock radio after a preset time has elapsed. The sleep time is adjustable from 15-120 minutes in 15 minute steps. 1. Press and continue to hold down the button and the display will cycle through the available sleep times. -
Page 21: Time Zone Switch
Time zone switch 1. The Time zone switch is used to provide offsets of -1 to + 2 hours relative to GMT (UTC). This facility would only be used if your clock radio is used in another country that is within range of the UK time signal transmitter e.g. France where the time is GMT (UTC) +1. -
Page 22: Troubleshooting
Troubleshooting 1. If the time does not set automatically it may be necessary to rotate your clock radio to a position giving better reception of the MSF signal. 2. It is recommended that your clock radio is placed as far away as possible from any sources of interference such as computers or televisions, etc. -
Page 23: Mains Supply
General Fuse Do not allow this unit to be exposed to moisture (e.g. dripping or This apparatus must be protected by a 3A fuse (BS1362) in a 13A plug splashing). It is recommended that the FM band be used wherever (BS1363). -
Page 24: Guarantee
In the event that it is not possible to return the instrument to the Roberts' dealer from whom it was purchased, please contact Roberts Radio Technical Services at the address shown below.
Need help?
Do you have a question about the Milano 3 and is the answer not in the manual?
Questions and answers