Table of Contents
Advertisement
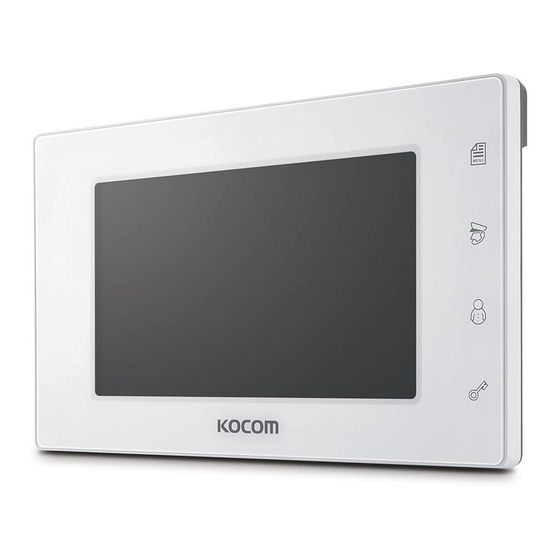
KCV-434SD / KCV-D434SD
4CH COLOR HANDSFREE
VIDEOPHONE
4CH Connection
●
Compact Design(33mm)
●
7 inch digital LCD color monior
●
Front Variation(Transparent Type, Mirror Type)
●
Easy Icon Button
●
OSD function
●
Visitor Communication and Door Open
●
Communicate with Guard Master phone
●
Touch button
●
Guard Phone, Lobby Phone Operating
●
KCV-544 MANUAL
MANUAL
[Operating Installation Manual]
KC-MC24
KCV-544
Door Camera for KCV-544
KC-MC20
KC-C60
KC-MC30
www.kocom.com
CAMERA
TALK
KLP-C420
Advertisement
Table of Contents

Related Manuals for KOCOM KCV-544


Summary of Contents for KOCOM KCV-544
- Page 1 Front Variation(Transparent Type, Mirror Type) ● Easy Icon Button ● OSD function ● Visitor Communication and Door Open ● KCV-544 Communicate with Guard Master phone ● Touch button ● Guard Phone, Lobby Phone Operating ● Door Camera for KCV-544 KC-MC24 KC-MC20 KC-C60 KC-MC30 KLP-C420...
-
Page 2: Cautions For Safety
Cautions for safety For safe use, please stick to the following cautions. ·Please, save this manual after reading these instructions carefully. ·Read and understand all instructions to set up rightly. ·This Cautions for Safety may include items that are not contained in specifications of the product that consumer purchases. ·If you need assistance with the set-up or operation, please contact with A/S center. - Page 3 Safety Instructions, Warnings and Cautions of Each System ·Do not disassemble this unit at will as this device is composed by precision parts. 쪾 ·Install the unit by following the set-up instructions of Kocom. ·Do not touch or insert any foreign substances, for example, sticker, magnetic, opener and the like.
-
Page 4: Installation Location
Installation location ■ Monitor installation location ■ Camera installation location ·Standard monitor installation height ·Camera installation in height Standard is about 1,500mm where screen camera installation height is when center is at eye level. lens is about 1,400mm above the floor. In this case, wall-hanging metal In this case, camera stack center center (center of piping) is 1,450mm... -
Page 5: Components Of Product
"L" wench 2X8mm Main body Scre cap (KC-MB30) Main body Supporter Supporter Specifications Model No. KCV-544 Power Source AC 90V-AC 240V 50/60Hz Power Consumption Stand by 1.8W(±20%), In load 12W(±20%) Operating Temperature 0℃ ~ +40℃ Monitor 7 Inch color LCD... -
Page 6: Name And Functions Of Each Part
From camera to monitor in 3 steps. ⑨ Camera terminal : Cannects camera with 4 wire polarity. ⑩ AC power cord(KCV-544) ⑪ Power switch : Use by Turning power ON / OFF ⑫ The terminal of updating the software ■... -
Page 7: Product Connection Diagram
2WIRE 2WIRE Door Opener External Power Input ■ System configurations(System Mode) Lobby Phone (KLP-C420R) 4WIRE 4WIRE KVS-A4P / KVS-A8P KCV-544 Reapter Guard Phone (KAM-D340) ■ Terminal ① CAMERA 1 ③ CAMERA 3 ① ② 1.VCC 2.GND 3.AUDIO 4.VIDEO 1.VCC 2.GND 3.AUDIO 4.VIDEO ③... -
Page 8: Instructions For Operation
Instructions for operation ■ Communication with door camera Push the call button. You can hear call sound from Push the entrance button [ Push the entrance button [ The camera molody is all connected monitors, and and communicate with the door camera and stop the communication. - Page 9 Instructions for operation ■ Sound Adjustment Call Adjustment : See the side of monitor and find Call Vol. consisting of 3 level(High/Mid/Mute). Receiver Adjustment : While communicating, adjust R. Vol. consisting of 3 level(High/Mid/Low). ■ Brightness Adjustment - On Talk, push the Menu button [ ] and the brigtness icon will appear.
-
Page 10: Warranty Card
2) If this product breaks down during proper use as a result of product defect, KOCOM will repair it within one year from date of purchase free of charge. 3) The following cases will be subject to charge, even during warranty period: a.
Need help?
Do you have a question about the KCV-544 and is the answer not in the manual?
Questions and answers