Table of Contents
Advertisement
Quick Links
Advertisement
Table of Contents

Subscribe to Our Youtube Channel
Related Manuals for Mackie SRM350 2-WAY


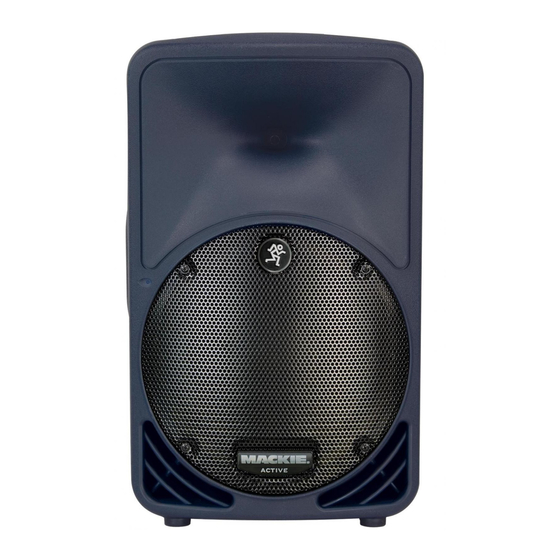
Summary of Contents for Mackie SRM350 2-WAY
- Page 1 SRM350 2-WAY ACTIVE LOUDSPEAKER USER’S MANUAL...
-
Page 2: Important Safety Instructions
IMPORTANT SAFETY INSTRUCTIONS 1. Read these instructions. 2. Keep these instructions. 3. Heed all warnings. 4. Follow all instructions. 5. Do not use this apparatus near water. 6. Clean only with dry cloth. 7. Do not block any ventilation openings. Install in accordance with the manufacturer’s instructions. -
Page 3: Table Of Contents
... 9 Accessory Plate ... 9 Don’t forget to visit our website at for more information about these and other Mackie products. Part No. 0008034-90 Rev. C 09/05 ©2003-2005 LOUD Technologies Inc. All Rights Reserved. According to OSHA, any exposure in excess of these permissible limits could result in some hearing loss. -
Page 4: Introduction
INTRODUCTION Thank you for choosing LOUD Technologies’ Mackie active sound reinforcement speakers. The SRM350 is an active two-way loud- speaker capable of extremely high sound pressure levels, and designed to give you the best performance of any loudspeaker in its class and price range. - Page 5 The Active Advantage There are a number of advantages to us- ing an active speaker system over a passive loudspeaker: • The internal crossover is active, and its low power circuitry operates on line- level signals.
-
Page 6: Hookup Diagrams
HOOKUP DIAGRAMS Quick Start 1. Start with the following settings on the back of the SRM350: Turn the POWER switch off (down). Set the CONTOUR and MIC/LINE switches out. If using a microphone as the input to the SRM350, push the MIC/ LINE switch in. - Page 7 CONTOUR DESIGNED BY MACKOIDS IN WOODINVILLE, WA, USA 2.50A 230VA (+3dB) SRM350: DAISY-CHAINING USING THE THRU JACK The SRM350 can be used with a Mackie SWA1501 or SWA1801 subwoofer to create an incredibly powerful system. The active crossover inside the subwoofer...
-
Page 8: Rear Panel Description
This is used to adjust the signal level, going into the built-in power amplifiers, from Off up to 45 dB of gain. Since the SRM350 in- corporates Mackie’s world-class low-noise mic preamp technology, you can connect either a line-level or a microphone-level signal to the input, and use this control to adjust the level correctly. -
Page 9: Mic/Line Switch
THRU Connector This is a male XLR-type connector that can be used to daisy-chain the input signal to another speaker. The signal at this point is after the MIC/ LINE switch but before the LEVEL control. If you have a microphone connected to the... -
Page 10: Connections
SRM350 to the output of your mixing console. Simply plug the signal source output into the first INPUT jack, and patch that speaker’s THRU jack to the next INPUT jack, and so on, daisy-chaining multiple speakers (see diagram on page 7). - Page 11 The best approach is to provide as much direct sound coverage to the audience as possible. The farther away you are from the speaker, the more prominent will be the reflected sound. Use more speakers strategically placed so they are closer to the back of the audience.
-
Page 12: Thermal Considerations
THERMAL CONSIDERATIONS The amplifiers inside the SRM350 are convection cooled by a large heatsink. For efficient cooling, it is important to allow at least six inches of free space behind the SRM350. If the ambient temperature in the room is high, it could cause the amplifiers to over- heat. - Page 13 Wherever possible, connect all of your equipment to the same electrical circuit. This will help reduce the possibility of a ground loop problem causing an annoying hum in your speakers. Low power components such as tape decks, mixers, effects processors and CD players should be connected to the same outlet as the SRM350s.
-
Page 14: Service Information
SRM350 before correct- ing it or changing any connections. Of all Mackie products returned for ser- vice (which is hardly any at all), many are coded “CND” — Could Not Duplicate— which usually means the problem lay some- where else in the system. - Page 15 Bad sound! • Is it loud and distorted? Follow the procedures described in the “Quick Start” section to verify that the levels are set properly. • Is the input connector plugged com- pletely into the jack? Be sure all connections are secure. It’s a good idea to periodically clean all electrical connections with a non-lubricating electrical contact cleaner.
-
Page 16: Repair
Repair Service for Mackie products is available at a factory-authorized service center. Ser- vice for Mackie products living outside the United States can be obtained through local dealers or distributors. If your SRM350 needs service, please fol- low these instructions: 1. -
Page 17: Srm350 Specifications
“Mackie” and the “Running Man” figure are registered trademarks of LOUD Technologies Inc. All other brand names mentioned are trade- marks or registered trademarks of their respective holders, and are hereby acknowledged. -
Page 18: Srm350 Block Diagram
SRM350 BLOCK DIAGRAM... -
Page 19: Srm350 Limited Warranty
B. Failure to register online or return the product registration card will not void the five-year warranty. C. Service and repairs of Mackie products are to be performed only at a factory-authorized facility (see D below). Unauthorized service, repairs, or modification will void this warranty. - Page 20 16220 Wood-Red Road NE • Woodinville, WA 98072 • USA United States and Canada: 800.898.3211 Europe, Asia, Central and South America: 425.487.4333 Middle East and Africa: 31.20.654.4000 Fax: 425.487.4337 • www.mackie.com E-mail: sales@mackie.com...
Need help?
Do you have a question about the SRM350 2-WAY and is the answer not in the manual?
Questions and answers