Table of Contents
Advertisement
Advertisement
Table of Contents

Related Manuals for Mackie SRM450v3


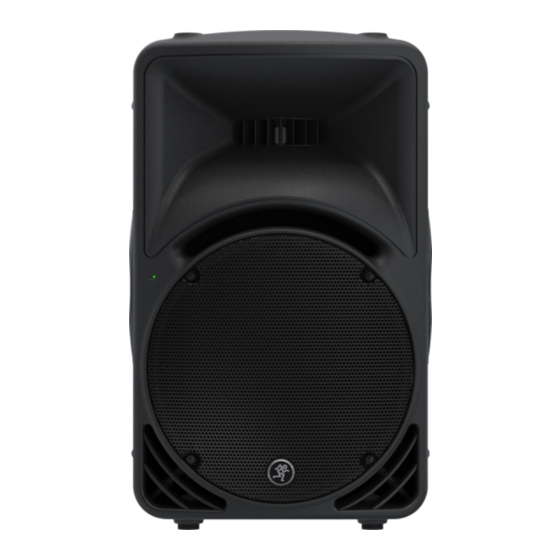
Summary of Contents for Mackie SRM450v3
- Page 1 SRM350v3 and SRM450v3 Powered Loudspeakers O W N E R ’ S M A N U A L...
-
Page 2: Important Safety Instructions
For more information about where you can drop off your waste equipment for recycling, please contact your local city office, waste authority, or your household waste disposal service. SRM350v3 and SRM450v3 Powered Loudspeakers... -
Page 3: Table Of Contents
Rigging Design Practices ........15 • 23.0 lb / 10.4 kg [SRM350v3] Rigging Hardware and Accessories ....15 • 37.0 lb / 16.8 kg [SRM450v3] Rigging Notes ..........15 SRMv3 Inserts & Fly Points ......15 Appendix A: Service Information ......16 Appendix B: Connections ........ -
Page 4: Introduction
2. Connect the line-level outputs from the mixing high-output application. console (or other signal source) to the inputs on the rear panel of the SRM350v3 / SRM450v3 loudspeakers. SRMs feature modern tools like application-specific speaker modes and an automatic feedback destroyer, 3. -
Page 5: Hookup Diagrams
For the output, you will want to set a speaker mode, described in detail on page 11. For this type of setup, PA works well for the main SRM450v3. However, don’t count out the soloist mode! It has a nice low cut and a brilliant high end. - Page 6 The channel A and B high pass outputs of the SRM1850 subwoofer are connected directly to the channel 1 inputs of each SRM450v3 loudspeaker. Be sure that the gain knob on each is set to “line”. Select the VAR high pass mode on the SRM1850 and turn the adjacent knob to120 Hz for a matched system.
- Page 7 Hookup Diagrams continued... To next To next SRMv3 SRMv3 Main loudspeaker loudspeaker Outs input input SPEAKER FEEDBACK SPEAKER FEEDBACK SPEAKER FEEDBACK SPEAKER FEEDBACK MAIN MAIN MAIN MAIN MODE DESTROYER MODE DESTROYER MODE DESTROYER MODE DESTROYER LIMIT LIMIT LIMIT LIMIT LOGO LOGO LOGO LOGO...
- Page 8 The channel A high pass outputs of the last two SRM1850 subwoofers are connected directly to the channel 1 inputs of the main pair of SRM450v3 loudspeakers. Be sure that the gain knob on each is set to “line”. Select the VAR high pass mode on the SRM1850 and turn the adjacent knob to120 Hz for a matched system.
-
Page 9: Srmv3 Loudspeaker: Rear Panel Features
SRM350v3/SRM450v3 Loudspeaker: Rear Panel Features As a general guide, SRMv3 loudspeakers SPEAKER FEEDBACK should be turned on last, after any mixer MAIN MODE DESTROYER or other signal source. As such, they should LIMIT also be turned off first. This will reduce the possibility... -
Page 10: Gain Knobs
SRM350v3/SRM450v3 Loudspeaker: Rear Panel Features continued... HOLD TO SOLO CLEAR Balanced 1/4" TRS Connector SIG/OL SIG/OL GAIN GAIN Sleeve – Shield (ground) Tip – Positive (+ or hot) LINE LINE Ring – Negative (– or cold) RING SLEEVE SLEEVE RING... -
Page 11: Ch 1/Mix Switch [Thru Output]
SRM350v3/SRM450v3 Loudspeaker: Rear Panel Features continued... See page 7 to learn more about daisy-chaining SRMv3 loudspeakers. SPEAKER FEEDBACK MAIN MODE DESTROYER For more information on these connectors, see Appendix B on page 17. LIMIT HOLD TO SOLO CLEAR 7. Ch 1/Mix Switch [Thru Output]... -
Page 12: Smart Protect
AC Power There are advanced DSP protection mechanisms Be sure the SRMv3 loudspeaker is plugged into an designed into the SRM350v3 and SRM450v3 outlet that is able to supply the correct voltage specified to safeguard the loudspeakers and amplifiers for your model. It will continue to operate at lower from inadvertent damage. -
Page 13: Placement
Placement WARNING: Installation should only be done SRMv3 loudspeakers are NOT designed to array by an experienced technician. Improper horizontally. If you feel you must put two speakers installation may result in damage to the side-by-side, you should have a good understanding equipment, injury or death. -
Page 14: Room Acoustics
Keep in mind that the speaker mode and feedback to handle the weight of the loudspeaker. destroyer are two great ways to compensate for some of these issues. See page 11 for more information [8, 9]. SRM350v3 and SRM450v3 Powered Loudspeakers... -
Page 15: Rigging
SRMv3 loudspeaker must be supported independently of any other SRMv3 loudspeaker and any other loads. All rigging points must be used to hang an SRMv3 loudspeaker. SRM350v3 Inserts SRM450v3 Fly Points M5 inserts for mounting optional hanging bracket. MP = Mounting Point SPEAKER FEEDBACK... -
Page 16: Appendix A: Service Information
AC power. See the section titled ‘AC Power’ on Monday-Friday, during normal business hours, Pacific page 12 for further details. Time, to explain the problem. Tech Support will tell you where the nearest factory-authorized service center is located in your area. SRM350v3 and SRM450v3 Powered Loudspeakers... -
Page 17: Appendix B: Connections
Appendix B: Connections Balanced XLR Input Connector Balanced 1/4" TRS Connector Each SRM loudspeaker has two female XLR/TRS/TS TRS stands for Tip-Ring-Sleeve, the three connections combo inputs. Be sure the cables are wired per available on a stereo 1/4" cable. This allows for a AES (Audio Engineering Society) standards: direct connection to the channel 1 and 2 input jacks on SRM loudspeakers. -
Page 18: Appendix C: Technical Information
Appendix C: Technical Information SRMv3 Loudspeaker Specifications Acoustic Performance: Input/Output Frequency Response (–3 dB) 55 Hz – 20 kHz [SRM350v3] Channel 1 47 Hz – 20 kHz [SRM450v3] Mic-Line 8 k balanced Frequency Response (–10 dB) 1/4" TRS, Wide-Z ™ 1 M unbalanced 50 Hz –... - Page 19 Spoon mixture into a small oven-proof dish that has been sprayed with a good vegetable oil. SRM450v3: Floor mount, pole mount or fly via three integrated M10 mounting points (using M10 x 1.5 x 20 mm forged Bake in preheated 350 F oven for 20 minutes or until sauce shoulder eyebolts).
-
Page 20: Srmv3 Loudspeaker Dimensions
333 mm 311 mm WEIGHT 23 lb 10.4 kg 50˚ SRM450v3 Loudspeaker Dimensions 26.1 in 26.1 in 663 mm 663 mm 14.8 in 16.0 in 406 mm 376 mm WEIGHT 37 lb 16.8 kg 45˚ SRM350v3 and SRM450v3 Powered Loudspeakers... -
Page 21: Srmv3 Loudspeaker Frequency Responses
SRM350v3 and SRM450v3 Loudspeaker Frequency Response Legend PA Speaker Mode – This mode is full range, but focuses DJ Speaker Mode – This mode bumps the lows on mid-range clarity where vocals often reside. and highs with a mild tuck to the mids, perfect for music playback. -
Page 22: Srmv3 Loudspeaker Block Diagram
SRM350v3 and SRM450v3 Loudspeaker Block Diagram SRM350v3 and SRM450v3 Powered Loudspeakers... -
Page 23: Limited Warranty
Limited Warranty Please keep your sales receipt in a safe place. This Limited Product Warranty (“Product Warranty”) is provided by LOUD Technologies Inc. (“LOUD”) and is applicable to products purchased in the United States or Canada through a LOUD-authorized reseller or dealer. The Product Warranty will not extend to anyone other than the original purchaser of the product (hereinafter, “Customer,”... - Page 24 16220 Wood-Red Road NE Woodinville, WA 98072 • USA Phone: 425.487.4333 Toll-free: 800.898.3211 Fax: 425.487.4337 www.720trees.com...
Need help?
Do you have a question about the SRM450v3 and is the answer not in the manual?
Questions and answers