Phoenix Gold Z Series User Manual
Amplified subwoofer
Hide thumbs
Also See for Z Series:
- Manual (14 pages) ,
- Installation manuallines (9 pages) ,
- Quick start manual (4 pages)
Table of Contents
Advertisement
Advertisement
Table of Contents

Related Manuals for Phoenix Gold Z Series


Summary of Contents for Phoenix Gold Z Series
- Page 1 Z 8 1 5 0 8 ” S l i m A c t i v e B a s s E n c l o s u r e...
-
Page 2: Table Of Contents
Protection circuitry pleasure. Mounting the subwoofer Thank you for making PHOENIX GOLD Connecting the subwoofer your choice for car audio entertainment! Front panel controls and features Rear panel controls and features... -
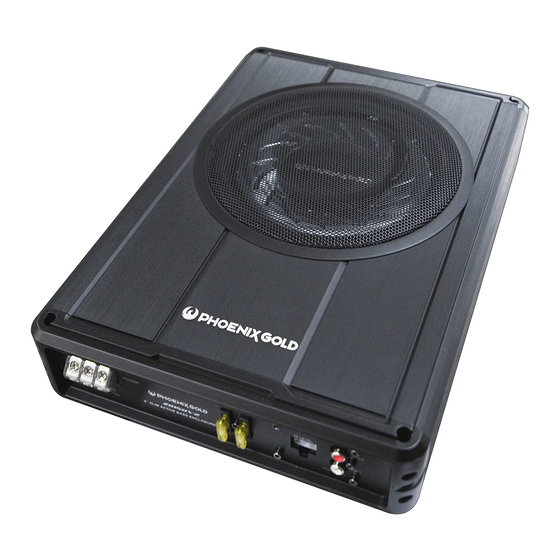
Page 3: Amplified Subwoofer
Introduction What is included? When first unpacking your new With the Z8150,we are introducing a slim-profile amplified subwoofer. amplified subwoofer, please check Slim enough to fit underseat or in a hide first that the package contains all of away location. It is a quick and easy the items below. -
Page 4: General Precautions
General precautions Protection circuitry The built-in amplifier incorporates Before installing and using your new special protection circuitry which will amplified subwoofer, please become disable the amplifier if any of the familiar with all the information following should occur: contained in this manual. * Input overload Please keep this manual in a safe place for future reference. -
Page 5: Mounting The Subwoofer
Mounting the subwoofer Connecting the subwoofer Before connecting any wiring look through 1. Find a suitable location in the vehicle this manual and identify the diagrams in which to mount the amplifier. to follow for power, input and speaker A typical location is shown below: connections for your particular installation. - Page 6 Don't misuse the 5. Connect all line inputs and outputs level control! (if used) using high-quality cables. Do not mistake the input level control for a volume control! It is designed 6. Insert fuse(s) into battery fuse holders. ONLY to match the output level of your audio source to the input level 7.
-
Page 7: Front Panel Controls And Features
Front panel controls and features ① ② ③ ④ ⑤ ⑥ ⑦ ⑧ ① REMOTE LEVEL CONTROL PORT If the rest of your system is weak on the mids, you may wish to set this Attach the included remote level control relatively high. -
Page 8: Rear Panel Controls And Features
Rear panel controls and features 8” Slim Active Bass Enclosure ① ②③ ④ ⑤ ④ ① HIGH LEVEL (speaker level) POWER TERMINALS INPUTS ② If your head unit does not have RCA FUSE outputs, you can use the speaker The fuse in the left socket is the fuse which provides protection for the outputs for the audio source for the circuitry. -
Page 9: Low Level Input Wiring
Low Level Input Wiring Low-level (RCA) input wiring is preferred for best audio performance. Most boot or hatchback installations will require a 15-20 feet RCA cable, while pickup trucks and under-seat installations will require a 6-12 feet RCA cable. Always use a high quality cable. -
Page 10: Power Connections
Power Connections Connect the ground terminal to the closest point on the chassis of the vehicle. Keep this ground wire to less than 39" (100 cm) in length. Use 8 gauge (or heavier) wire. Connect the remote terminal to the remote output of head unit using 16 gauge ( or heavier ) wire. -
Page 11: Remote Level Control Connection
Remote Level Control Connection Remote Install the remote control securely under the Level Control dash or in a similar location where using it will not distract the driver. Specifications Z8150 MODEL: RMS power 150Wrms @ 2 ohm <0.4% @ 100Hz Signal-to-noise ratio >90dB Frequency response... -
Page 12: Troubleshooting
Troubleshooting If you experience operation or performance problems with this product, compare your installation with the electrical wiring diagram on the previous pages. If problems persist, read the following troubleshooting tips which may help eliminate the problems. SYMPTOM POSSIBLE REMEDY Amplifier will not Check to make sure you have a good ground connection. - Page 13 P h o e n i x G o l d i s a b r a n d o f A A MP o f A me r i c a www . p h o e n i x g o l d . c o m...
Need help?
Do you have a question about the Z Series and is the answer not in the manual?
Questions and answers