
Related Manuals for Braeburn 140202

Summary of Contents for Braeburn 140202
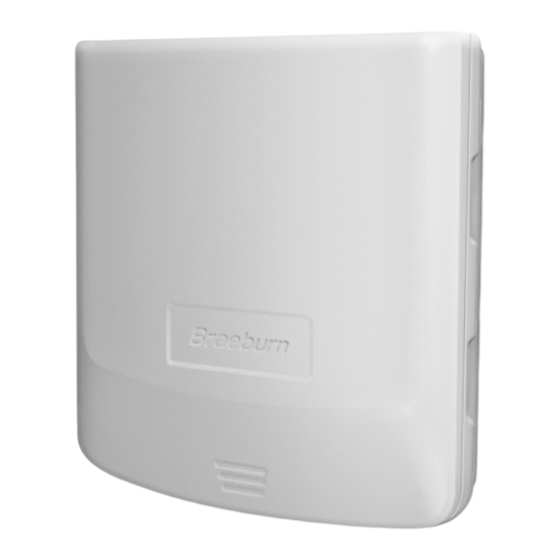
- Page 1 Premier 2-Zone Controller model 140202 Installer Guide Controlador de 2 zonas premier modelo 140202 Guía de instalación Régulateur 2 zones de première qualité modèle 140202 Guide de l’installateur English, 1-11 Español, 12-22 Français, 23-33 140202-100-002...
-
Page 2: Table Of Contents
CONTENTS Specifications 4 Configuration 2 Suitable Mounting Locations 5 System Checkout 3 Wiring Diagrams 6 Operation Warning • Read all of the instructions before proceeding. • Always turn off power to the heating/air conditioning system prior to installing or adjusting the Premier 2-Zone Controller. -
Page 3: Suitable Mounting Locations
Suitable Mounting Locations Mount the Premier 2-Zone Controller panel near the HVAC equipment (see Figure 2). The panel can be mounted in any orientation on a wall, stud, roof truss, or the return-air plenum. For appearance, mount the panel level. Remove the panel cover and use the base as a template to drill mounting holes 4.5”... - Page 4 Wiring the Panel Always turn off power to the heating/air conditioning system prior to installing or adjusting the Premier 2-Zone Controller. Wire the entire panel before applying transformer power. Use the following general wiring instructions for all systems. Specific wiring will vary depending on the equipment and type of system (conventional or heat pump).
- Page 5 Thermostat Wiring Install the system thermostats using the instructions provided by the manufacturer. Connect the thermostats to the zone panel as shown. Notes: • Wiring to the C terminal is required only for thermostat power. • E terminal at thermostat 1 controls emergency heat. See E-Heat Switch Installation Sheet TSB-0708-01 Thermostat Zone Panel...
- Page 6 Conventional System Wiring Note: For a heat pump system, see Section 3.5. Connect a conventional heating system to the zone panel as shown. 24 VAC 1st stage For a single stage heating and cooling compressor control 1st stage system, the 2nd stage connections are control not used.
-
Page 7: Configuration
Open J2 short cycle protection jumper for system test. Note: Replace J2 when system testing is completed or leave J2 open if compressor has built in short cycle protection. J1 jumper Braeburn JI REMOVE TO SEPARATE RH AND RC TERMINAL 2-Zone... -
Page 8: System Checkout
3. Set the DIP switches to meet system requirements. NON HP HEAT PUMP NORMAL DUAL FUEL REV VALVE B FAN GAS ELEC/HP OPP CALL 20 LOCKOUT NONE ACTIVE PRIORITY ALL ZONE1 Switch Label Function Non-HP / Heat Pump Conventional or heat pump control of W/Y Normal / Dual Fuel HP 1st stage lockout on 2nd stage call Rev Valve B / O... - Page 9 Verify green heartbeat LED in middle of panel is pulsing. Verify zone LEDs near damper terminals are green. Switch zone 1 thermostat to heat mode, and call for heat in zone 1 by raising set temperature above room temperature. Verify zone 1 damper LED stays green (open) and zone 2 damper LED changes to red (closed).
-
Page 10: Operation
Operation The Premier 2-Zone Panel has LEDs to tell the installer and homeowner the current operating mode of the panel. Refer to Figure 5 and the following descriptions of the panel LEDs for operation information. Callout Description Heartbeat Flashes once per second when the panel is normal. RH and RC Lights when the HVAC equipment transformer(s) are receiving power. - Page 11 Braeburn JI REMOVE TO SEPARATE RH AND RC TERMINAL 2-Zone FLASHING WHEN NORMAL NON HP HEAT PUMP NORMAL DUAL FUEL REV VALVE B FAN GAS ELEC/HP OPP CALL 20 LOCKOUT NONE ACTIVE PRIORITY ALL ZONE1 J2-SHORT CYCLE PROTECTION EMERGENCY HEAT...
- Page 12 Warranty Braeburn Systems LLC warrants each new Braeburn zone panel against any defects that are due to faulty material or workmanship for a period of five years after the original date of purchase by a professional service technician. This warranty and our liability does not apply to merchandise or the zone panel resulting from accident, alteration, neglect, misuse, improper installation or any other failure to follow Braeburn installation and operating instructions.
Need help?
Do you have a question about the 140202 and is the answer not in the manual?
Questions and answers