Table of Contents
Advertisement
Quick Links
Advertisement
Table of Contents

Related Manuals for ECOVACS Deebot3


Summary of Contents for ECOVACS Deebot3
- Page 1 Instruction Manual...
- Page 2 Before you go any further, please register your product on the Ecovacs website at www.ecovacsrobotics.com/registration/. We also suggest you record your model number, serial number, date of purchase and attach your receipt to this page for safekeeping.
-
Page 3: Table Of Contents
Contents 1. Important Safety Instructions.................2 2. Package Contents and Technical Specifications..........4 2.1 Package Contents....................4 2.2 Technical Specifications..................4 2.3 Product Diagram....................5 3. Operating and Programming..................6 3.1 Notes Before Cleaning..................6 3.2 Quick Start.......................7 3.3 Intelligent Scheduling....................8 4. Maintenance.......................10 4.1 Dust Bin and Filters.....................10 4.2 Suction Intake and Side Brushes..............10 4.3 Other Components....................11 5. -
Page 4: Important Safety Instructions
1. Important Safety Instructions When using an electrical appliance, basic precautions should always be followed, including the following: READ ALL INSTRUCTIONS BEFORE USING THIS APPLIANCE. SAVE THESE INSTRUCTIONS 1. This Appliance is not intended to be used by children under 8 or anyone lacking knowledge on proper use. - Page 5 28. When not using the Charging Dock for a long period of time, please unplug it. 29. The Appliance must be used in accordance with the directions in this Instruction Manual. ECOVACS Robotics cannot be held liable or responsible for any damages or injuries caused by improper use.
-
Page 6: Package Contents And Technical Specifications
2. Package Contents and Technical Specifications 2.1 Package Contents Instruction Manual Robot Charging Dock Instruction Manual (4) Side Brushes 2.2 Specifications Model 12 === Working Voltage (V) Rated Power (W) Charging Dock Model CH1426A 14.5 === Rated Input Voltage (V) 100-240~ Rated Output Voltage (V) Rated Output Current (A) -
Page 7: Product Diagram
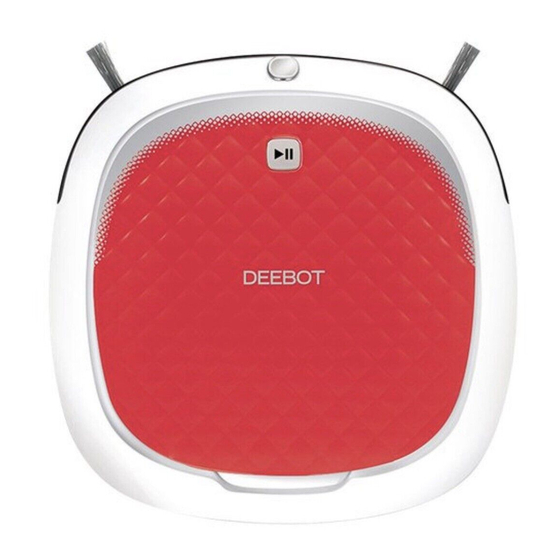
2. Package Contents and Technical Specifications 2.3 Product Diagram Robot 1. Top Cover 6. Anti-Collision Sensors 11. Charging Contacts 2. Infrared Receiver for Remote Control 7. Bumper Strip 12. Universal Wheel 3. Start/Pause Button 8. Anti-Drop Sensors 13. Suction Intake 4. -
Page 8: Operating And Programming
3. Operating and Programming 3.1 Notes before Cleaning Before Operating DEEBOT, take a few moments to survey the area to be cleaned and remove any obstacles. Remove power cords and small objects from The product is not suitable for use on the floor that could entangle the product. -
Page 9: Quick Start
3. Operating and Programming 3.2 Quick Start Charging Dock Placement Place the Charging Dock on a level floor surface against the wall with the base perpendicular to the ground. Keep the immediate area 1.5m (5') in front of the charger and 0.5m (1.6') on both sides of the charger clear of objects and reflective surfaces. -
Page 10: Intelligent Scheduling
3. Operating and Programming Start Press on DEEBOT 3 and the robot starts to work immediately. Pause Pause DEEBOT 3 by pressing 3.3 Intelligent Scheduling DEEBOT 3 has an Intelligent Scheduling function. DEEBOT 3 can be scheduled to clean once per day at the same time, even if nobody is at home. Set Intelligent Scheduling Press and hold the Start/Pause Button on DEEBOT 3 for 3 seconds to set the current time as... - Page 11 3. Operating and Programming Cancel Intelligent Scheduling Press and hold the Start/Pause Button on DEEBOT 3 for 3 seconds again. Intelligent Scheduling is cancelled when DEEBOT 3 beeps and the Indicator Light changes to a continuous GREEN. 9:00AM 9:00AM 3″ 3″...
-
Page 12: Maintenance
4. Maintenance Before performing cleaning and maintenance, turn DEEBOT 3’s Bottom Power Switch to the OFF position and unplug the Charging Dock. 4.1 Dust Bin and Filter Open DEEBOT 3’s Top Cover and remove Remove the filter. Pat the High Efficiency the Dust Bin. -
Page 13: Other Components
4. Maintenance 4.3 Other Components Clean the Universal Wheel by removing any Wipe the Anti-Drop Sensors with a dry cloth hair tangled around it. to maintain their effectiveness. Wipe the Charging Contacts and Charging Dock Pins clean with a dry cloth. Remove DEEBOT 3’s battery if the robot will not be used for a long time. -
Page 14: Troubleshooting
5. Troubleshooting Please use this chart to troubleshoot common problems using DEEBOT 3. Malfunction Possible Causes Solutions DEEBOT 3’s Bottom Power Turn DEEBOT 3’s Bottom Power Switch is not turned ON. Switch to the ON position. Be sure that DEEBOT 3 has made DEEBOT 3 has not made a connection with the Charging a connection with the... - Page 16 DEEBOT 3-000-IM2014R00...
Need help?
Do you have a question about the Deebot3 and is the answer not in the manual?
Questions and answers