Table of Contents
Advertisement
Advertisement
Table of Contents

Subscribe to Our Youtube Channel
Related Manuals for Russell Hobbs RHSB250


Summary of Contents for Russell Hobbs RHSB250
- Page 1 INSTRUCTIONS AND WARRANTY RHSB250 RUSSELL HOBBS PRO ELITE KITCHEN MACHINE...
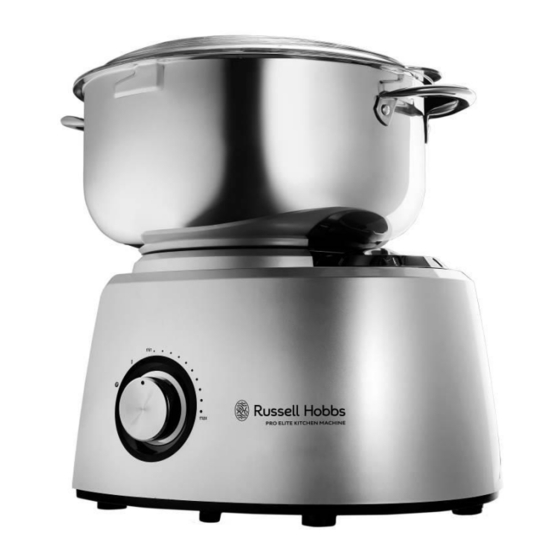
- Page 2 Congratulations on purchasing our Russell Hobbs Pro Elite Kitchen Machine. Each unit is manufactured to ensure safety and reliability. Before using this appliance for the first time, please read the instruction manual carefully and keep it for future reference. FEATURES OF THE RUSSELL HOBBS PRO ELITE KITCHEN MACHINE ...
-
Page 3: Important Safeguards
IMPORTANT SAFEGUARDS When using any electrical appliance, basic safety precautions should always be followed including the following: 1. Please read the instructions carefully before using any appliance. 2. Always ensure that the voltage on the rating label corresponds to the mains voltage in your home. - Page 4 15. Remove the plug from the socket by gripping the plug. Do not pull on the cord to disconnect the appliance from the mains. Always unplug the unit when not in use, before cleaning or when adding or removing parts. 16.
- Page 5 control system. 33. The manufacturer does not accept responsibility for any damage or injury caused by improper or incorrect use, or for repairs carried out by unauthorised personnel. 34. In case of technical problems, switch off the machine and do not attempt to repair it yourself.
-
Page 6: Parts Diagram
PARTS DIAGRAM Kitchen Machine 1. Power unit/ base (motor assembly) 2. Detachable drive shaft 3. Stainless steel mixing bowl 4. Balloon whisk set 5. Dough hook set... - Page 7 6. Mixing bowl splashguard Attachments 7. Mincer safety pusher 8. Mincer accessory set 9. Mincer blade 10. Fine mincing disc 11. Medium mincing disc 12. Coarse mincing disc 13. Sausage stuffing nozzle 14. Kebbe maker 15. Glass blending jug 16. Dry mill Dual Drives: The Pro Elite Kitchen Machine features two drives.
- Page 8 fig.1 fig.2 fig.3 fig.5 fig.6 fig.4 fig.7 fig.8...
-
Page 9: Before First Use
fig.9 fig.10 OPERATING INSTRUCTIONS BEFORE FIRST USE Before using this appliance for the first time, unpack the appliance and remove all protective packaging and wrappings. Please ensure to discard or store the protective packaging and wrappings immediately. It is important to keep these away from babies, infants and children for safety purposes. All parts of the kitchen machine need to be thoroughly cleaned before being used for the first time. -
Page 10: Speed Control
SPLASHGUARD The mixing bowl should be used with the splashguard. It is recommended to use the mixing bowl with the splashguard fitted to avoid spatter. To fit the splashguard, place it on top of the mixing bowl and turn it until the small latches, sit comfortably locked into the latches of the mixing bowl. -
Page 11: Hot Liquids
PULSE FUNCTION ("P") Turning the speed control anti-clockwise to "P" will give you a short burst at high speed. Use "P" as a "pulse" function, for greater control over the mixing/ blending process. ▲Caution: do not use "P" pulse function with the dough hook accessory, you may overload the motor. - Page 12 The dough hook set should be used for all heavier substances such as cookie dough, yeast dough, pastry dough and other heavy dough. Always use the dough hook set when adding nuts, chocolate chips, dried fruits, hard butter or other fats, hardened brown sugar, etc.
- Page 13 USING THE MINCER ACCESSORY The mincer accessory is intended to be used to process all types of meat. It also includes discs with different mincing grades to suit each preference. This accessory includes a sausage stuffing horn which allows you to make sausage or boerewors! ...
- Page 14 shaker to shake out the food. Once finished, clean the dry mill well. For example, should you process herbs or nuts, then move on to grinding coffee without cleaning in between, you may find that the taste of your coffee will be affected. A nice tip to thoroughly clean your mill after each use, is to process dry rice through it.
- Page 15 and the glass of the jug could crack. ADDING INGREDIENTS INTO THE BLENDER Ensure that larger pieces of food are cut into small pieces before blending. Their approximate size should be 2 cm × 2cm × 2cm. If you need to add solid ingredients after you have started blending: ...
-
Page 16: Removing The Blade Unit
THE BLADE UNIT REMOVING THE BLADE UNIT Remove the lid and turn the jug upside down. Use the grips to turn the blade unit anti-clockwise to release the latches on the blade unit from the tabs on the inside of the jug. ... -
Page 17: Cleaning And Maintenance
Hints for beating egg whites:- Before whisking egg whites, make sure that there’s no grease or egg yolk on the whisk or bowl. Be sure that the bowl and mixing accessories are clean. Be sure that there is no egg yolk in the egg white. ... - Page 18 surface. Wash the bowl and accessories in warm soapy water, rinse well. Leave them to drain and towel dry as soon as possible. Of the accessories supplied, all parts, except the whisk holder for the balloon whisk set and the blender’s blade/ base assembly, are dishwasher safe: o The whisk holder should be hand washed in warm soapy water, rinsed and dried.
-
Page 19: Storing The Appliance
STORING THE APPLIANCE Complete cleaning and maintenance as instructed above. Ensure that all parts are dry before storing. Store the appliance in its box or in a clean, dry place. Never store the appliance while it is still wet or dirty. ... -
Page 20: Changing The Plug
WEEE This product contains recyclable materials. Do not dispose this product as unsorted municipal waste. Please contact your local municipality for the nearest collection point. CHANGING THE PLUG Should the need arise to change the fitted plug, follow the instructions below. This unit is designed to operate on the stated current only. - Page 21 PLEASE AFFIX YOUR PROOF OF PURCHASE/RECEIPT HERE IN THE EVENT OF A CLAIM UNDER WARRANTY THIS RECEIPT MUST BE PRODUCED. W A R R A N T Y Home of Living Brands (Pty) Limited (“Home of Living Brands”) warrants to the original purchaser of this product (“the customer”) that this product will be free of defects in quality and workmanship which under normal personal, family or household use and purpose may manifest within a period of 2 (two) years from the date of purchase (“warranty period”).
Need help?
Do you have a question about the RHSB250 and is the answer not in the manual?
Questions and answers