Table of Contents
Advertisement
Advertisement
Table of Contents

Related Manuals for Logik L612WM12


Summary of Contents for Logik L612WM12
- Page 1 6KG Washing Machine Installation Guide / Instruction Manual L612WM12...
-
Page 3: Table Of Contents
Contents Unpacking ............................ 5 Installing Your Washing Machine ....................6 Choosing the Right Location for Your Washing Machine ................ 6 Moving and Installing ......................... 7 Removing the Transit Bolts ..........................7 Moving the Washing Machine from One Location to Another .............. 7 Hose and Cable Lengths ............................ - Page 4 Hints and Tips ..........................21 Troubleshooting ........................23 Error Code ................................24 Specification ..........................25 Product Fiche ..........................26 Safety Warnings ......................... 27...
-
Page 5: Unpacking
Thank you for purchasing your new Logik Washing Machine. You must spend some time reading this installation/instruction manual in order that you fully understand all the operational features it offers. Read all the safety instructions carefully before use and keep this installation/ instruction manual for future reference. -
Page 6: Installing Your Washing Machine
INSTALLATION Installing Your Washing Machine Please read and follow the instructions carefully. • In addition to the instructions mentioned here, special regulations of the relevant water and power supply companies may apply. If in doubt, have the washing machine connected by a qualified technician. -
Page 7: Moving And Installing
INSTALLATION Moving and Installing Removing the Transit Bolts Four transit bolts keep the interior of the washing machine in place while it’s being moved. They need to be removed before installation. Use a spanner (not supplied) and follow the instructions detailed below. -
Page 8: Hose And Cable Lengths
INSTALLATION Hose and Cable Lengths How to connect from the left side How to connect from the right side ~80cm ~130cm Cold Cold ~90cm ~40cm Cold ~85cm ~135cm Levelling the Washing Machine There are 4 levelling feet on the underside. They must be adjusted to make sure the washing machine is level. -
Page 9: Water Drain Hose
INSTALLATION Connecting the Water Supply Hose 1. To prevent leakage from the connection joints, 3/4” 3/4” ensure the rubber washer seals are fitted to each end of the water supply hose. Do not use min. 10 mm min. 10 mm without the seals in place. -
Page 10: Connecting To The Mains Supply
INSTALLATION Connecting to the Mains Supply For your safety: • Do not use a mains plug adapter or extension cable. • If the mains cable or mains plug are damaged, stop using them and call a qualified technician for assistance. •... -
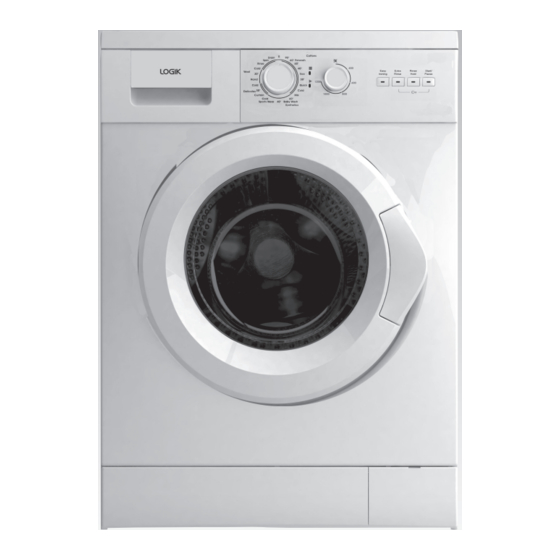
Page 11: Product Overview
Product Overview The unit The Control Panel The Detergent Compartment Door Handle Window Filter Door... -
Page 12: The Control Panel
The Control Panel Power and Programme Spin Speed Dial Rinse Hold Selection Selection Dial This dial is used to adjust This function stops the the spin speed during the last rinsing water being Different wash programmes drying stage. drained. can be selected according to your wash requirements. -
Page 13: Preparing Laundry
Preparing Laundry • Treat stains before washing. • Some items should be put into a cleaning net before going into the washing machine. i.e. bras with metal wires, tights and lace clothing to prevent damage. • Check that pockets do not contain any objects which may damage your clothes and the washing machine. -
Page 14: Wash Setting
Wash Setting First wash cycle There may be water left inside your machine after factory testing. It is recommended that the first wash cycle should be made without any laundry to remove this water; pour half a measuring cup of normal all purpose detergent into compartment 2 and select cotton programme at 90°C. -
Page 15: Individual Washing Functions (Process Selection)
Individual Washing Functions (Process Selection) You can select from “Wash”, “Rinse”, “Spin” or “Drain”. 1. Open the door and put the laundry in the drum. 2. Close the door and turn the Programme Dial to 0(off) position. Then select ”Wash” / “Rinse” / “Spin” / “Drain”... -
Page 16: Selecting The Programme
Selecting the Programme The programme dial must be brought to the 0(off) position before selecting the programme or changing an existing programme. Here are the available programmes, additional functions and option settings. Spin speed can be selected separately for certain programmes. Max Temp. -
Page 17: Important Information
Max Temp. Max Spin Max Load Approximate Total Water Max Energy Programme Description (°C) Speed (kg) Time (min) Consumption (lt) (kwh) Wool 30°C For machine washable 30°C 0.15 woolens and other items marked with hand wash Wool Cool – 0.03 care label. -
Page 18: Tips For Hanging Delicate Items To Dry
Tips for Hanging Delicate Items to Dry • Hang white or light colour clothes, and woolen and nylon clothes away from direct heat or sunlight. • After washing, smooth creases and folds out of woolen and nylon clothes and return them to their normal shape before hanging in the shade. -
Page 19: Maintenance - Cleaning The Washing Machine
Maintenance - Cleaning the Washing Machine Always unplug the washing machine before cleaning. Cleaning the Drum Any rust left inside the drum by metal articles must be removed immediately with chlorine-free detergent. Never use steel wool. Don’t put laundry in the washing machine during the drum cleaning. Cleaning the Exterior of your Washing Machine •... -
Page 20: Cleaning The Drain Filter
Cleaning the Drain Filter Be careful not to burn yourself while cleaning the drain filter. Water draining from the filter compartment may be hot after a high temperature wash. Before cleaning the drain filter, switch off and unplug the washing machine. 1. -
Page 21: Hints And Tips
Hints and Tips Problems Solutions Buttons don’t work • Child lock is activated. Deactivate the child lock function. • The washing machine is operating a wash programme. • The Programme Dial was turned to a different programme. Door doesn’t open •... - Page 22 There’s not much foam. • This can happen if you’ve put powder detergent directly into the drum – you must put it in the detergent drawer. • The amount of foam can vary, depending on the temperature, level and softness of your water. •...
-
Page 23: Troubleshooting
Troubleshooting Troubles Reason Solution • Check that the door is closed tightly. • Check that the power plug is inserted correctly. Washing machine • Check that the water supply tap is open. cannot start up • Check that the Start/Pause button is pressed. •... -
Page 24: Error Code
Error Code When there is an error, the washing machine will give an indication as detailed in the table below. If a fault cannot be rectified or a repair is required, then: Set Programme Dial to OFF and pull out the mains plug. •... -
Page 25: Specification
Specification Model L612WM12 Rated Voltage 220 - 240V~ Rated Frequency 50 Hz Maximum Energy Rated Power Input 2100 W Heating Energy Rated Power Input 1850 W Dimensions of the Product 595mm (W) x 527mm (D) x 845mm (H) 68.5 kg (Net) Weight of the Product 71.5 kg (Gross) -
Page 26: Product Fiche
Product Fiche Model: L612WM12 Rated capacity: 6 kg (Cotton programmes only) Energy efficiency class: A+ Energy consumption is 195 kwh per year based on 220 standard washing cycles for cotton programmes set at 60° C and 40° C, with full and partial loads, and the consumption of low-power modes. -
Page 27: Safety Warnings
Safety Warnings For your continued safety and to reduce the risk of injury or electric shock, please follow all the safety precautions listed below. WARNING! • If you will not be using the washing machine for a while such as when you go on holiday, disconnect the plug from the mains supply and turn off the water supply to the washing machine. - Page 28 To Prevent Injury / Damage • Do not climb on the washing machine. You may hurt yourself or damage the washing machine. • When opening and closing the door ensure you keep fingers away from the door hinge, or this could lead to injury.
- Page 29 NOTE: If you require a replacement for any of the items listed below, please quote their corresponding part numbers: Replacement Part Part Number Transit Bolt Cover Cap 40014437 Water Supply Hose 40014423 U-Shape Drain Hose Holder 40020601 Detergent Drawer 42022685 Liquid Detergent Level Plate 42019158 Blue Softener Syphon...
Need help?
Do you have a question about the L612WM12 and is the answer not in the manual?
Questions and answers